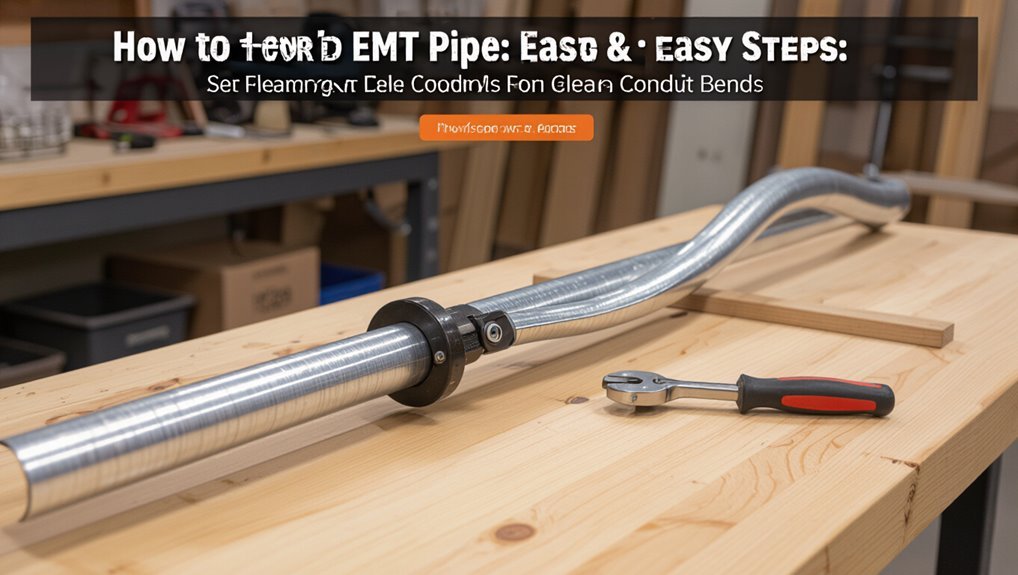
How to Bend EMT Pipe: Easy Steps & Tools for Clean Conduit Bends
To bend EMT pipe cleanly, follow this simple three-step process:
- Measure and Mark: Identify and mark the take-up and bend points based on the box or fitting.
- Position the Conduit: Align your mark with the bender index.
- Apply Pressure: Gently apply steady, even pressure to bend the conduit around the shoe until the handle reaches 90°. Check for springback to ensure a uniform radius.
Key Takeaways:
- Use the appropriate bender (handheld, bench, or hydraulic) for your project.
- Support the conduit run to avoid kinks.
- For further guidance, look into tips for offsets, saddles, and common fixes.
Quick Method: Bend EMT Pipe (90°) in 3 Steps
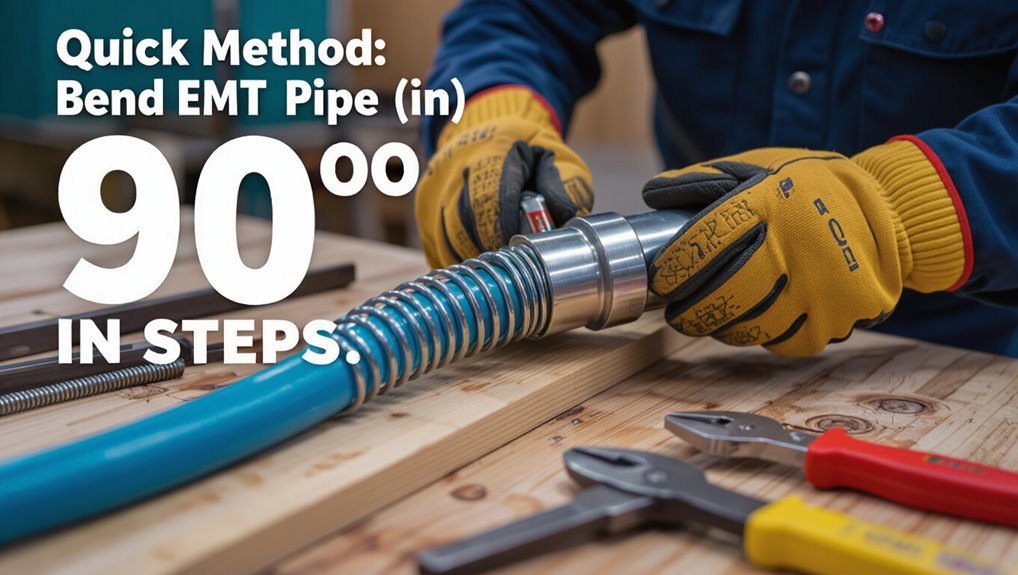
When a quick 90° bend in EMT is required on the job, a three-step method delivers consistent results without specialized tools: mark the bend location, apply steady pressure to form the elbow, and check for alignment and springback.
The electrician measures and marks the take-up and bend point, scoring lightly if needed to guide folding.
Using hands or a simple form, steady, even pressure creates a smooth radius while avoiding kinks.
After forming, the installer sight-checks alignment against fittings or conduit runs and adjusts for springback by slightly overbending.
Final inspection confirms fit and continuity before securing the conduit.
Which Bender to Use : Hand, Manual Conduit, or Hydraulic
After mastering quick hand-formed 90° bends, the installer must choose the appropriate bender for job scale and accuracy: a simple handheld bender for small runs and tight spaces, a bench or foot-operated manual conduit bender for consistent, repeatable bends in standard EMT sizes, or a hydraulic bender for high-volume work and thick-walled conduit where greater force and precise radii are required.
Selection depends on volume, conduit size, access, and required repeatability.
- Handheld — portable, low-cost, ideal for occasional field bends.
- Manual conduit bender — durable, accurate for standard tradeswork.
- Hydraulic — fastest for production environments.
- Safety — choose rated tools and wear PPE.
Marking and Measuring EMT Bends Accurately
For precise EMT bends, accurate marking and measuring are the foundation of a clean installation; proper layout prevents misaligned runs, reduces rework, and guarantees conduit meets box- and fitting-clearance requirements.
The technician measures from box face or fitting center, accounting for bend deduction or gain specific to bend angle and conduit size. Marks include layout lines, pivot point, and take-up distance; a permanent marker and calipers or tape make certain repeatability.
Transfer measurements to both sides of the conduit for consistent bending orientation. Verify measurements twice before bending and note cumulative offsets on long runs to maintain continuous alignment.
Make a 90° EMT Bend With a Hand Bender
The procedure begins with accurately marking the bend location on the EMT using the measured setback and reference marks.
Next, the pipe is positioned in the hand bender so the mark aligns with the bender’s shoe and index.
The operator then applies steady pressure to form a clean 90° bend without kinking.
Marking Bend Location
Measure and mark the EMT carefully before bending to guarantee the 90° offset lands at the correct point. A precise layout prevents misaligned runs and wasted conduit. The technician notes takeoff points, shoe offsets, and the bender’s take-up dimension. Marks should be clear and durable.
- Measure from center of box to desired bend apex, accounting for take-up.
- Transfer measurement along conduit and mark the bending pivot (index) point.
- Use a permanent marker or punch for a visible reference under pressure.
- Double-check measurements and orientation before proceeding to the bending step.
Making The Bend
Place the conduit in the bender so the previously made index mark aligns with the shoe’s take-up mark.
The operator steps on the bender foot, grasps the handle, and applies steady, even pressure to draw the pipe around the shoe.
Watch the degree indicator or use a separate angle gauge; pause near 45° to check alignment.
For a 90° bend, continue until the handle reaches the 90° stop or the gauge reads 90°.
Release pressure slowly to prevent springback overshoot.
Remove the conduit and inspect the bend for uniform curvature, no kinks, and correct measured angle before installing.
Form EMT Offsets, Saddles, and Compound Bends Without Kinking
When working with EMT to create offsets, saddles, or compound bends, careful planning and controlled bending prevent kinks and maintain conduit integrity. Professionals measure twice, mark bend points, and visualize the final run before applying force. Use the correct bender and support to guarantee smooth curves. Bend progressively, easing through compound angles rather than forcing one severe bend.
- Calculate distances and angles, marking each bend precisely.
- Use a conduit bender sized for the EMT and steady back pressure.
- Make incremental bends, checking alignment after each step.
- Support the conduit to avoid twisting or collapsing during bending.
Common Mistakes, Fixes, and How to Check Bend Alignment
In reviewing common EMT bending errors, attention focuses on causes—overbending, underbending, incorrect bender placement, and inadequate support—that produce kinks, sprung offsets, or misaligned conduit runs.
Typical mistakes include forcing bends too quickly, failing to mark take-up and stub, and neglecting proper anchor points.
Correct by reheating techniques like gradual pressure release, re-bending small increments, or cutting out and rejoining damaged sections.
Use bender marks and a level or square to verify angles and plane alignment; sight down the run and measure offsets.
Final checks: continuity of fit, smooth inner radius, and consistent center-to-center spacing.
Conclusion
By chance, the apprentice who’d never bent conduit before watched a veteran make a perfect 90° with nothing but a hand bender and a careful mark. Coincidentally, that single clear demonstration echoed every step described here—measuring, choosing the right bender, forming offsets and saddles, avoiding kinks—and turned theory into muscle memory. When luck meets technique, even complex compound bends align cleanly, fixing mistakes before they start and proving practice truly matters.