How to Attach PVC to Galvanized Pipe: Easy DIY Guide & Tips
To successfully attach PVC to galvanized pipe, use a threaded galvanized nipple and a matching PVC female adapter for a reliable connection. Here’s a quick guide to ensure a secure and effective joint:
Key Takeaways:
- Connection Types: Thread the galvanized nipple into the galvanized pipe and either solvent-weld or thread the PVC adapter onto the PVC side.
- Preparation: Clean and deburr all surfaces before assembly.
- Sealant: Apply PTFE tape or pipe dope to the threads for a tight seal.
- PVC Assembly: Prime and cement the PVC sockets properly.
- Pressure Test: After assembly, pressure-test the joint to ensure no leaks.
- Considerations: Match pressure ratings, be aware of galvanic corrosion risks, and use dielectric or flexible couplings as necessary.
By following these steps, you can achieve a clean and effective connection between PVC and galvanized pipe.
Quick Answer: Best Way to Join PVC to Galvanized Pipe
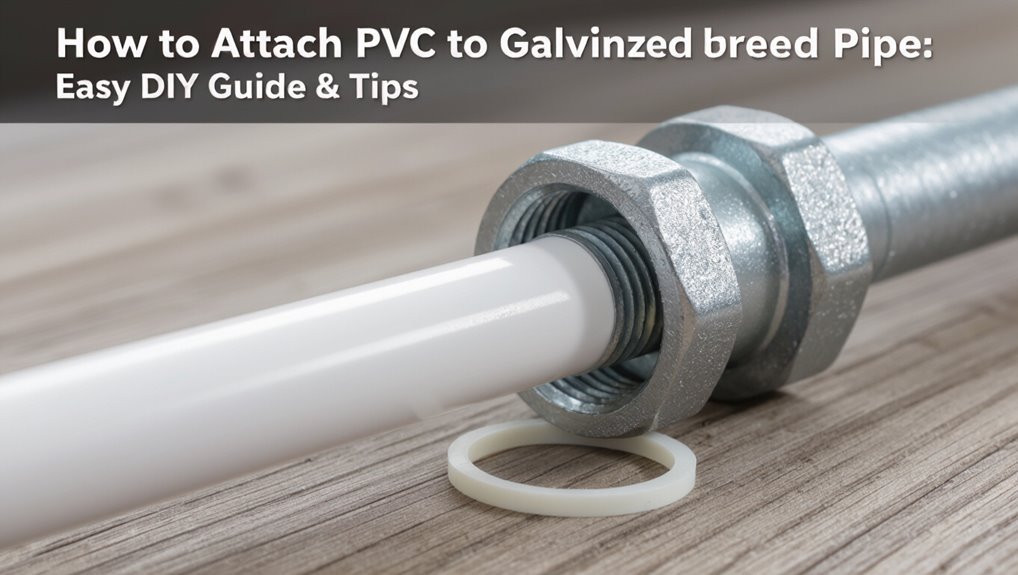
Use a threaded adapter with a short length of tapered male galvanized nipple and a PVC female adapter for the cleanest, most reliable connection.
The procedure: cut and deburr both pipes, apply thread sealant tape to the galvanized nipple, hand-start threads, then tighten with tools until snug without overstressing fittings.
For solvent-welded PVC, use a short adaptor fitting rated for the service; for pressurized systems, prefer a metal-to-plastic adapter with compatible pressure ratings.
Test the joint under working pressure and check for leaks.
Replace heavily corroded galvanized sections before joining, and follow local plumbing codes.
When It’s Safe to Join PVC to Galvanized Pipe
Determining when to join PVC to galvanized pipe depends on matching pressure ratings and the intended use of the system. The decision should account for potential galvanic corrosion, the quality of the water, and any contaminants that could accelerate metal deterioration.
Proper adapter fittings and regular inspection are recommended when pressure compatibility and water conditions indicate an acceptable risk.
Compatibility And Pressure Limits
When joining PVC to galvanized pipe, compatibility hinges on matching pressure ratings, chemical resistance, and joint method to prevent leaks and premature failure.
The installer must verify both pipes’ pressure classifications (e.g., schedule 40 PVC or galvanized schedule ratings) and guarantee the lowest rated component dictates system limit.
Use approved coupling fittings or dielectric unions rated for the operating pressure and temperature.
Avoid solvent-welding directly to metal; threaded adapters require proper thread sealant and torque to maintain pressure integrity.
For pressurized systems, include pressure relief and test at recommended pressures before commissioning to confirm compatibility and safe operation.
Corrosion And Water Quality
After confirming pressure compatibility and proper joint methods, attention should turn to corrosion risks and water quality factors that affect the long-term performance of a PVC–galvanized connection. Inspection of water chemistry—pH, chloride, and dissolved oxygen—guides suitability. Galvanized steel in acidic or high-chloride water corrodes, risking leaks and contamination; PVC resists such attack. Use dielectric unions or adapter fittings and consider sacrificial anodes in aggressive conditions. Periodic monitoring and flush testing detect deterioration early. If water quality is poor or corrosive, replace galvanized sections with plastic or copper to ensure durability and potable water safety.
| Factor | Risk Level | Recommended Action |
|---|---|---|
| pH (low) | High | Replace metal |
| Chlorides | High | Use PVC only |
| Dissolved O2 | Medium | Monitor |
| Conductivity | Medium | Flush test |
| Visual corrosion | High | Immediate repair |
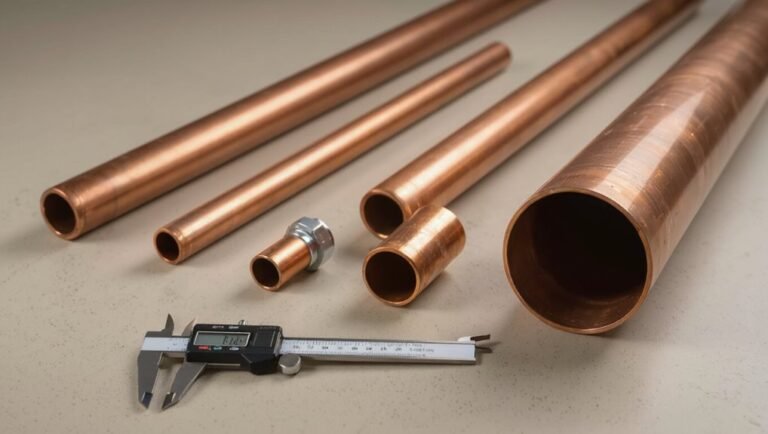
Tools and Materials You’ll Need
A concise list of required tools, materials, and supplies follows to guarantee a proper connection between PVC and galvanized pipe. It covers cutting and threading tools, appropriate fittings and adapters, sealants, and safety gear. Each item is specified so the reader can prepare before beginning work.
Required Tools
Which tools are necessary depends on the joint type and pipe sizes involved; however, a concise kit typically includes a pipe cutter or hacksaw, a deburring tool or file, measuring tape, marker, appropriate PVC primer and cement, thread sealant or pipe dope for threaded galvanized fittings, adjustable wrench or pipe wrench, and safety gear (gloves and eye protection).
Additional helpful tools: a tubing reamer for clean bore edges, a clamp or vise to hold pipes steady, torque-limited wrench for threaded connections, and a small brush for applying primer.
A digital level or angle finder guarantees alignment.
Clean, organized tools reduce mistakes and speed the job.
Materials And Supplies
With tools laid out, attention turns to the specific materials and consumables required to join PVC to galvanized pipe. The list focuses on compatibility, corrosion resistance, and reliable seals: PVC pipe and fittings, threaded adapters, appropriate primer and cement, PTFE tape, and corrosion-inhibiting compounds. Selection depends on pressure ratings and intended service (water, gas, outdoor).
| Material | Purpose |
|---|---|
| PVC pipe & fittings | Main plastic run |
| Galvanized pipe | Existing metal plumbing |
| Threaded adapters (PVC-to-metal) | Conversion connectors |
| PVC primer & cement | Solvent weld joints |
| PTFE tape & anti-seize | Thread sealing, corrosion prevention |
How to Decide Which Adapter or Coupling to Use
How should the installer choose between an adapter and a coupling? The decision depends on pipe materials, thread type, and permanence. Adapters convert threaded galvanized male/female ends to PVC socket or threaded fittings. Couplings join same-diameter pipes or switch with rubber inserts and clamps for dissimilar surfaces.
Consider pressure rating and chemical compatibility; adapters are better for sealed, long-term joins, while couplings suit repairs or slight misalignment. Installers should verify thread standard (NPT vs BSP), match inside/outside diameters, and choose corrosion-resistant materials. Proper selection minimizes leaks, preserves flow, and guarantee code compliance.
- Match thread and diameter
- Choose permanence and pressure rating
- Prefer corrosion-resistant materials
Measure and Cut the Galvanized Pipe
Before cutting, the installer must accurately measure the required length of galvanized pipe, allowing for thread engagement, fittings, and any necessary overlap.
Measurements should be taken twice and recorded, accounting for wall thickness and any thread depth specified by the chosen adapter.
Mark the cut line clearly with a permanent marker or scribe, ensuring alignment with system layout and slope requirements.
Select a cutting method appropriate to pipe diameter—hacksaw, reciprocating saw, or pipe cutter—and secure the pipe in a vise or clamp to prevent movement.
Make a straight, controlled cut and deburr the exterior to remove sharp edges.
Clean and Prepare Galvanized Pipe Ends
The cut ends of the galvanized pipe should be inspected and any rust, scale, or loose debris removed with a wire brush or emery cloth to guarantee a clean surface.
After cleaning, the edges must be smoothed and slightly chamfered with a file or deburring tool to prevent damage to the PVC and to allow proper seating.
A final wipe with a solvent or clean rag removes particles and prepares the metal for a secure connection.
Remove Rust And Debris
Removing corrosion and loose particles from galvanized pipe ends readies the surface for a reliable PVC connection by guaranteeing threads and mating faces are clean and true.
The process begins with a wire brush to dislodge flaky rust, followed by a rag and solvent (like acetone or mineral spirits) to remove oils and fine debris.
Compressed air or a blow-out guarantees no residue remains inside the bore.
Inspect threads for remaining pitting and remove only loose material; avoid aggressive removal that changes thread profile.
Proper cleaning improves sealant adhesion and prevents leaks when joining dissimilar materials.
- Wire brush dislodge
- Solvent wipe
- Compressed air
Smooth And Chamfer Edges
Chamfering and smoothing the cut ends of galvanized pipe prepares precise mating faces and prevents cutting or abrasion of PVC fittings during assembly.
After cutting, a file or deburring tool removes sharp burrs; a 15–30° chamfer on the ID and OD eases insertion and aligns seating.
Use medium-grit emery cloth to smooth the surface, removing jagged edges and loose zinc flakes.
Wipe with a clean cloth and solvent to eliminate filings and oils.
Inspect for uniform chamfer and roundness; rework high spots.
Properly prepared ends reduce stress on PVC, improve fit, and extend joint longevity.
Prepare PVC Ends for Solvent‑Welds or Mechanical Fittings
When preparing PVC ends for solvent-welds or mechanical fittings, careful cleaning, deburring, and precise dimensioning guarantee reliable joints.
The end face should be square, free of burrs, and measured to match fittings; chamfer slightly to ease insertion.
Remove dirt, grease, and dust with a cleaner recommended for PVC, then dry.
For solvent-welds, apply primer where required and make certain correct insertion depth; rotate slightly to spread cement evenly.
For mechanical fittings, confirm gasket condition and seating depth, and torque fasteners per manufacturer specs to avoid distortion or leaks.
- Inspect and square-cut ends.
- Clean, primer, cement as needed.
- Verify gasket/seating and torque.
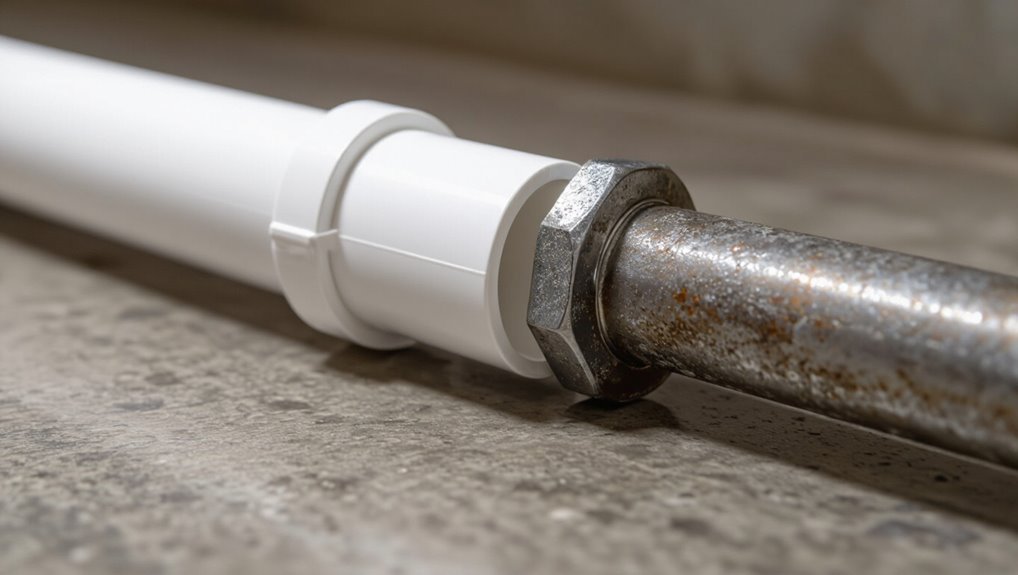
Install a Threaded Galvanized‑to‑PVC Adapter
With the PVC ends squared, cleaned, and prepared for fittings, the next step is to join PVC to galvanized pipe using a threaded adapter. The adapter chosen must match PVC socket size on one end and NPT or BSP male threads for galvanized pipe on the other. Apply plumber’s tape to the metal threads, hand‑start the adapter, then wrench‑tighten a quarter to half turn beyond snug. For solvent‑weld PVC sockets, prime and cement per manufacturer instructions before threading. Inspect alignment and test for leaks under pressure. Clean threads and support the joint to prevent strain.
| Visual | Action |
|---|---|
| Adapter seated | Tape + thread |
| Cemented socket | Prime + cement |
Join PVC to Galvanized With a Rubber (Fernco) Coupling
For connecting PVC to galvanized pipe where threads or flanges are impractical, a rubber adapter coupling (commonly called a Fernco) provides a flexible, watertight connection.
The rubber sleeve fits over both pipe ends; stainless steel clamps tighten the sleeve to compress rubber and seal gaps. Selection depends on pipe diameters and pressure rating; measure OD and choose a coupling with appropriate range.
Clean and dry pipe ends, push pipes fully into the sleeve until centered, then tighten clamps evenly.
Fernco couplings accommodate slight misalignment and thermal movement but are not permanent structural joints.
- Versatility
- Simplicity
- Reversibility
Use a Mechanical Compression Coupling for Mixed Materials
Among the reliable options for joining PVC to galvanized pipe, mechanical compression couplings provide a secure, metal-to-plastic conversion that relies on a threaded sleeve and compressible gasket rather than adhesive or welded joints.
These fittings suit junctions where dissimilar thermal expansion or slight misalignment exists.
Installation requires clean, square-cut pipe ends, appropriate gasket selection for diameter and media, and torqueing the sleeve evenly to compress the gasket without crushing PVC.
Mechanical couplings permit easy disassembly for maintenance and avoid solvent compatibility issues.
They are rated for specific pressures and temperatures; selecting a coupling with compatible ratings guarantees long-term leak-free performance.
When to Use Dielectric Unions and Why
Addressing galvanic corrosion and electrical continuity concerns, dielectric unions isolate dissimilar metals—typically copper or brass fittings from galvanized steel—preventing electrochemical reactions that erode pipe walls and cause leaks. They are chosen when metal-to-metal contact could accelerate corrosion, when code requires electrical isolation, or when replacing sections without altering grounding schemes.
Installation is straightforward: match sizes, orient the insulating gasket correctly, and torque per manufacturer specs. Dielectric unions suit potable water, heating, and outdoor systems where longevity matters. Regular inspection guarantees seals remain intact and corrosion is avoided at adjacent joints.
- Prevent corrosion-driven leaks
- Meet code/electrical isolation
- Simplify metal changes
Primer and Solvent Cement vs. Mechanical Fittings: When to Use Each
When joining PVC to galvanized pipe, the choice between primer-and-solvent-cement joints and mechanical fittings hinges on factors like permanence, pressure rating, accessibility, and code requirements; solvent welding creates a monolithic, leak-resistant bond ideal for permanent, buried, or pressurized runs of PVC, while mechanical fittings (union adapters, compression couplers, or threaded nipples with proper gasketing) offer easier disassembly, compatibility with dissimilar metals, and suitability where solvent welding is impractical or prohibited.
Solvent cement requires clean, properly primed surfaces and curing time; mechanical fittings permit maintenance, reconfiguration, and inspection but may need periodic tightening or replacement under vibration or thermal cycling.
How to Seal Threaded Connections to Prevent Leaks
After choosing between solvent-welded and mechanical connections for joining PVC to galvanized pipe, attention turns to sealing threaded joints to prevent leaks.
Threaded adapters require proper preparation: clean threads, inspect for damage, and make sure compatible materials.
Two common sealants are PTFE (Teflon) tape and pipe thread compound; each must be applied correctly to avoid contamination of flow or fittings.
Do not overtighten; snug plus a quarter turn typical.
If dissimilar metals contact, consider dielectric unions or anti-seize to prevent corrosion.
Proper sealing extends service life and reduces maintenance without compromising system integrity.
- Use PTFE tape correctly
- Apply pipe compound sparingly
- Avoid overtightening
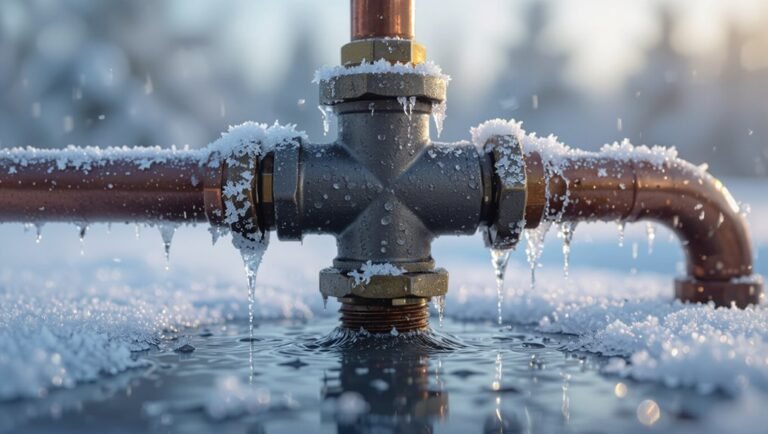
Pressure‑Test the Joint and What to Watch For
A pressure test should be conducted using water only to avoid compressible-air hazards.
The assembly is monitored for visible drips, slow seepage at threads, and any sudden pressure loss on gauges.
The joint and surrounding fittings are inspected for movement, hairline cracks, or softened sealant that indicate compromised integrity.
Test With Water Only
How should the joint be evaluated once assembly is complete? The joint should be filled with water only, avoiding air to prevent false pressure readings. Apply mains pressure slowly, observing for immediate drops. Hold the test for the recommended period, watching fittings, threads, and changes for moisture or staining. Record initial and final pressure values if gauges are used.
- Observe: inspect all seams and connections for seepage during the hold period.
- Measure: note pressure changes; small drops suggest trapped air, larger ones indicate leaks.
- Respond: depressurize before tightening or disassembling to correct defects safely.
Monitor For Leaks
Typically, the assembled joint is pressure‑tested to confirm watertight integrity before returning the system to service. Air or water is applied at the working pressure for several minutes while the joint and nearby fittings are observed. A steady gauge indicates hold; any pressure drop suggests a leak.
Inspect visible seams, threaded connections, and the junction area for drips, beads, or dampness. Listen for hissing and feel for cold spots that may indicate escaping fluid.
Document pressure readings and test duration. Small weeps may require tightening or re‑seating; persistent drops call for disassembly and rework.
Inspect Joint Integrity
Pressurize the assembly to the specified working pressure and observe the joint for a sustained period to confirm integrity.
The inspector notes any pressure drop on gauges, audible hissing, visible drips, or dampness around the junction.
Record baseline pressure, duration, and ambient conditions.
If leakage appears, relieve pressure, disassemble, clean surfaces, reapply sealant or replace fittings, then retest.
Inspect thread engagement, solvent-weld beads, and any deforming or discoloration indicative of chemical attack or stress.
- Monitor gauge stability and repeat tests after cooling.
- Check for micro-leaks with soapy solution or electronic detector.
- Document results and corrective actions.
Galvanic Corrosion and Dissimilar‑Metal Concerns
Concerned with the electrochemical interaction between metals, galvanic corrosion occurs when dissimilar metals—such as PVC fittings joined to galvanized steel pipe—are electrically connected in the presence of an electrolyte, causing the less noble metal to corrode preferentially. The article explains that while PVC is nonmetallic, metal adapters, clamps, or buried environments create paths for corrosion, increasing leak risk and reducing service life. Mitigation involves insulating connections, using compatible materials, or sacrificial anodes where appropriate.
| Component | Risk | Typical Action |
|---|---|---|
| Galvanized steel | High | Isolate or coat |
| Brass adapter | Medium | Monitor |
| PVC | Low | No action needed |
Common Mistakes and How to Avoid Them
When installing PVC onto galvanized pipe, common mistakes—such as failing to clean and deburr mating surfaces, using incompatible sealants, or over-tightening threaded adapters—lead to leaks, stress fractures, and premature failure.
The detached observer notes practical avoidance: clean threads, remove burrs, and verify thread fit before assembly; select sealants and primers rated for PVC-to-metal joints; torque fittings to manufacturer specifications.
Protective dielectric unions or rubber sleeves prevent metal contact.
Test assemblies under low pressure first and inspect for seepage.
Proper preparation, correct materials, and measured assembly extend service life and reduce rework.
- Clean and deburr
- Use compatible sealants
- Torque to spec
Typical Cost and Time Estimate: DIY vs Hiring a Pro
How much time and money should one expect to spend converting galvanized pipe to PVC depends on project complexity, materials, and skill level. A straightforward DIY swap (small section, basic fittings) may take 2–6 hours and cost $30–$150; complex runs, adhesive, and specialty fittings increase both. Hiring a pro typically costs more but saves time and reduces error risk.
| Scenario | Typical Range |
|---|---|
| DIY simple | 2–6 hours; $30–$150 |
| DIY complex | 6–16+ hours; $150–$400 |
| Professional | 1–4 hours; $150–$500 |
Local Codes, Permits, and When an Inspection Is Required
Local permit requirements for joining PVC to galvanized pipe vary by jurisdiction and can determine whether a job is classified as a simple repair or a permit-required alteration.
Common triggers for inspection include changes to potable water lines, alterations to main supply pipes, or work that affects backflow prevention.
Homeowners and contractors should confirm local codes and inspection timing with the municipal building or plumbing department before starting work.
Permit Requirements By Jurisdiction
Across municipalities, permit requirements for attaching PVC to galvanized pipe vary widely and hinge on local plumbing codes, zoning rules, and the scope of the work. Contractors and homeowners should consult municipal code or building departments before starting.
Minor repairs may be exempt; alterations affecting water supply, backflow, or structural supports typically require permits. Fees, permit application details, and licensed tradesman requirements differ by jurisdiction. Records of approved methods and materials can prevent rework. Failure to obtain required permits risks fines and complicates future property transactions.
- Confirm local code and permit exemptions.
- Determine licensed installer mandates.
- Retain permit documentation.
Inspection Triggers And Timing
When permits are required, inspection timing is typically set by municipal code and the issuing agency’s schedule, with specific triggers tied to stages of work such as rough-in, pressure testing, and final connections between PVC and galvanized pipe.
Inspectors verify compliance after scheduled milestones: before concealment of joints, following pressure or leak tests, and at system startup or final hookup.
Homeowners or contractors must request inspections within prescribed windows; failure risks rework or citations.
Some jurisdictions require separate electrical, plumbing, or structural sign-offs.
Documentation, permit tags, and clear access to the worksite expedite approval and a final certificate of compliance.
Troubleshooting Persistent Leaks and Weak Joints
Often persistent leaks and weak joints indicate a problem with surface preparation, misaligned fittings, or improper adhesive technique rather than a single defective part. The installer should inspect mating surfaces for corrosion, old sealant, or uneven cuts.
Alignment must be verified; stress or twisting during cure causes failure. Adhesive selection and application timing matter: wrong primer, contaminated surfaces, or insufficient dwell time reduce bond strength.
If leaks persist, disassemble, clean to bare metal and PVC, rethread with appropriate tape or sealant on galvanized sections, and reclamp until full cure.
- Diagnose surface and fitment issues.
- Confirm correct adhesive and cure procedure.
- Reassemble cleanly, using proper sealing materials.
Conclusion
A finished joint becomes a small bridge between old and new—galvanized gray meeting PVC white—symbolizing practical renewal. When fittings are chosen wisely and seams sealed with care, flow resumes like a quiet stream. Caution and proper technique are the mortar; codes and testing, the guiding light. Even a modest DIY effort can turn mismatched metals into a dependable passage, reminding the homeowner that thoughtful connections preserve utility and peace of mind.