Bathroom Floor Plumbing: Installation Tips and Common Mistakes
When installing bathroom floor plumbing, make sure to plan your pipe layout carefully and choose the right materials for ideal flow. Avoid common mistakes like incorrect pipe sizing and neglecting the drainage slope, which should be 1% to 2%. Regularly check for leaks and clean drains to keep everything running smoothly. By following these tips, you’ll enhance your installation process and reduce future issues. Stick around to uncover more essential insights and solutions for your plumbing project!
Understanding Bathroom Floor Plumbing Basics
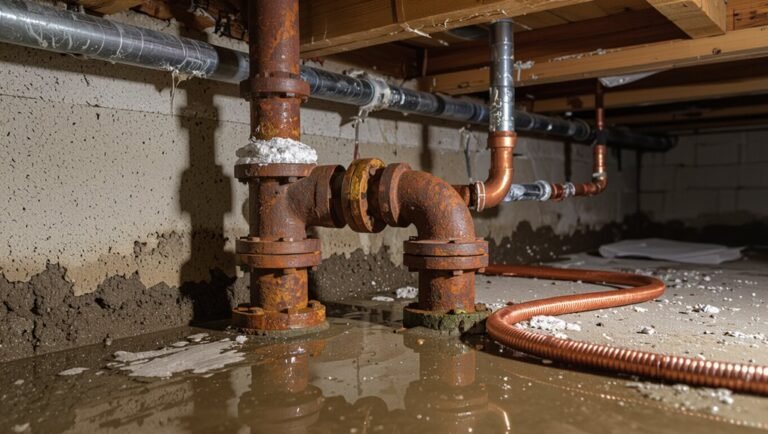
Understanding the basics of bathroom floor plumbing is vital for any homeowner tackling renovations or repairs.
You’ll want to familiarize yourself with the layout of pipes, drains, and vents. Start by locating the main waste line and verify it’s properly sloped to prevent clogs. Knowing the difference between supply lines and waste lines will help you avoid costly mistakes.
It’s also important to understand the significance of venting, which prevents pressure issues in your plumbing system.
Finally, always check local codes and regulations to guarantee your installation meets safety standards. Mastering these fundamentals sets the stage for a successful project.
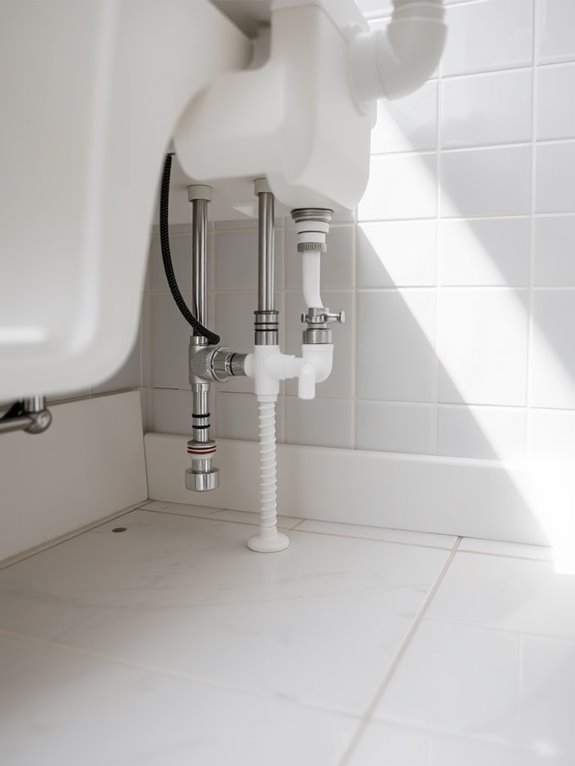
Essential Tools and Materials for Installation
To successfully tackle bathroom floor plumbing installation, you’ll need a few essential tools and materials at your fingertips.
Start with a pipe wrench and adjustable pliers for securing and loosening fittings. A hacksaw or pipe cutter is vital for cutting pipes to size.
Don’t forget a level to guarantee your plumbing sits evenly. You’ll also need PVC or copper pipes, fittings, and appropriate adhesives or solder for sealing.
Finally, grab a tape measure for accurate measurements and a bucket to catch any excess water.
With these tools and materials, you’re well on your way to a smooth installation process.
Don’t miss out on related tips: Read this next: What causes backflow in plumbing?
Step-by-Step Installation Process
Now that you’ve gathered your tools and materials, it’s time to jump into the installation process.
Start by planning your pipe layout to guarantee everything flows smoothly.
Finally, don’t forget to test for leaks once everything’s in place to avoid future headaches.
Curious to learn more? Explore this resource: What is Sanitary Plumbing: Your Ultimate Solutions
Tools Required for Installation
Before you plunge into your bathroom floor plumbing project, gathering the right tools is essential for a smooth installation process.
You’ll need a tape measure to guarantee accurate dimensions, a level to check that everything’s even, and a wrench for tightening fittings.
A pipe cutter will help you size your pipes correctly, while a plunger and auger are handy for any clogs you might encounter.
Don’t forget a screwdriver set for securing fixtures and a utility knife for any necessary cutting.
Finally, wear safety goggles and gloves to protect yourself during the installation.
With these tools, you’re ready to get started!
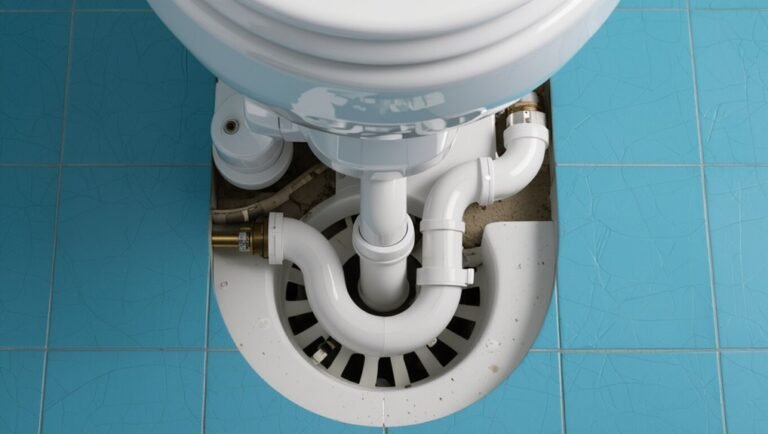
Pipe Layout Planning
Effective pipe layout planning is essential for a successful bathroom floor plumbing installation. Start by sketching your bathroom layout, noting fixture locations like the sink, toilet, and shower. Measure distances accurately to guarantee pipes fit without unnecessary bends.
Next, determine the pipe sizes based on your fixtures’ flow rates and local codes. Plan for proper slope in drainage pipes to facilitate water flow. Consider accessibility for future maintenance, placing shut-off valves in easily reachable spots.
Finally, visualize your pipe routing to avoid obstacles like joists or existing plumbing. This careful planning sets the stage for a smooth installation process.
Testing for Leaks
How can you affirm your bathroom plumbing is leak-free after installation? Testing for leaks is essential. Start by turning on the water supply and checking all joints and connections for any signs of dripping.
- Use a paper towel to wipe around fittings.
- Look for moisture or water pooling on the floor.
- Check for water pressure drops in the system.
Leave the system pressurized for a few hours, then inspect again.
If you spot any leaks, tighten the connections or replace faulty parts. A thorough check guarantees your plumbing is secure and ready for use without any future hassles.
There’s more to explore! Here’s another valuable read: Do You Need a Permit for a Bathroom Remodel?
Common Mistakes to Avoid
When you’re working on bathroom floor plumbing, it’s easy to make a few common mistakes.
Incorrect pipe sizing and neglecting the drainage slope can lead to major headaches down the road.
Let’s explore how to avoid these pitfalls and guarantee a smooth installation.
Incorrect Pipe Sizing
Although it might seem minor, incorrect pipe sizing can lead to significant plumbing issues in your bathroom. Using the wrong diameter pipes can cause slow drainage, increased pressure, and even leaks.
To avoid these problems, keep these tips in mind:
- Measure existing pipes before purchasing new ones
- Consult plumbing codes for the right sizes
- Factor in the number of fixtures connected
- Don’t overlook the material type, as it affects flow rates
Taking the time to guarantee proper pipe sizing will save you from costly repairs and headaches later on.
Make sure your plumbing system functions smoothly!
Neglecting Drainage Slope
Neglecting the proper drainage slope can lead to frustrating plumbing issues that you can easily avoid.
When installing your bathroom floor, ascertain the slope directs water towards the drain—typically a 1% to 2% slope is ideal. If the slope is too flat, water may pool, causing mold and plumbing backups.
On the other hand, too steep a slope can create flow problems and noise. Use a level during installation to check your work, and don’t skip this vital step.
Tips for Maintaining Your Bathroom Floor Plumbing
Maintaining your bathroom floor plumbing is essential for preventing costly repairs and guaranteeing a comfortable environment.
Regular upkeep helps keep your plumbing system functioning smoothly. Here are some tips to help you maintain it:
- Check for leaks around pipes and fixtures.
- Clean drains regularly to prevent clogs.
- Inspect caulking and grout for wear and tear.
- Guarantee proper ventilation to reduce moisture buildup.
Troubleshooting Common Plumbing Issues
Even with regular maintenance, plumbing issues can still arise in your bathroom.
If you notice a slow drain, try using a plunger or a drain snake to clear any blockages.
For leaks, check the connections and seals around your fixtures – tightening them might solve the problem.
If you hear strange noises from your pipes, it could be air trapped in the system; bleeding your radiators can help.
Don’t ignore foul odors; they may indicate a clog or venting issue.
If these quick fixes don’t work, it might be time to consult a professional plumber for deeper problems.
Conclusion
In wrapping up your bathroom floor plumbing project, remember that a little preparation goes a long way. Like laying a solid foundation for a house, your plumbing setup will support everything above it. By avoiding common mistakes and following the right steps, you can guarantee your installation stands the test of time. So roll up your sleeves, keep these tips in mind, and soon you’ll have a bathroom that flows as smoothly as water down the drain!