How to Unclog a Toilet When Nothing Works: 7 Expert Fixes That Really Work
If your toilet is clogged and plunging isn’t working, start by determining whether the blockage is partial or complete through the water level and sounds. Try using hot (not boiling) water, ensuring a proper plunger seal, and adding dish soap. If those methods fail, consider using a flange auger, a wet/dry vacuum, or an enzymatic treatment. You can also try a homemade baking soda and vinegar mix or, as a last resort, remove the toilet for direct access. Always wear safety gear and know when to call a licensed plumber. Further troubleshooting steps are provided below.
How to Quickly Assess a Stubborn Toilet Clog
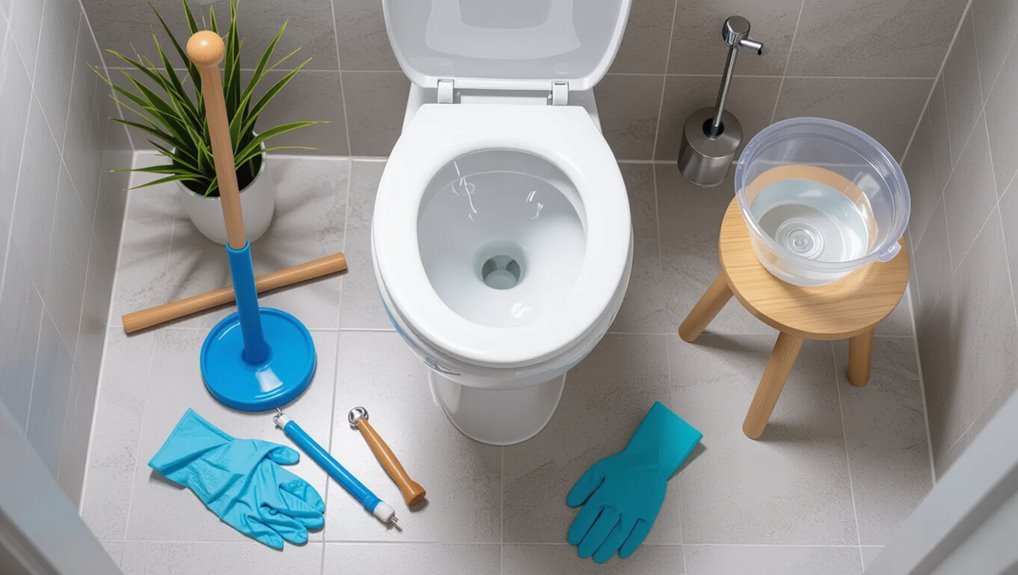
A quick assessment starts by distinguishing a complete clog—water rising to the rim and refusing to drain—from a partial one where flow is slow but ongoing.
Before any intervention, basic safety and hygiene steps should be taken, including wearing gloves, eye protection, and removing pets or children from the area.
Gather essential tools and supplies up front (plunger, auger, disposable towels, bucket, and disinfectant) to avoid delays once work begins.
Signs of a complete versus partial clog
Silence and slow drainage provide the quickest clues: a partial clog will let water trickle down slowly and the bowl level stays near normal, while a complete clog causes rapid rise toward the rim and little or no flow.
Observable signs—gurgling in nearby drains, weak flush performance, persistent high water, or sewage odor—help diagnose severity when learning how to unclog a toilet when nothing works.
Safety and hygiene precautions before you start
Precaution informs every effective response: before attempting to clear a stubborn toilet clog, assess hazards and prepare basic protective gear.
Inspect overflow risk, electrical proximity, and ventilation. Turn off nearby power if water reaches outlets. Limit household traffic and keep children and pets away.
Note chemical residues and avoid mixing cleaners. Plan safe waste disposal and handwashing procedures before beginning work.
Tools and supplies to have on hand
Gather essential tools and supplies before evaluating a stubborn toilet clog to guarantee a quick, safe response.
A prepared kit speeds diagnosis and prevents damage or contamination. Key items include protective gear, basic plungers, and clearance tools for hard blockages.
- Gloves, goggles, disposable towels
- Cup and flange plungers
- Closet auger (toilet snake)
- Bucket, drain cleaner (enzyme-based), flashlight
Fast First-Aid Fixes That Often Work
Quick, targeted measures can often clear a clog before more invasive steps are needed.
Simple remedies include pouring hot (not boiling) water to soften obstructions, using a proper plunging technique to create a tight seal and strong suction, and employing a toilet auger to reach and break up deeper blockages.
If mechanical methods fail, consider enzymatic drain cleaners used according to product instructions and safety warnings, as they act gradually and are safer for pipes than caustic chemicals.
Using hot (not boiling) water to dissolve blockages
Pouring hot (not boiling) water into a clogged toilet can often soften and dislodge common blockages like toilet paper and organic waste by loosening their fibers and breaking surface tension.
Slowly pour a bucket from waist height, allow several minutes for saturation, then flush gently. Repeat once if needed.
Avoid scalding, porcelain shock from boiling water, and chemical interactions with caustic cleaners.
Manual plunging technique for maximum seal and suction
Position the plunger so its flange fits fully into the toilet drain opening, forming a tight seal; then use steady, forceful pushes and pulls from the hips to create strong, controlled suction rather than rapid, shallow thrusts.
Maintain the seal, pause between strokes to let water move, and finish with decisive pulls.
Repeat briefly if needed, avoid lifting the plunger off the hole.
Using a toilet auger to break up deep clogs
Reach for a toilet auger when plunging fails to clear a deep blockage: its long, flexible cable reaches past the trap to break up or hook obstructions without damaging the bowl.
Insert carefully, crank the handle clockwise to advance and rotate the coil, then retract while maintaining tension.
Remove loosened debris with gloves, flush to test flow, and sanitize tools and surfaces afterward.
When to try enzymatic drain cleaners and how to use them safely
If a toilet auger fails to clear organic buildup or recurring slow drains, an enzymatic drain cleaner can be a safe, effective next step for ongoing maintenance or mild clogs.
Choose biological formulas labeled for toilets, follow dilution and dwell-time instructions, avoid mixing with chemical agents, and run only hot (not boiling) water afterward.
Repeat treatments weekly until flow normalizes, then monthly for prevention.
Seven Expert Methods to Unclog a Toilet When Nothing Else Works
When basic fixes fail, the article outlines seven expert methods that target clogs from the bowl to the trapway.
Key techniques to be covered include:
- Flange‑level (closet) auger procedure
- Wet/dry vacuum setup and precautions
- Safe homemade drain cleaner mixes
- Removing the toilet to access the trapway and advanced auger/snake methods
Each method is presented with step‑by‑step guidance and safety notes so readers can choose the appropriate escalation.
Method 1 The flange-level auger (closet auger) step-by-step
Begin by positioning the flange-level (closet) auger so its curved head aligns with the toilet bowl’s outlet; this tool is designed to reach the trap and dislodge blockages without damaging the porcelain.
Crank the handle clockwise while feeding cable gently, feel for resistance, then rotate to break the obstruction.
Retract slowly, flush to confirm clearance, and sanitize the auger and surrounding area afterward.
Method 2 The wet/dry vacuum trick: setup and precautions
A wet/dry vacuum can be an effective last-resort for clearing a stubborn toilet blockage, provided the user follows careful setup and safety precautions to avoid damage or injury.
The vacuum should be fitted with a sewer-safe hose or adapter, use a collection bag, seal connections with towels, start on low suction, avoid electrical contact with water, and wear gloves and eye protection.
Method 3 Homemade drain cleaner mixes that are safe and effective
After attempting a wet/dry vacuum, attention can turn to homemade drain cleaner mixes that use common household ingredients to break down or lubricate clogs without harsh commercial chemicals.
Recommended options include baking soda with vinegar followed by hot water, or dish soap and hot water for greasy blockages.
Allow time to work, ventilate, and avoid mixing with bleach or acidic cleaners to prevent dangerous reactions.
Method 4 Disassembling the trapway: when and how to remove the toilet
When all other methods fail and the clog sits deep in the trapway, removing the toilet provides direct access to clear or inspect the blockage and any internal damage.
A qualified person shuts off water, drains the bowl, disconnects supply, unbolts the base, and lifts the fixture.
Inspect the flange, trapway, and wax ring; clear debris or replace damaged parts before reseating and testing.
Method 5 Snake replacement and advanced auger techniques
With the toilet removed, the obstruction can be inspected, but many stubborn clogs lie farther down the drain or resist simple clearing.
At this stage, a snake replacement or advanced auger technique often provides the reach and control needed to break up or extract blockages without further disassembly.
Use a heavy-duty drain snake or closet auger with rotating head, feed slowly, apply controlled turns, and extract debris carefully to avoid glazing or pipe damage.
Method 6 Hydro jet alternatives for residential toilets
Several practical alternatives to professional hydro-jetting exist for residential toilets, offering high-pressure clearing without the cost or equipment of commercial systems.
Options include hand-held pressure bladders, consumer-grade piston-style jets, and specialized high-flow wet/dry vacuums with proper adapters.
These methods force concentrated water or suction through the trap and short drain runs; precautions prevent bowl damage and sewer splashback.
Method 7 Using plumber’s inspection camera to locate hidden obstructions
After attempting high-pressure alternatives, a plumber’s inspection camera offers a final diagnostic step for stubborn clogs that resist mechanical and pressure methods.
The technician feeds a flexible camera into the drain to identify location, composition, and cause of obstructions—tree roots, collapsed pipe, foreign objects.
Visual evidence guides targeted interventions, prevents unnecessary excavation, and documents required repairs for accurate quoting and insurance claims.
Troubleshooting Specific Clog Causes
Clogs have different origins and respond to different fixes: some are paper-only blockages, others result from foreign objects lodged in the trap.
More serious obstructions stem from tree roots invading sewer lines, municipal blockages or backups, and conditions within the sewer main.
Additionally, chronic slow-drain problems can be caused by low-flow toilets or poor toilet design and require different remedies than single-event clogs.
Paper-only clogs versus foreign-object obstructions
When diagnosing a slow or blocked toilet, distinguishing between paper-only clogs and those caused by foreign objects directs the choice of tools and methods.
Paper-only blockages typically respond to plunging or a drain snake, while foreign-object obstructions often require inspection and careful retrieval to avoid damaging the trap or flush mechanism.
Paper clogs soften and fragment; solid items may necessitate gloves, grabbers, or partial disassembly.
Tree roots, sewer line backups, and municipal issues
Beyond household-level blockages, issues originating in the sewer line or municipal system present a different set of signs and remedies.
Slow drains, multiple fixtures backing up, gurgling, or sewage odors indicate deeper problems.
Tree root intrusion, collapsed pipes, or city main backups require camera inspection, professional root removal or pipe repair, and coordination with municipal utilities for main-line issues and emergency response.
Clogs caused by low-flow toilets or poor toilet design
Low-flow toilets and poorly designed bowls can impede waste and paper clearance, increasing the frequency of blockages. Such fixtures rely on limited water volume and narrow trapways; they may require repeated plunging or augmented flushing.
Solutions include replacing with higher-efficiency models that meet current flush-performance standards, retrofitting with pressure-assisted units, or consulting a plumber to assess trapway geometry and recommend durable, code-compliant replacements.
When to Call a Professional Plumber
If plunging and basic snake attempts fail or signs like sewage backup, persistent gurgling, or multiple slow drains appear, a professional plumber should be called.
The plumber will assess the system, use diagnostic tools such as cameras or pressure tests, and recommend specific repairs or replacements.
Homeowners should choose a licensed, insured plumber with clear estimates and ask about experience, warranties, and expected time to completion.
Red flags that indicate a need for professional help
When should a homeowner stop DIY attempts and call a professional plumber?
Persistent backups after multiple methods, sewage odors, gurgling drains elsewhere, repeated overflows, visible cracks or leaking at the base, and sewage seeping into floors or ceilings are red flags.
If tools can’t clear a blockage, or risks to health and property exist, a licensed plumber should be contacted promptly.
What to expect from a professional diagnosis and repair
A professional plumber will first perform a targeted assessment—asking about symptoms, inspecting the fixture and surrounding areas, and running diagnostic tests such as a camera inspection or pressure check—to identify the blockage location and any underlying systemic issues before recommending a repair plan.
The technician explains findings, outlines repair options, provides cost and timeline estimates, and proceeds with agreed repairs using appropriate tools and permits as needed.
How to choose a plumber and questions to ask
Who should homeowners call when a clog exceeds DIY measures? A licensed plumber with experience in waste lines and sewage is recommended.
Verify license, insurance, and local reviews; request an estimate and ask about inspection methods, expected repairs, warranties, and emergency fees.
Confirm availability, timeline, and cleanup policies. Choosing a transparent, communicative professional minimizes surprises and guarantees proper resolution.
Preventing Future Clogs
To minimize recurring blockages, the article outlines practical toilet habits and clear lists of items that should never be flushed.
It then recommends simple routine maintenance tasks with a sensible schedule to catch issues early.
Finally, it reviews hardware upgrades—low-clog toilet designs, reliable flappers, and inlet filters—that materially reduce clog risk.
Best toilet habits and what not to flush
Several simple habits can greatly reduce the risk of toilet clogs: limiting flushable items to human waste and toilet paper, using only small amounts of toilet paper per flush, and avoiding disposal of wipes, feminine products, cotton swabs, dental floss, paper towels, grease, or large objects.
Users should also teach household members, post a short reminder near the toilet, and bag nonflushing waste for trash.
Routine maintenance tasks and schedule
A simple, consistent maintenance routine prevents most toilet clogs before they start.
Weekly visual checks for leaks, wobbling, and slow drains help spot issues early.
Monthly cleanings with toilet-safe cleaners dissolve buildup.
Quarterly inspection of tank components and valve operation guarantees reliable flushing.
Promptly address minor problems and document dates to maintain a predictable schedule that minimizes emergency clogs and costly repairs.
Upgrades that reduce clog risk (toilets, flappers, filters)
Practical upgrades complement routine maintenance by reducing the likelihood of future clogs and extending system reliability.
Replace low-flow or old toilets with modern, pressure-assisted or high-efficiency models. Install durable, correctly sized flappers and adjustable flush valves to guarantee complete flushes.
Add hair and debris filters on shower and sink drains to prevent solids entering the sewer line, and consider a macerator for problematic fixtures.
Cost and Time Estimates for Each Fix
A concise comparison of likely costs, time requirements, and success rates for common unclogging methods helps readers choose the appropriate fix. Below is a brief summary table to frame those expectations. The following sections quantify estimated materials, typical time to complete, and probable success for each method.
| Item | Estimate |
|---|---|
| Plunger | $0–$20; 5–15 minutes; high success for simple clogs |
| Auger/Snake | $10–$60; 10–30 minutes; moderate–high success for deeper clogs |
Estimated materials, time required, and likely success rate
Choosing the right method to unclog a toilet depends on available materials, the time one can spare, and the probability that the attempt will resolve the issue without professional help.
Simple plungers: $5–20, 10–20 minutes, 60–80% success.
Toilet auger: $20–50, 15–30 minutes, 70–90%.
Chemical cleaners: $5–15, 30–60 minutes, 30–50%.
Professional service: $100–300, 30–90 minutes, 95%+.
Practical Safety Tips and Cleanup After Unclogging
After the clog is cleared, attention turns to sanitization and proper disposal of contaminated materials to prevent germs and odors.
Disposable gloves, disinfectant, and sealed bags are recommended for handling waste and cleaning affected surfaces.
Care should be taken to protect bathroom finishes and seals by using soft tools and avoiding harsh chemicals or abrasive scrubbing that could damage fixtures.
Sanitization steps and proper disposal of waste
Once the clog is cleared, attention turns to sanitization and handling of contaminated materials to prevent illness and lingering odors.
Gloves and mask stay on; contaminated paper, solids, and disposable tools go into sealed plastic bags.
Clean surfaces with disinfectant rated for bacteria and viruses, scrub the bowl and surrounding floor, launder affected textiles in hot water, and ventilate until odors dissipate.
Dispose of waste per local regulations.
Protecting your bathroom finishes and seals during repair
Several simple precautions can preserve bathroom finishes and seals while repairs are underway.
Protect surfaces with absorbent towels or plastic sheeting; tape edges to prevent movement.
Use nonabrasive cloths and mild cleaners after work to avoid degrading caulk or finishes.
Avoid harsh chemicals near rubber seals; rinse tools before contact.
Inspect seals and re-caulk small gaps promptly to prevent water damage and mold.
Real-Life Case Examples and Quick Solutions
Real-life clog scenarios are presented with the fastest proven fix for each, from simple bowl blockages to stubborn sewer-line backups.
A concise quick-reference flowchart guides readers through decision points—assess water level, select the appropriate tool or chemical, and escalate to a plumber if necessary.
These examples and the chart together help users resolve most issues safely and efficiently.
Common scenarios and the fastest proven fix for each
Identify the likely cause quickly—partial blockage, solid clog, venting issue, or a mechanical failure—and match it to the fastest proven fix for that scenario.
Partial blockages respond to a flange or standard plunger; solid clogs require a closet auger or manual removal; venting issues need roof vent clearing or water test confirmation; mechanical failures call for flapper, chain, or fill-valve replacement.
Short quick-reference flowchart for decision-making
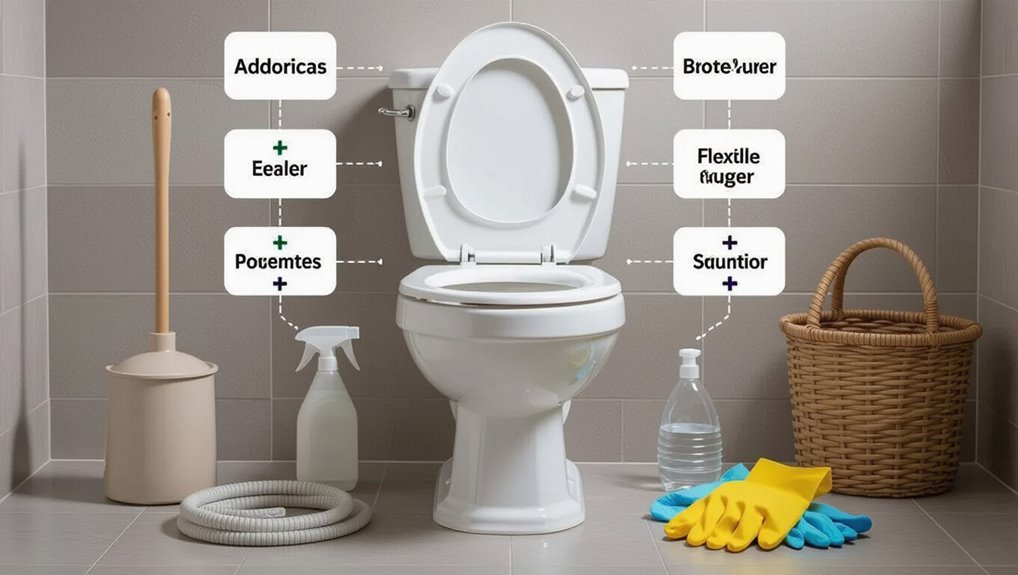
Use the flowchart to quickly match symptoms to fixes:
Overflowing or slow drain suggests a partial blockage (try a flange or standard plunger).
Repeated full stoppages with standing water indicates a solid clog (use a closet auger or manual removal).
Weak or gurgling flush points to venting issues (inspect/clear the roof vent and perform a water test).
Inconsistent tank behavior signals mechanical failure (replace flapper, chain, or fill valve).
Follow decision nodes: symptom → tool → escalation (snakes, snake extension, manual removal, professional).
Conclusion
After trying every hopeful trick, the toilet remains a monument to human optimism; one imagines it chuckling privately. The homeowner, armed with plungers, wire coat hangers, and an encyclopedic knowledge of YouTube tutorials, concedes that stubborn clogs have a stubbornness all their own. Yet relief arrives—sometimes in the form of a professional, sometimes in mundane success—and life resumes. The toilet’s silence is less victory than temporary truce, predictably fragile.