How to Change a Toilet Fill Valve in 15 Minutes: Step-by-Step DIY Guide
You can replace a toilet fill valve in about 15 minutes. Start by shutting off the water supply and draining the tank. Disconnect the supply line, then remove the old valve from beneath the tank. Install the new valve, ensuring the gasket is properly seated, and tighten the locknut to the correct height. Reconnect the supply line, turn the water back on, and check for leaks while adjusting the float. For detailed steps and troubleshooting tips, continue reading.
What You’ll Achieve in 15 Minutes: Quick Overview
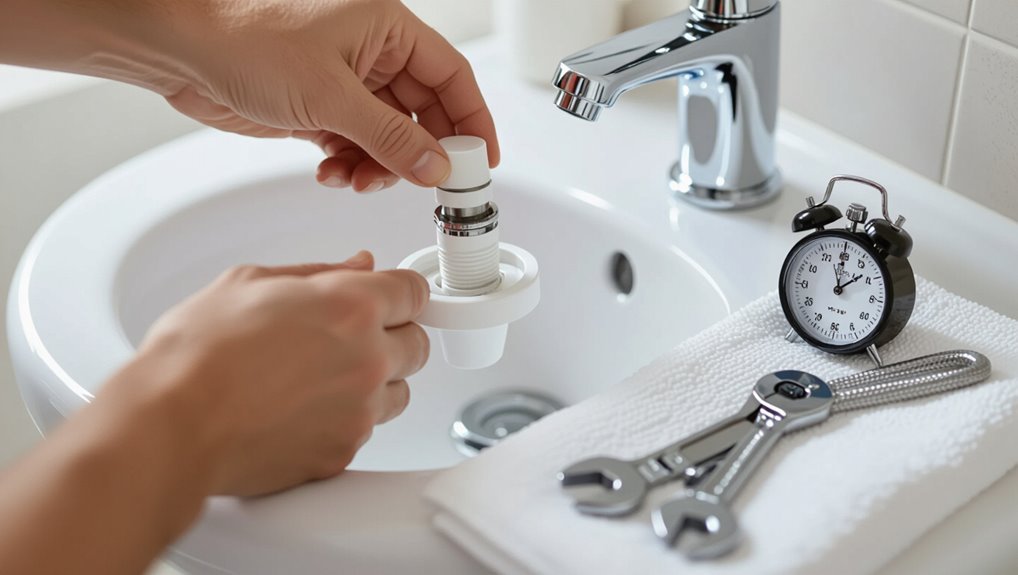
In roughly 15 minutes, the reader can replace a worn fill valve and restore proper tank refilling and flushing.
This task is suitable for those comfortable with basic plumbing and willing to shut off the water and work under the tank lid.
A simple tools-and-materials checklist—adjustable wrench, sponge, replacement fill valve, and Teflon tape—is recommended before starting.
Simple outcome and when to attempt this DIY
A straightforward fill valve replacement restores reliable tank refill and stops most common leaks without changing the toilet bowl or flush mechanism.
The homeowner learns how to change a fill valve on toilet quickly: shut water, drain, swap valve, test.
Ideal for visible leaks, slow filling, or noisy refills.
Attempt when comfortable with basic tools and shutting off supply; avoid if unsure.
Tools and materials checklist
Following the quick shut-off, drain, and swap overview, the next step lists the specific tools and materials needed to complete a fill valve replacement in about 15 minutes.
Essential items guarantee a smooth, fast job and prevent trips to the store.
- Adjustable wrench
- New fill valve kit (with gasket and refill tube)
- Sponge or small towel
- Bucket for water and parts
How to Identify a Faulty Toilet Fill Valve
Signs of a failing fill valve include continuous running, slow or incomplete tank refill, and loud or irregular noises during refilling.
Simple checks—such as lifting the float to see if flow stops and briefly shutting off the water supply to observe whether leaks persist—can confirm the valve as the source.
These quick observations guide whether replacement is necessary.
Common signs and symptoms of a bad fill valve
Persistent or unusual toilet behavior often points to a failing fill valve, and recognizing the common signs makes timely repair more likely.
Typical symptoms include slow or no refill, constant running, noisy refilling, or water level issues.
Watch for:
- Continuous tank water loss
- Hissing or whistling during refill
- Overfilling or low water line
- Intermittent refilling cycles
Quick tests to confirm the fill valve is the problem
Run a few simple tests to isolate the fill valve as the source of toilet troubles before replacing parts.
Observe tank fill: time how long refilling takes and listen for hissing.
Lift the float to stop flow; if water keeps running, valve is faulty.
Deposit food coloring in tank; persistent color in bowl after ten minutes indicates a flapper leak, not the fill valve.
Types of Toilet Fill Valves and Which One to Buy
The article compares common fill valve types—standard float-cup, traditional float-ball, and pressure-assisted—outlining their pros and cons for performance and noise.
It explains how to match a replacement to a toilet’s model, bowl height, and water supply constraints.
Key recommended features for faster installation, such as adjustable height, tool-free fittings, and universal adapters, are highlighted.
Standard float-cup vs. float-ball vs. pressure-assisted
Compare three common fill-valve designs—float-cup, float-ball, and pressure-assisted—by how they control refill speed, noise, reliability, and installation complexity. Float-cup is compact, quieter, moderately reliable, and easy to install. Float-ball is simple, quieter but bulky, and very easy. Pressure-assisted is loud, fast, highly reliable, and harder to fit.
| Type | Noise | Installation |
|---|---|---|
| Float-cup | Low | Easy |
| Float-ball | Low | Very Easy |
| Pressure-assisted | High | Moderate to Hard |
How to choose the right replacement for your toilet model
Which fill valve matches a toilet depends on bowl design, tank height, and user priorities like noise, durability, and budget.
Select valves labeled compatible with tank depth and flush type (gravity, pressure).
Choose plastic or brass for durability; quiet models for low-noise needs.
Confirm inlet size and mounting style match existing hardware.
Prefer adjustable-height valves for broader compatibility and future replacements.
Recommended features to speed up installation
After selecting a valve that fits the tank and meets durability and noise preferences, attention turns to features that make installation faster and less fiddly.
Consider quick-adjust height, push-fit connectors, tool-free locknuts, and clear markings for alignment. These reduce time and mistakes, especially for DIYers aiming to finish within the 15-minute target.
- Quick-adjust height
- Push-fit connectors
- Tool-free locknuts
- Clear alignment markings
Safety and Prep Steps Before You Start
Before beginning, the water supply should be turned off at the shutoff valve and the tank flushed to remove remaining water.
Protective coverings or towels should be placed around the base to catch spills and protect the floor.
If the shutoff valve is stuck, the plumbing is corroded, or the homeowner is unsure about the procedure, a qualified plumber should be contacted.
How to shut off water and clear the tank quickly
One clear step before any work on a toilet is to shut off its water supply and drain the tank to prevent spills and accidental flushing.
Locate the shutoff valve behind the toilet, turn it clockwise until tight.
Flush to empty the tank; hold the handle down to remove remaining water.
Use a sponge or small cup to soak up residual water before starting.
Protecting the floor and preventing spills
A waterproof drop cloth or old towels should be spread around the toilet base and under the tank to protect flooring from drips and accidental spills.
The installer should also keep tools and a bucket handy, remove rugs, and wipe up moisture promptly.
- Place a small bucket for draining tank water
- Lay towels on nearby carpets
- Keep tools organized
- Use gloves for grip and cleanliness
When to call a professional instead
If the homeowner encounters signs of complex plumbing—persistent leaks, corroded or cracked tank components, unusual noises in the supply line, or water pressure that fluctuates wildly—calling a licensed plumber is advisable.
A professional should also be called if the shutoff valve fails, connections are seized, prior repairs are amateurish, or the fixture is antique or poorly documented; these situations risk water damage and require expertise.
Step-by-Step 15-Minute Fill Valve Replacement
The procedure that follows outlines a focused, 15-minute sequence for replacing a toilet fill valve.
It begins by shutting off the water and flushing the tank, then disconnecting the supply line and removing the old valve.
The new valve is installed and height-adjusted before reconnecting the supply and checking carefully for leaks.
Step 1 Turn off water and flush the tank
Shut off the water supply at the shutoff valve located on the wall or floor behind the toilet, then flush to empty the tank and hold the handle down until most water drains.
Inspect remaining water level and use a sponge or small cup to remove residual water.
Place towels around the base to catch spills.
Verify the valve is fully closed before proceeding.
Step 2 Disconnect the water supply line
Loosen the coupling nut that connects the supply line to the fill valve using an adjustable wrench or channel-lock pliers, turning counterclockwise until the nut can be removed by hand.
Hold the valve body to prevent twisting, then disconnect the flexible supply line.
Catch residual water with a towel or small bucket.
Inspect the line and threads for damage; set the line aside for reuse or replacement.
Step 3 Remove the old fill valve
With the water supply line detached and the tank drained, remove the old fill valve by turning the locknut beneath the tank counterclockwise with an adjustable wrench until it disengages.
Lift the valve assembly straight up through the tank hole to avoid catching the refill tube or float.
Inspect the tank gasket and seating area, clear mineral buildup, and remove any remaining debris before preparing for the replacement.
Step 4 Install the new fill valve and adjust height
Position the new fill valve into the tank opening, seating its rubber gasket firmly against the underside to guarantee a watertight seal.
Secure the locknut from below by hand, then tighten with a wrench about a quarter turn—avoid overtightening.
Adjust the valve stem so the critical mark aligns with the waterline specified by the manufacturer, and reattach the refill tube to the overflow.
Step 5 Reconnect the water supply and check for leaks
Turn the shutoff valve counterclockwise to restore water flow to the tank, then allow the fill valve to cycle until the water reaches the adjusted fill line.
Inspect the supply connection and tank flange for visible drips. Gently tighten the supply nut if a slow leak appears, then dry with a paper towel and recheck after a full refill.
Confirm no leaks before proceeding.
Step 6 Adjust fill level and test flush performance
Adjust the fill height so the tank stops filling at the manufacturer’s marked waterline or about 1 inch below the overflow tube.
Then flush and observe refill, fine-tune the adjustment screw or clip, and verify no continuous flow into the overflow.
- Confirm refill stops at line
- Guarantee flapper seals during flush
- Listen for slow leaks
- Recheck after several flushes
Time-saving hacks to keep each step under control
With the fill height verified and the tank refilling correctly, attention shifts to speeding through the remaining tasks without sacrificing reliability.
Gather tools and replacement parts beforehand, keep a towel ready for spills, and use a basin to catch water.
Use quick-turn connectors, pre-adjust the float, and test twice.
Work methodically, avoiding distractions to finish efficiently and confidently.
Common Problems During Replacement and Quick Fixes
The section outlines typical issues encountered during a fill valve replacement and practical remedies.
It covers stopping leaks at the tank base or supply connection, diagnosing a new valve that fails to shut off, and quieting a noisy replacement.
Each problem includes quick troubleshooting steps and simple fixes.
Leaks at the base or supply connection and how to stop them
Inspecting the base and supply connection early prevents small drips from becoming larger leaks during a fill valve replacement.
Tighten the supply nut hand-tight plus a quarter turn; replace a warped or cracked washer.
Check the base flange gasket and tighten mounting nuts evenly.
If corrosion or damage exists, replace the supply line or flange gasket.
Retest for leaks before finishing.
New fill valve not shutting off troubleshooting steps
After verifying the supply connection and base are sound, attention turns to a common post-install issue: a new fill valve that refuses to shut off.
First, check float height and adjust per manufacturer specs.
Inspect the refill tube placement and inlet seal for debris.
Tighten the nut gently, test for continuous flow, and replace the valve cartridge or entire unit if closing remains incomplete.
Noisy fill valve after replacement and remedies
A newly installed fill valve that emits whines, clicks, or continuous vibration can signal several straightforward issues: high water pressure, mineral buildup in the valve or inlet screen, a loosely seated refill tube, or a mismatched valve type for the tank.
Remedies include lowering supply pressure, cleaning or replacing the valve seat and screen, securing or trimming the refill tube, and swapping to a compatible, quieter valve model.
Post-Installation Checks and Maintenance
After installation, the water level and float should be fine-tuned to guarantee proper shutoff and prevent overflow.
Routine maintenance—such as checking for mineral buildup, testing the refill operation, and inspecting seals—will extend the valve’s service life.
If problems recur frequently or parts show significant wear, replacement is recommended over repeated repairs.
How to fine-tune water level and float adjustment
Begin by confirming the tank fills to the manufacturer’s recommended water line, since correct water level secures proper flush performance and prevents overflow.
Adjust the float: turn the adjustment screw or slide the clip on the float rod to raise or lower water.
Cycle the fill several times, watching refill cutoff and overflow tube height.
Recheck for leaks and guarantee stable shutoff.
Routine maintenance tips to extend valve life
Inspect the new fill valve regularly to catch small issues before they escalate: check for slow leaks at fittings, listen for hissing that indicates a partial seal, and verify the refill stops cleanly at the recommended waterline.
Flush occasionally to clear mineral buildup.
Clean the valve seat and inlet screen.
Tighten fittings if slight seepage appears.
Replace worn washers and seals promptly.
When to replace versus repair again
When recurring symptoms persist despite routine upkeep—such as intermittent hissing, slow refilling, or frequent adjustments—it’s time to weigh repair against full replacement.
Minor issues like clogged inlet screens or worn seals can usually be fixed quickly, whereas repeated malfunctions, visible corrosion, or parts no longer sealing reliably indicate replacement is the wiser, longer-term choice.
Evaluate cost, part availability, and valve age; choose replacement if downtime or repeated repairs exceed replacement cost.
Cost, Warranty, and Parts Compatibility
Typical costs include the replacement valve, basic tools, and any extra seals or connectors, with most DIY jobs remaining inexpensive.
Warranty terms vary by manufacturer, so the buyer should check coverage length and what components are excluded.
Compatibility with existing toilet models and supply lines should be confirmed before purchase to avoid returns or additional parts.
Typical cost breakdown: valve, tools, and parts
A basic cost breakdown for replacing a toilet fill valve includes the price of the valve itself, any additional parts required for compatibility, and the tools needed for installation. Typical costs vary: valves $10–40, seals and adapters $2–10, basic tools $0–30 (often already owned). Compare part compatibility and shop prices before buying.
| Item | Typical Price | Notes |
|---|---|---|
| Valve | $10–40 | Standard or adjustable |
| Seals/Adapters | $2–10 | Size/brand dependent |
| Tools | $0–30 | Wrench, pliers, screwdriver |
Warranty expectations and what to inspect on new valves
Several manufacturers offer limited warranties on toilet fill valves, usually covering defects in materials and workmanship for one to five years.
Buyers should verify warranty length, registration requirements, and proof-of-purchase terms.
Inspect new valves for cracks, smooth valve movement, correct seal type, and secure fittings.
Confirm compatibility with toilet model and supply line size.
Retain packaging and documentation for claims.
Helpful Tips to Make Replacement Faster and Easier
A brief checklist can speed the job: pre-assemble compatible components, clear and organize the workspace, and number parts as they are removed.
Noting common installer mistakes—overtightening fittings, misaligning the refill tube, and skipping seals—prevents rework. Following these simple steps reduces time and errors during replacement.
Pre-assembly, workspace setup, and numbering parts
Before starting the replacement, prepare a clean, well-lit workspace with tools, a bucket, towels, and the new fill valve within easy reach to reduce trips and interruptions.
Organize parts, pre-assemble obvious subcomponents, and number pieces with tape to speed reassembly.
- Label inlet nut, shank, seal, and refill tube
- Lay parts in assembly order
- Keep fasteners together
- Test-fit components
Common installer mistakes to avoid
Avoid common installer mistakes to prevent leaks, wasted time, and repeated work: verify the shut-off valve is fully closed and the tank drained.
Tighten the inlet nut snugly but not over-torqued. Seat the rubber seal evenly, and route the refill tube above the overflow without kinks.
- Cross-threading the inlet nut
- Reusing a warped seal
- Leaving the refill tube submerged
- Ignoring slow leaks after testing
Visual Guide and Reference Diagrams
The section presents clear diagrams identifying key parts of a fill valve and basic tank anatomy to orient the reader.
It then shows illustrations for proper height adjustment and marks indicating the correct water level.
These visuals serve as quick reference points during the replacement process.
Key parts of a fill valve and tank anatomy
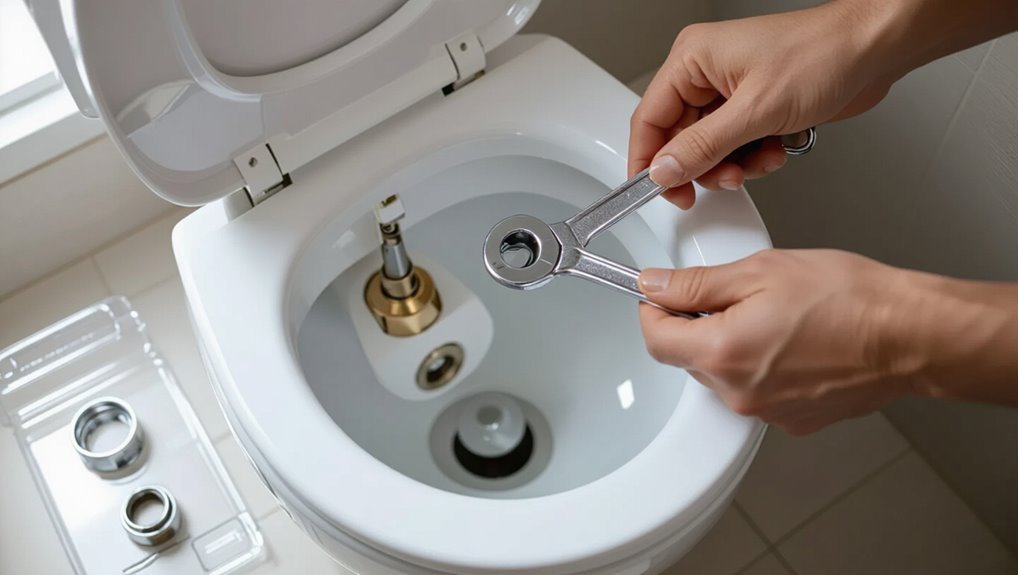
A clear diagram helps identify each component inside a toilet tank and how they interact during a flush cycle.
The diagram labels the fill valve (inlet assembly), float mechanism, refill tube, overflow tube, flush valve (flapper), flapper seat, flush lever and chain, and tank-to-bowl gasket.
Understanding placement and connections aids diagnosis, replacement, and proper reassembly without referencing height-adjustment marks.
Diagrams for height adjustment and water level marking
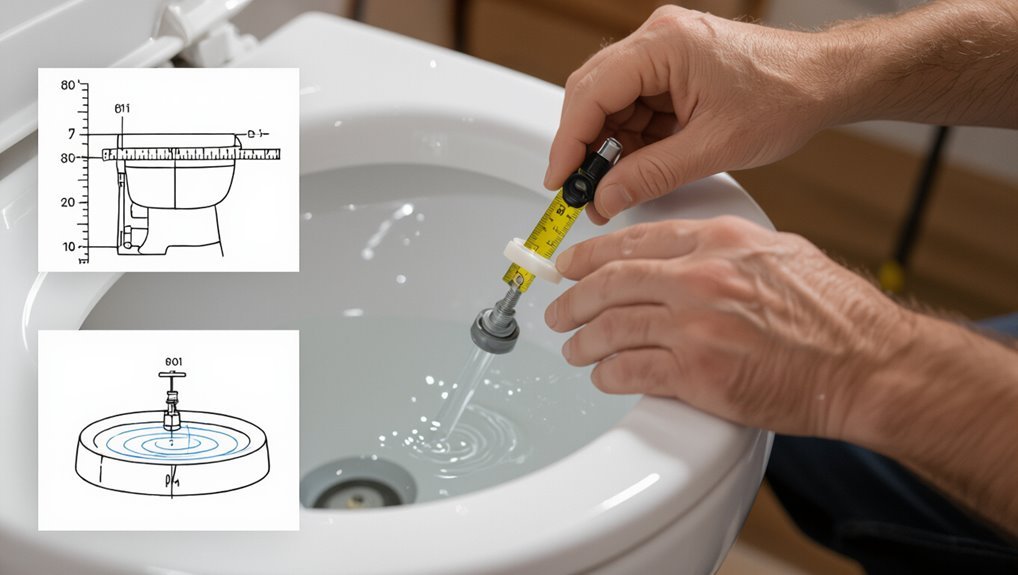
Following the tank anatomy overview, clear diagrams that show fill-valve height settings and the corresponding water-level marks help visualize where adjustments must be made.
Simple side-view illustrations compare recommended heights for different valve models, indicate the refill tube outlet position, and mark the ideal water line relative to the overflow tube.
Include labeled measurements, adjustment steps, and a legend for quick reference.
Conclusion
In just fifteen minutes, the homeowner finishes replacing the fill valve and discovers—by coincidence—that the new valve fits the old tank’s unexpected second inlet exactly, saving another trip to the store. The repair runs smoothly because the right parts and simple steps were chosen, and routine checks prevent future leaks. With basic tools, a bit of patience, and the quick guide followed here, reliable flush performance is restored and confidence in DIY upkeep grows.