How to Operate Pool Pump Valves: A Step-by-Step Guide for Proper Flow and Maintenance
To operate pool pump valves effectively, follow these key steps: First, ensure you power down the pump before making any adjustments. Identify the types of valves in your system—such as multiport, three-way, two-way, ball, and gate. For normal filtration, open the skimmer and main drain valves. When backwashing, set the multiport valve to BACKWASH, then RINSE before returning to FILTER. Remember to isolate heaters or chlorinators using dedicated valves during maintenance. Regularly inspect seals, lubricate O-rings, and document valve positions for efficient operation. This guide provides detailed steps for adjustments and troubleshooting to maintain optimal water circulation and quality.
Overview of Pool Pump Valve Operation
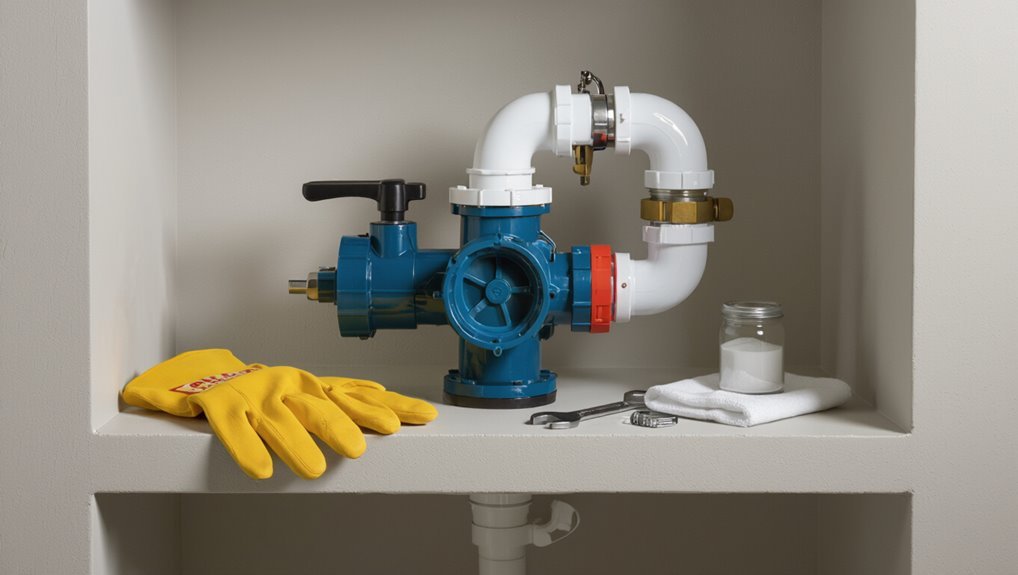
Proper valve operation guarantees consistent circulation, protects equipment from strain, and extends component lifespan.
The main components affecting flow and pressure include the pump, filter, valves, skimmer, return lines, heater, and chlorinator.
Understanding how each part interacts with valve settings is essential for reliable, efficient pool operation.
Why proper valve operation matters for pool circulation and equipment lifespan
Effective valve operation directly influences water flow patterns, pressure balance, and the overall health of pool equipment.
Proper adjustments guarantee efficient filtration, prevent pump cavitation, and reduce strain on heaters and sanitizers.
Operators learning how to operate pool pump valves maintain consistent turnover, minimize energy use, and extend component lifespan by avoiding backpressure, debris buildup, and uneven circulation that accelerate wear and failures.
Basic components involved: pump, filter, valves, skimmer, return, heater, chlorinator
A pool’s circulation system centers on a handful of components—pump, filter, valves, skimmer, return, heater, and chlorinator—each playing a distinct role in moving, cleaning, heating, and sanitizing water.
The pump drives flow; valves direct it; the skimmer removes surface debris; the filter traps particles; returns restore water; the heater adjusts temperature; the chlorinator maintains sanitizer levels.
Proper coordination prevents damage.
Types of Pool Valves and Their Functions
The section outlines common pool valve types and their primary functions.
It covers multiport valve positions and uses, the role of three-way and two-way valves in directing flow, and when to choose ball versus gate valves.
It also explains check valves and backflow preventers for protecting equipment.
Multiport valve: positions and uses
Many pool systems rely on a multiport valve to direct water flow through different pathways without manual reconfiguration of plumbing.
It centralizes frequent operations into labeled settings used during routine maintenance and seasonal tasks.
- Filter: normal circulation through media
- Backwash: reverse flow to clean media
- Rinse: settle media after backwash
- Waste: bypass filter for draining
- Closed: stops flow for servicing
Three-way and two-way valves: flow direction and common setups
Three-way and two-way valves control whether water is routed between multiple paths or simply opened and closed, respectively, and are commonly used to direct flow to heaters, cleaners, and auxiliary returns.
Three-way valves switch flow between two outlets or blend flows; two-way valves isolate or allow flow.
Proper orientation, clear labeling, and periodic checks prevent cross-flow, pressure loss, and equipment damage.
Ball valves and gate valves: when to use each
Choose ball valves when quick, reliable shutoff and frequent operation are required; opt for gate valves where a straight, unobstructed flow and minimal pressure drop matter and the valve will remain mostly static.
Ball valves suit routine isolation, are compact, and tolerate frequent cycling.
Gate valves fit mainlines, deliver low-resistance flow, and are better for long-term positioning but are slower and more maintenance-sensitive.
Check valves and backflow preventers: protecting equipment
After explaining when ball and gate valves are appropriate, attention turns to valves that protect equipment by preventing reverse flow.
Check valves permit one-way flow, closing automatically when the pump stops to avoid drainback and loss of prime.
Backflow preventers stop contaminants from entering the pool supply during pressure reversals.
Regular inspection and timely replacement guarantee reliable protection and prevent costly damage.
Safety Precautions Before Adjusting Valves
Before adjusting any pool pump valves, the operator powers down the pump and shuts off associated equipment to prevent accidental startup.
They then release system pressure and apply locks or tags to secure components during work.
Appropriate personal protective equipment is worn and chemical handling precautions are observed to avoid exposure.
Powering down the pump and shutting off equipment
Power down the pump and isolate power at the circuit breaker or disconnect switch to prevent accidental startup while valves are adjusted.
Verify motor is stopped and wait for moving parts to cease.
Close manual service valves to isolate connected equipment.
Turn off auxiliary systems (heaters, chlorinators) to avoid unintended activation.
Confirm power indicator is off before beginning valve work.
Releasing pressure and using locks/tags
Release trapped pressure slowly and verify system depressurization before touching valve hardware.
Confirm gauges read zero and open air bleeds or purge points gradually to avoid sudden flow.
Apply lockout/tagout devices to electrical panels and pump switches, and attach visible tags indicating work in progress.
Only proceed when locks are secure and communication with facility personnel confirms isolation.
Personal protective equipment and chemical safety
After confirming system depressurization and lockout/tagout, personnel should equip appropriate personal protective equipment (PPE) and follow chemical safety protocols prior to touching valve hardware.
Gloves resistant to pool chemicals, splash goggles, and aprons protect against corrosive reagents.
Verify local ventilation and have spill kits, neutralizers, and eyewash/shower access.
Review SDS for stored chemicals and avoid mixing incompatible substances near valves.
Step-by-Step Guide to Adjusting Common Valve Configurations
The following instructions outline precise valve positions for common pool tasks, including normal filtration, backwashing and rinsing for sand or DE filters, and returning to filtration afterward.
It also covers safely bypassing the heater or chlorinator and isolating lines or equipment for maintenance or winterization.
Each procedure lists the necessary valve adjustments and sequence to minimize pressure spikes and prevent water loss.
How to set valves for normal filtration (daily operation)
When operating a pool for routine filtration, valves should be positioned to route all water through the skimmer(s) and main drain, through the pump, then through the filter and heater (if installed), before returning it to the pool; this configuration maximizes debris removal and maintains circulation.
- Open skimmer and main drain valves
- Set pump suction fully on
- Direct flow through filter and heater
- Close waste/drain ports
- Return valves set to evenly distribute flow
How to set valves for backwashing a sand or DE filter
Begin by shutting off the pump to prevent motor damage and to allow safe valve adjustments; this pause guarantees pressure equalization and reduces risk of injury.
For sand or DE filters, set the multiport or valve to BACKWASH, open waste/return lines as required, restart pump, monitor clarity in sight glass, run until rinse-water clears, then shut pump before changing valve position.
How to set valves for rinsing and returning to filtration
After backwashing, allow the system to sit briefly with the pump off to equalize pressure.
Then set the multiport or DE valve to RINSE to flush settled debris into the waste line.
Run the pump for 15–30 seconds, monitoring waste clarity and pressure.
Return the valve to FILTER, restart the pump, observe normal pressure and flow, and verify clear return lines before leaving system unattended.
How to bypass the heater or chlorinator safely
To bypass the heater or chlorinator safely, first identify the plumbing layout and the device’s isolation valves so flow can be rerouted without opening the system to air or creating backflow.
Close inlet and outlet isolation valves, open the bypass or union connecting lines, and confirm seals.
Restart circulation slowly, monitor pressure and temperature, then check for leaks before leaving unattended.
How to isolate equipment for maintenance or winterization
Isolating pool equipment for maintenance or winterization requires systematically closing and tagging the correct valves, draining trapped water, and relieving pressure to prevent damage or contamination.
The technician closes supply and return valves to each component, opens bleeds and drain plugs, locks or tags valves, and powers down electricals.
After draining, verify isolation integrity, apply antifreeze where needed, and document settings for reassembly.
Troubleshooting Flow Issues Related to Valves
The section outlines common valve-related flow problems and practical checks to resolve them.
It covers low flow and suction issues with valve inspections and adjustments, methods for eliminating air by correct valve positioning, and how valve faults can cause loud hammering noises.
It also explains using return and skimmer balancing to correct uneven returns and poor skimming.
Low flow or suction problems: valve checks and fixes
Diagnose low flow or suction issues by systematically inspecting valves and their settings, since improperly positioned, partially closed, or faulty valves are a common cause of reduced circulation.
Check skimmer, main drain, and return valve positions; guarantee actuators and handles fully engage.
Clean or replace clogged valve internals, tighten leaks, and bypass stuck multiport functions.
Re-test flow and document adjustments for future reference.
Air in the system: valve positions to eliminate air
Check valve positions and seal integrity to remove air pockets that cause sputtering, loss of prime, or noisy operation.
Inspect skimmer, suction and multiport valves for partial closure or misalignment.
Tighten O-rings, replace cracked lids and gasketed unions.
Open bleeder or purge valves slowly while running pump to expel trapped air.
Recheck pressure and adjust valve balance for steady, bubble-free flow.
Loud or hammering sounds: identifying valve-caused causes
When valves are mispositioned, worn, or partially blocked, they can produce loud banging or hammering noises as pressure surges and water flow is abruptly altered.
Identifying valve-caused sources requires inspecting multiport, ball, and gate valves for rapid closures, loose fittings, or trapped air that create transient pressure spikes and reverberation through the plumbing.
Check valve handles, seats, and retainer clips, tighten fittings, and relieve air pockets.
Uneven returns or poor skimming performance: balancing valves
Loud or hammering noises often point technicians to valve wear or sudden closures, but similar valve issues can cause more subtle problems like uneven return flow or poor skimming.
Technicians should inspect return and skimmer valves for partial closures, blockages, or misadjustment.
Balance flow by adjusting return valves, cleaning fittings, and ensuring equal line pressure.
Recheck skimmer suction and redistribute returns as needed.
Maintenance and Care for Valves
A simple maintenance routine prevents many valve failures and prolongs equipment life.
Inspections should note leaks, stiffness, and wear while routine tasks include cleaning ports, lubricating and replacing O-rings and gaskets, and evaluating whether a valve can be repaired or needs replacement.
Before cold weather, valves should be drained, protected from freezing, or removed as appropriate to avoid freeze damage.
Regular inspection schedule and what to look for
Although valves are built for frequent use, a consistent inspection schedule prevents small issues from becoming costly failures.
Technicians should inspect weekly, monthly, and seasonally, checking for wear, leaks, alignment, pressure anomalies, and secure fittings.
- Visual cracks or corrosion
- Drips or pooling
- Unusual noises during operation
- Difficulty turning handles
- Pressure gauge deviations
Cleaning, lubricating, and replacing O-rings and gaskets
Begin by removing and inspecting O-rings and gaskets on a scheduled basis to guarantee seals remain intact and functional.
Clean parts with mild detergent and water, rinse thoroughly, and dry.
Apply a silicone-based lubricant sparingly to prevent drying and pinching.
Replace any cracked, flattened, or deformed seals with equal-sized OEM or compatible parts.
Reassemble carefully, testing for leaks and proper operation.
When to replace a valve versus repair
Several clear indicators guide whether a valve should be repaired or replaced. Minor leaks, worn O-rings, or stiff handles often warrant repair or part replacement.
Cracks in the body, extensive corrosion, persistent leaks after service, or irreparable internal damage require replacement.
Consider age, cost of parts versus new valve, and safety; prioritize long-term reliability over repeated temporary fixes.
Winterizing valves and protecting from freeze damage
Preparedness is essential when temperatures drop: proper winterizing of pool valves prevents freeze damage that can crack bodies, split seals, and ruin internal components.
Drain water from valve housings, remove or loosen multiport handles, and store delicate components indoors.
Apply non-toxic antifreeze where recommended and insulate exposed piping and valves with foam covers.
Inspect for leaks before reopening in spring.
Optimizing Flow and Energy Efficiency Through Valve Settings
Adjusting valves alters flow resistance and directly influences pump load and runtime, so small changes can yield measurable energy differences.
Practical valve settings balance reduced flow with sufficient turnover to preserve water clarity and chemical distribution.
When used alongside variable-speed pumps, coordinated valve management can maximize efficiency by matching flow rates to specific tasks.
How valve adjustments affect pump load and runtime
Changing valve positions directly alters the resistance the pump must overcome, which in turn shifts motor load and runtime.
Small closures increase head pressure, raising amperage and shortening effective lifespan if sustained.
Opening returns reduce load but may compromise desired flow patterns.
Operators should monitor pressure, amperage, and cycle duration after adjustments to balance performance and mechanical stress without overtaxing the system.
Best practices to reduce energy use while maintaining water quality
After observing how valve positions influence pump load and runtime, operators can focus valve settings to minimize energy consumption while preserving circulation and treatment effectiveness.
Balance skimmer, main, and return valves to avoid excessive head and guarantee uniform turnover.
Use partial closures to route flow only where needed, maintain correct flow for filters and heaters, and monitor chemical contact times to protect water quality.
Integrating variable-speed pumps with valve management
Combine variable-speed pump control with deliberate valve positioning to match hydraulic demand and minimize energy use without compromising turnover or treatment.
The operator adjusts pump RPM and trims return, suction, and heater bypass valves to balance flow, maintain required turnover, and preserve filter efficiency.
Scheduled low-speed runs for circulation and high-speed for cleaning or heating, combined with calibrated valves, yield maximum energy savings and system longevity.
Common Mistakes and How to Avoid Them
Common errors include leaving valves in the wrong position during backwash or maintenance, which can hamper cleaning or damage equipment.
Forcing stuck valves often leads to broken handles or internal seals.
Failing to relieve pressure before changing settings risks sudden surges and injury.
Incorrect valve positions during backwash or service
Mispositioned valves during backwash or maintenance can shut off flow, send water the wrong way, or damage equipment, so operators must recognize and prevent these errors.
Technicians should confirm valve charts, tag positions before work, and use checklists to restore original settings.
Visual indicators and slow, sequential adjustments reduce misrouting.
Regular training and clear labeling minimize human error and service interruptions.
Forcing stuck valves and causing damage
Forcing a stuck valve can shear stems, strip threads, crack bodies, or jar seals—damage that often leads to leaks, downtime, and costly replacements.
Operators should stop when a valve resists, inspect for debris, corrosion, or seized fasteners, apply penetrating lubricant, and use appropriate tools with controlled force.
If movement remains stuck, consult a technician to avoid worsening internal damage.
Neglecting pressure relief before switching positions
Failing to relieve system pressure before changing a valve position can trigger sudden surges of water or air that damage seals, fittings, and gauges and pose a safety hazard to the operator.
Operators should always shut the pump off, open pressure-relief or air-release valves, and wait for gauges to settle. This prevents equipment failure and reduces injury risk while ensuring proper valve alignment.
Quick Reference Valve Position Cheat-Sheet
A concise cheat-sheet helps operators match common pool system scenarios to the correct valve settings without hesitation. The table below summarizes five typical situations and the recommended valve positions for skimmers, main drains, and return lines. Refer to it before making adjustments to minimize error and downtime.
| Scenario | Skimmer Valve | Main Drain Valve |
|---|---|---|
| Normal filtration | Open | Open |
| Vacuuming | Closed | Open |
| Backwashing | Closed | Closed |
| Winter/long shutdown | Closed | Closed |
| High debris flow | Open | Partially Closed |
Typical system scenarios and recommended valve positions
Refer to the quick-reference cheat-sheet to match common pool system scenarios with their recommended valve positions; it summarizes typical settings for filtering, backwashing, winterizing, bypassing heaters, and servicing equipment so operators can set valves quickly and correctly. Typical entries list scenario and valve state for rapid action.
| Scenario | Valve Position |
|---|---|
| Filter | Open |
| Backwash | Open |
| Winterize | Closed |
| Service | Bypass |
When to Call a Professional
If valves emit persistent leaks, erratic pressure readings, or no flow despite correct settings, the problem may indicate complex valve or plumbing failure requiring professional diagnosis.
Homeowners should prepare a brief list of observed symptoms and recent maintenance actions to present to a technician.
Before service, it is advisable to ask about the technician’s licensing, experience with pool plumbing, estimated costs, and warranty on repairs.
Signs of complex valve or plumbing failure
Persistent leaks, unusual noises, or sudden loss of pressure can indicate valve or plumbing issues that exceed routine troubleshooting and warrant professional evaluation.
Technicians can diagnose concealed failures, worn internal seals, fractured manifolds, or misaligned piping that DIY fixes may miss.
Additional signs include recurring contamination despite filtration, visible corrosion or hairline cracks, intermittent pump stalling, and multiple valves failing simultaneously—prompting immediate expert assessment.
Questions to ask your pool technician before service
When should a homeowner prepare specific questions before calling a pool technician?
A homeowner should compile questions when issues exceed basic checks: persistent pressure fluctuations, unexplained leaks, unusual noises, repeated valve failures, or unclear flow directions.
Ask about diagnosis steps, estimated costs, required parts, warranty coverage, expected downtime, and preventive recommendations.
Clear questions streamline service and guarantee informed decisions.
Visual Guides and Diagrams
A clear schematic of a typical residential valve layout helps readers identify intake, return, and waste lines at a glance.
Accompanying step-by-step diagrams for backwash and rinse cycles clarify valve positions and flow direction for each stage.
Together, these visuals reduce uncertainty and support safer, more effective operation.
Typical valve layout for residential pool systems
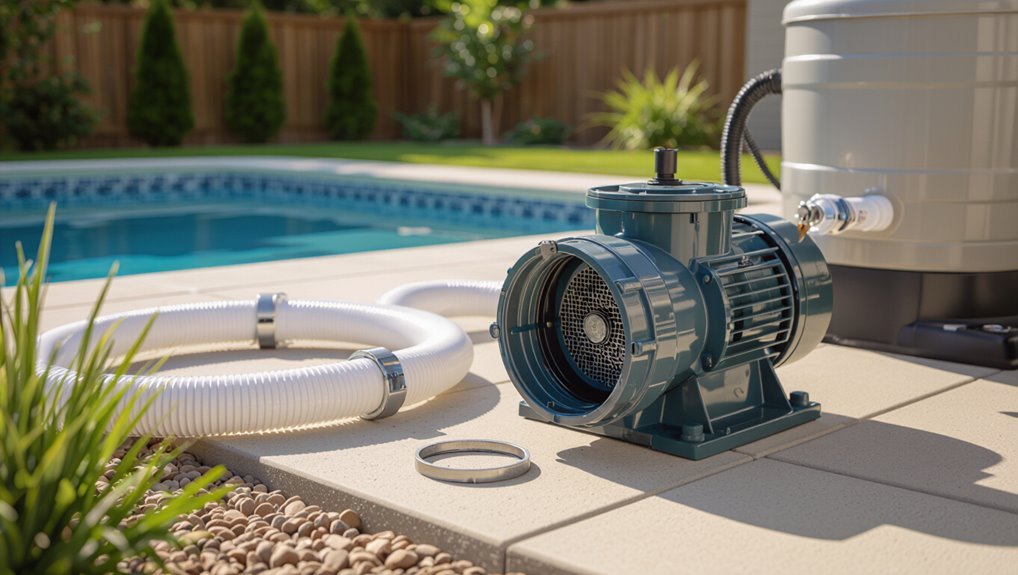
Several common valve arrangements appear in residential pool systems, each designed to control flow between the pump, filter, heater, chlorinator, and return lines.
Typical layouts include single multiport valves for filter/backwash, three-way valves routing flow through a heater or bypass, and dedicated isolation valves for equipment.
Clear labeling, accessible placement, and logical sequencing minimize confusion during maintenance and seasonal changes.
Step-by-step diagram for backwash and rinse cycles
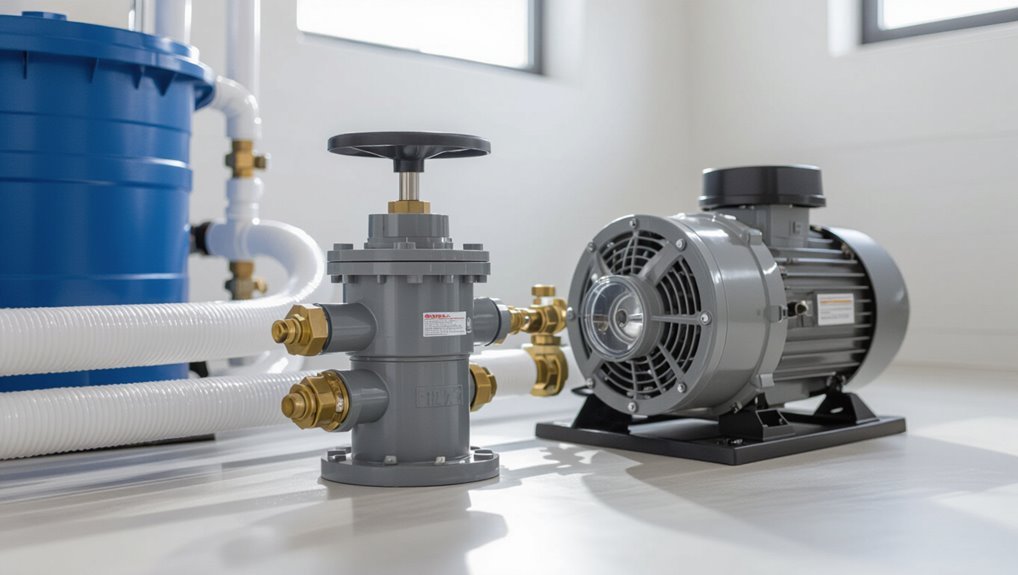
Refer to a clear, step-by-step diagram that maps valve positions and pump status for each stage of the backwash and rinse cycles, showing the sequence:
- Stop the pump.
- Set the multiport valve to “Backwash.”
- Start the pump and run until the sight glass clears.
- Shut off the pump.
- Set the valve to “Rinse.”
- Restart the pump for 30–60 seconds to resettle media.
- Return the valve to “Filter” and resume normal operation.
Labels, arrows, and numbered steps should indicate pump on/off actions, expected flow directions, and approximate timings to minimize operator error.
A concise legend, color coding, and a warning icon for pressure or chemical hazards enhance operator safety and comprehension.
Conclusion
In summary, mastering pool pump valves guarantees efficient circulation and prolonged equipment life. A curious theory—that minor valve tweaks can halve chemical use—was examined and found partially true: improved flow reduces dead zones and stabilizes sanitiser distribution, but chemistry, bather load, and filtration quality also dictate outcomes. Operators who follow valve best practices will see measurable gains, yet should monitor water chemistry and call a professional when persistent imbalance or mechanical faults arise.