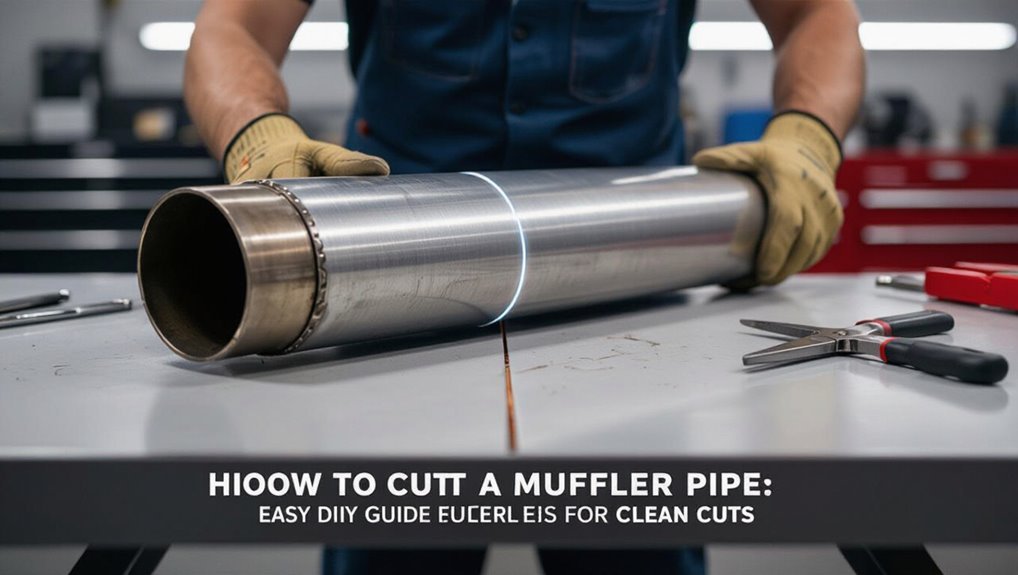
How to Cut a Muffler Pipe: Easy DIY Guide for Clean Cuts
Cutting a muffler pipe cleanly and safely requires the right tools and techniques. Here’s a quick guide to help you achieve a precise cut:
Key Takeaways for Cutting a Muffler Pipe:
1. Safety First: Always wear proper Personal Protective Equipment (PPE).
2. Preparation: Secure the muffler pipe with solid support and mark an accurate scribed line.
3. Measurement: Measure twice from a fixed reference point before cutting.
4. Clamping: Use clamps to hold the pipe in place, ensuring they are snug but not overly tight.
5. Choose the Right Tool:
- Use a tubing cutter for small pipes.
- Opt for a hacksaw for thin-walled pipes.
- Use a grinder or reciprocating saw for thicker or rusted steel.
6. Cutting Technique: Make steady cuts and allow the material to cool between cuts if necessary.
7. Finishing Touches: Deburr both edges after cutting and test-fit the pieces before final welding or clamping.
Follow these steps for a successful and safe muffler pipe cut, and refer to additional resources for detailed techniques, tool options, and troubleshooting tips.
Quick Answer: Cut a Muffler Pipe Safely
When cutting a muffler pipe, prioritize safety and correct tools: wear eye protection and heavy gloves, support the vehicle securely, and choose a cutting method appropriate to the pipe material and space (reciprocating saw with a metal-cutting blade for tight spots, angle grinder for speed, or tubing cutter for clean cuts on thinner pipe).
The operator should measure and mark the cut, allow clearance for exhaust movement, and remove heat-sensitive components. Clamp the pipe to prevent twist, cut steadily to avoid jagged edges, deburr the cut with a file or flap disc, and inspect the end for proper fit before reassembly.
Which Muffler‑Pipe Materials and Diameters You’ll Encounter
After cutting practices and safety precautions are established, attention turns to the materials and diameters commonly used for muffler pipes. The most frequent materials are mild steel, aluminized steel, and stainless steel, each offering different corrosion resistance and weldability; choices influence longevity and required protective coatings. Diameters vary by vehicle and system section: smaller tailpipes, mid-range resonator pipes, larger downpipes and headers. Fitment, wall thickness, and bend frequency affect cutting approach and joint preparation. Consider OEM specifications and aftermarket upgrades when measuring.
Typical sizing categories include:
- 1.5–2.0 inches
- 2.25–2.5 inches
- 2.75–3.5 inches
Best Tools for Clean Muffler‑Pipe Cuts (Hacksaw, Grinder, Cutter)
For clean muffler‑pipe cuts, selecting the right tool depends on pipe material, diameter, and access: a sharp hacksaw excels on thin‑walled pipes and tight spaces, an abrasive cutoff wheel or angle grinder delivers fast, square cuts on thicker or rusted steel, and a tubing cutter or pneumatic pipe cutter provides the most controlled, burr‑free cuts on smaller diameters and softer metals. Choices balance speed, finish, and portability. A file or flap wheel cleans burrs. Below is a quick comparison.
| Tool | Best for | Outcome |
|---|---|---|
| Hacksaw | Thin wall, tight access | Controlled, slow |
| Angle grinder | Thick/rusted steel | Fast, square |
| Tubing cutter | Small diameters | Clean, burr‑free |
Safety Gear and Shop Setup Before You Start Cutting
Choosing the right cutting tool is only part of the job; proper safety gear and a well‑organized shop setup protect the operator and make the cut predictable.
The workspace should be ventilated, uncluttered, and equipped with solid lighting. PPE must include eye protection, cut‑resistant gloves, and hearing protection; a respirator is advised for rust or coating debris. Secure the muffler pipe in a vise or clamps to prevent movement and position the operator to avoid sparks. Keep a fire extinguisher within reach and clear flammable materials.
Follow these essentials:
- PPE: goggles, gloves, hearing, respirator
- Stable workbench and clamps
- Ventilation and fire extinguisher
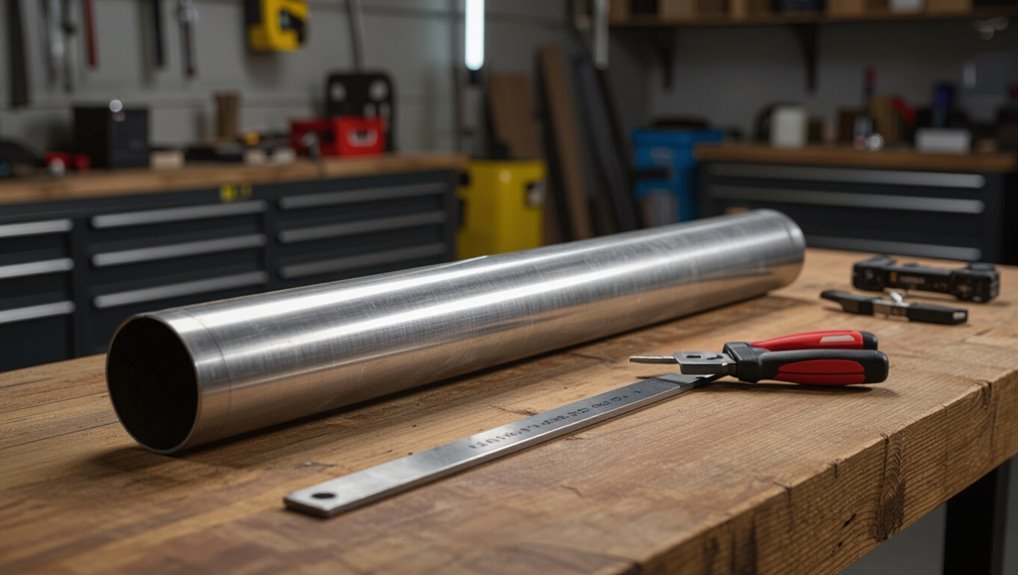
How to Measure and Mark the Exact Cut Line on a Muffler Pipe
How should the exact cut be laid out to guarantee a straight, functional seam? The technician measures twice: overall length, then distance from a fixed reference (flange or joint). A tape measure and caliper confirm diameter; a punch marks the start. A flexible machinist’s rule or tape wraps to scribe a continuous line; pencil or permanent marker traces it. Chamfer allowance and welding gap are noted. Visual checks from both ends ensure alignment before cutting.
| Tool | Purpose |
|---|---|
| Tape measure | Length/reference |
| Caliper | Diameter accuracy |
| Punch | Start point |
| Scribe/ruler | Continuous line |
How to Clamp and Support a Muffler Pipe for a Straight Cut
Before cutting, the muffler pipe must be held rigid to prevent movement and guarantee a straight edge.
A vise with soft jaws or a clamping fixture secures the pipe without crushing it, while a wooden block supports the pipe beneath the cut to absorb pressure.
Proper positioning and firm, even clamping minimize wobble and produce a clean, accurate cut.
Secure Pipe Positioning
When preparing to cut a muffler pipe, proper clamping and support guarantee a straight, safe cut and prevent vibration or twisting. The craftsman selects steady contact points, avoids deforming the tube, and verifies alignment before cutting.
Recommended actions reinforce control and accuracy:
- Use padded straps or pipe clamps to distribute pressure and prevent dents.
- Support both sides of the cut with adjustable stands or rollers to eliminate sag and movement.
- Mark and recheck the cut line, then lightly snug clamps, ensuring the saw blade can pass without obstruction.
Consistent positioning minimizes errors and improves finish quality.
Vise And Block Support
Having made certain the pipe is aligned and lightly clamped as described, the technician uses a bench vise and wooden or rubber block to secure the muffler pipe firmly for the final cut. The block cushions the pipe, preventing marring and concentrating pressure evenly. The vise jaws are tightened until the pipe is immobile but not crushed; periodic checks confirm alignment with the cut mark.
For longer sections, a secondary support under the pipe reduces flex. Vibration damping and a steady hold enable a straight, controlled cut whether using a hacksaw, reciprocating saw, or tubing cutter. After cutting, the clamp is released and the ends are inspected.
How to Cut With a Hacksaw for Precise, Low‑Cost Cuts
A hacksaw can provide precise, low‑cost cuts when fitted with a fine-tooth, bi‑metal blade appropriate for cutting thin steel exhaust pipe.
The pipe should be firmly clamped in a vise or pipe clamp and supported to prevent flexing or rotation during the cut.
A steady, full-stroke cutting technique with light downward pressure on the forward stroke keeps the kerf straight and prolongs blade life.
Tool Selection And Blade Type
For precise, low-cost muffler pipe cuts, a hacksaw is the practical choice for most DIYers and small shops.
Selection focuses on frame stiffness, blade tooth count, and blade material.
A rigid frame holds alignment; a pistol-grip improves control.
Finer teeth yield smoother edges but cut slower; coarse teeth remove metal faster.
Bi-metal blades resist heat and breakage, offering longevity.
- Frame: solid, minimal flex for straight cuts.
- TPI: 18–24 for general stainless/aluminum; 10–14 for thicker mild steel.
- Material: bi-metal preferred; high-speed steel for heavy use.
Clamping And Cutting Technique
With the pipe secured squarely in a vise and protected by soft jaws or scrap metal, the cutter can focus on alignment and steady strokes rather than fighting movement.
The hacksaw blade is positioned on the mark, perpendicular to the pipe axis. Using the full length of the blade, the cutter applies smooth, even pressure on the forward stroke and light pressure on the return to extend blade life.
Periodic rotation of the pipe guarantees a straight cut and prevents gouging. Cooling with water or cutting oil reduces heat and burrs.
After cutting, a file or deburring tool removes sharp edges for a clean finish.
How to Use an Angle Grinder for Fast, Smooth Cuts
Begin by securing the muffler pipe firmly in a vise or on a stable workbench to prevent movement during cutting.
The operator dons eye, ear, and respiratory protection, selects a thin abrasive cutting wheel, and marks the cut line.
With the grinder at full speed, the tool is held steady and tilted slightly to maintain contact; light, consistent pressure prevents gouging.
After cutting, a flap wheel deburrs edges and removes scale.
Cooling intervals prevent heat damage.
Follow these steps:
- Inspect and prepare wheel and guards.
- Align wheel with layout mark; make a pilot pass.
- Complete the cut; deburr and cool.
How to Cut With a Reciprocating Saw Without Crushing the Pipe
When using a reciprocating saw on a muffler pipe, the workpiece should be clamped firmly to prevent movement and prevent the jaws from deforming the tube.
A blade guide or sleeve aligned with the cut will keep the blade straight and reduce pinching. Together, secure clamping and guide use minimize crush and produce a cleaner cut.
Clamp Pipe Securely
Secure the muffler pipe in a firm, stable clamp before cutting to prevent movement and deformation from the reciprocating saw’s blade. The pipe should sit level, supported at both ends when possible, so the clamp absorbs vibration and resists twisting. Padding the jaws with soft material prevents denting while maintaining grip.
Inspect the setup for clearance, ensuring the saw has unobstructed access and the clamp does not contact the blade path. Tighten incrementally and test stability by hand.
Recommended steps for secure clamping:
- Position and pad the pipe.
- Apply clamp and incrementally tighten.
- Verify stability and clearance.
Use Blade Guides
To prevent the saw blade from pinching or deforming the muffler pipe, a blade guide should be installed to keep the cut square and the blade centered. A blade guide stabilizes the reciprocating saw, reducing vibration and preventing the pipe from collapsing under pressure. The guide can be a commercial attachment or a simple clamped block that aligns the blade. Proper alignment produces a straight, clean cut and prolongs blade life. Inspect the guide for secure mounting and check blade travel before cutting. Use steady feed pressure; avoid forcing the saw to limit crushing and guarantee a professional finish.
| Guide Type | Mounting | Notes |
|---|---|---|
| Commercial guide | Bolt-on | Precise alignment |
| Clamped block | C-clamp | Low cost |
| Magnetic guide | Quick attach | For steel pipes |
| Adjustable guide | Screw clamp | Versatile |
| DIY jig | Custom-fit | Simple setup |
How to Use a Pipe/Tubing Cutter for Clean Exhaust Edges
In a garage or driveway, using a pipe or tubing cutter produces consistently square, burr-free exhaust ends that simplify fitting and welding.
The operator measures and marks the cut, cleans the pipe exterior, then places the cutter so the wheel aligns with the mark. Tightening the knob brings the wheel to the pipe; rotating the tool around the pipe scores a groove.
Incremental tightening after several rotations prevents binding and guarantees an even cut. Once separated, the cut face should be checked for roundness and alignment before welding or joining.
- Measure and mark precisely.
- Align cutter wheel to mark.
- Tighten and rotate evenly.
How to Deburr, File, and Finish the Cut Edge
After cutting, any sharp burrs should be removed carefully with a deburring tool or a half-round file to prevent injury and guarantee a proper fit.
The edge is then smoothed with a fine file or emery cloth until even and free of jagged metal.
Finally, a protective finish such as high-temperature paint or anti-corrosion spray is applied to seal the edge and slow rust formation.
Remove Burrs Carefully
When the pipe has been cut, the exposed edge will almost always bear sharp burrs and rough metal fragments that can impede fitment and cause injury; these must be removed with care.
The practitioner should stabilize the pipe, wear gloves and eye protection, and begin by clearing large shards with pliers.
Progress to controlled abrasion to refine the profile, keeping movements away from the body and inspecting frequently.
Finish by removing dust and metal filings before handling.
- Remove large fragments with pliers.
- Deburr with a rotary brush or abrasive wheel at low speed.
- Clean and inspect for remaining irregularities.
Smooth With File
With the pipe securely clamped, the technician proceeds to refine the cut edge using a flat file to remove remaining burrs and shape the profile. Firm, even strokes follow the pipe’s circumference, alternating coarse then fine files. Edges become uniform; metal filings are brushed away. A quick check with a gloved finger confirms smoothness. Final light passes blend any sharp shifts. Visual inspection guarantees a round, consistent lip ready for fitting. Residual dust is wiped clear before proceeding to the next step.
| Tool | Action |
|---|---|
| Flat file | Smooth circumference |
| Half-round file | Inner bevel |
| Wire brush | Remove filings |
| Cloth | Wipe clean |
Apply Protective Finish
Before sealing the cut edge, the technician inspects it for burrs, rough spots, and unevenness, then removes any remaining metal fragments with a deburring tool or file to guarantee a clean surface.
Attention shifts to edge preparation: fine-fileing removes high spots, emery cloth smooths scratches, and a wire brush clears residue.
A thin coat of high-temperature primer prevents corrosion.
Finally, a heat-resistant paint or ceramic spray provides lasting protection and blends with the exhaust finish.
Recommended sequence:
- Clean and deburr thoroughly.
- Prime with high-temp primer.
- Apply heat-resistant topcoat, drying between coats.
How to Test‑Fit the Muffler Joint and Check Alignment
How should the muffler sections fit together to guarantee a proper seal and straight exhaust flow? The sections should seat fully with pipe ends aligned concentrically, gaps minimal and even around the circumference.
Temporarily assemble components, hand-tighten fasteners or use temporary clamps, then inspect from multiple angles for axial offset, tilt, or lateral misalignment. Check clearance to chassis, suspension and heat-sensitive parts; rotate wheels and move suspension through travel if applicable.
Apply feeler gauge or straightedge along the run to detect bends. Adjust positioning until joints close uniformly and the exhaust path runs straight without binding or stress before final joining.
Weld vs Clamp vs Band Clamp: How to Choose
Once proper fit and alignment are confirmed, the installer must choose between welding, mechanical clamps, or band clamps to join the muffler sections, each method offering distinct trade-offs in strength, sealing, serviceability, and cost. The decision hinges on permanence, leak resistance, and future access. Welding gives the strongest, most permanent seal but requires skill and post‑weld treatment.
Conventional U‑ or V‑band clamps allow easy disassembly with moderate sealing and are cost‑effective. Band clamps conform to irregular joints, offering superior sealing without welding but can be bulkier. Consider vehicle use, expected lifespan, and access needs when selecting.
- Welding: permanent, strongest
- Mechanical clamps: serviceable, economical
- Band clamps: conforming, better seal
Common Cutting Mistakes and How to Avoid Them
Typically, mistakes during muffler pipe cutting stem from improper measurement, wrong tool choice, or neglecting safety and finish work. The writer notes common errors: misaligned marks, using dull or inappropriate blades, cutting without clamping, and omitting deburring. To avoid them, confirm measurements twice, select the correct saw or pipe cutter, secure the pipe firmly, wear PPE, and remove burrs for a snug fit. Clean, square cuts reduce fitting time and welding complications. Below is a quick visual reminder.
| Mistake | Fix |
|---|---|
| Poor measurement | Double-check and mark clearly |
| Wrong tool | Match cutter to pipe type |
| No deburr | File or grinder edges cleanly |
Troubleshoot Leaks, Rattle, and Misaligned Joints
When exhaust leaks, rattles, or misaligned joints appear after cutting and fitting a muffler pipe, diagnosing the cause focuses on seal integrity, mechanical support, and alignment geometry.
Inspect joints for gaps, crushed edges, or missing clamps; listen for leaks while the engine idles and feel for exhaust flow with caution.
Verify hangers and brackets are intact and positioned to prevent tension on the joint.
Check alignment by measuring offsets and ensuring slip-fit engagement depth.
If corrosion or deformation is present, replace the affected section rather than forcing a repair.
- Seal: clamp tightness, gasket condition, pipe roundness
- Support: hanger placement, bolt torque, vibration damping
- Alignment: offsets, insertion depth, angle correction
Pro Tips for Professional‑Looking Muffler‑Pipe Cuts
For a clean, professional-looking muffler-pipe cut, preparation and the right tools matter as much as steady hands: measure twice, mark with a scribe or tape, and choose a cutting method that matches the pipe material and wall thickness.
Use a square guide or scrap collar to keep cutters perpendicular. Clamp the pipe securely and rotate tools slowly for an even cut.
Deburr both edges with a file or flap wheel to prevent leaks and fitment issues. Check alignment with mating parts before welding or clamping.
Finish with rust inhibitor or high-temp paint to protect and present a finished appearance.
Conclusion
Like a seasoned mechanic closing a long road trip, the guide leaves the reader with confidence: measure twice, cut once, and match tools to material as if choosing instruments in a workshop of craftsmen. Safety gear stands sentinel; clamps or welds settle joints with quiet authority. Avoid common missteps, listen for misalignment, and tend leaks like a careful gardener. With those habits, muffler‑pipe work transforms from chore into tidy, enduring craft.