How to Attach PEX to Galvanized Pipe: DIY Guide & Fittings Tips
To successfully attach PEX to existing galvanized pipe, you can follow these key methods based on the condition of your galvanized pipe:
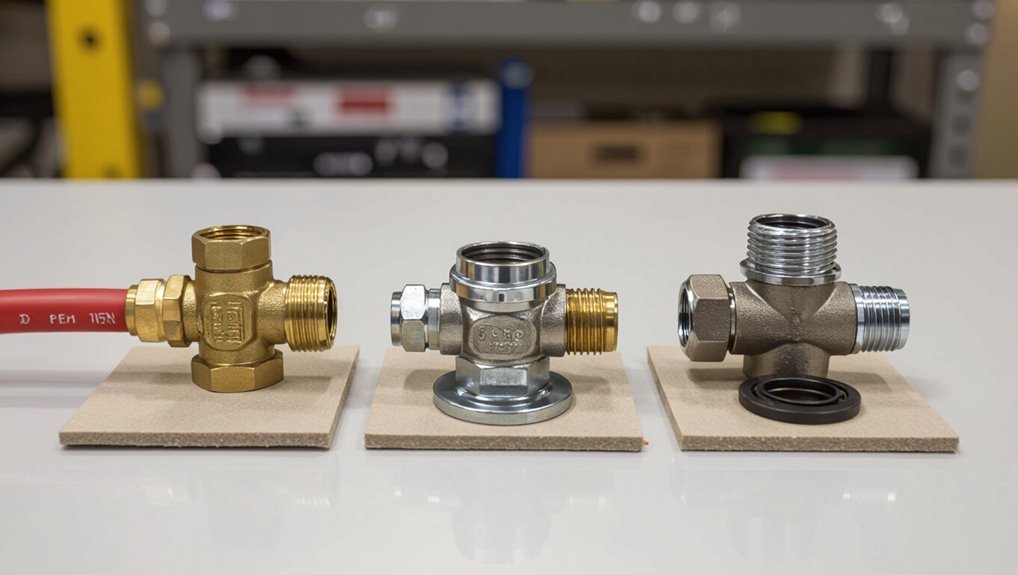
- Threaded Brass Adapters: Use this method if the threads on the galvanized pipe are intact.
- Compression-to-PEX Fittings: Ideal for situations where you have clean, square cuts on the galvanized pipe.
- Dielectric Union: This fitting is essential for isolating dissimilar metals to minimize galvanic corrosion.
Before proceeding, inspect the galvanized pipe for any signs of pitting, wall thinning, or thread damage. Clean and prepare the threads properly, apply the appropriate sealant, and secure the PEX using the manufacturer’s recommended crimp or clamp tools.
Make sure to follow pressure testing and safety steps throughout the process. For detailed step-by-step procedures, tool lists, and troubleshooting tips, continue reading.
How to Choose: Compression, Threaded Adapter, or Dielectric Union
When connecting PEX to existing galvanized pipe, the choice among a compression fitting, a threaded adapter, or a dielectric union depends on pipe condition, thread compatibility, and corrosion risk.
A compression fitting suits clean, straight-cut ends and offers a mechanical seal without altering threads; it is quick but sensitive to pipe deformities.
A threaded adapter is appropriate when intact male or female threads exist; proper sealing tape or compound prevents leaks.
A dielectric union isolates dissimilar metals to reduce galvanic corrosion where electrical continuity and long-term interaction are concerns.
Selection balances ease of installation, long-term durability, and the specific site’s corrosion exposure.
Tools and Materials You Need to Join PEX to Galvanized Pipe
The section lists the essential tools required and the materials needed to connect PEX to galvanized pipe. It covers hand tools (pipe wrenches, PEX cutters, crimp or cinch tools), adapters (compression, threaded, or dielectric unions), and consumables like fittings, clamps, tape, and pipe dope.
Each item is described with its purpose and any sizing or material considerations.
Essential Tools Required
A compact set of reliable tools and quality materials is essential for securely joining PEX to existing galvanized pipe.
Required hand tools include pipe wrenches or adjustable wrenches for removing fittings, a tubing cutter for clean PEX cuts, and a deburring tool to smooth metal edges.
A PEX crimp or clamp tool compatible with chosen fittings guarantees proper connections.
A pipe threader or thread sealant applicator may be needed when adapting to threaded galvanized fittings.
Additionally, a wire brush or nylon cleaning tool for galvanizing removal, a measuring tape, marker, and safety gear (gloves, eye protection) complete the set.
Necessary Materials List
Several specific materials are required to convert PEX to existing galvanized piping reliably: PEX tubing of the correct diameter and type (PEX-A, -B, or -C), compatible fittings or adapters (brass or stainless steel for corrosion resistance), appropriate connection hardware (crimp rings, stainless steel clamps, or expansion fittings), thread adapters or dielectric unions for joining to threaded galvanized fittings, and pipe-size-specific coupling fittings if needed; additionally, sealing materials (PTFE tape or thread sealant), corrosion-cleaning brushes or abrasives, and protective sleeves or insulation for exposed joints should be on hand.
- Select matching-diameter PEX, fittings, and clamps.
- Use corrosion-resistant adapters and dielectric unions.
- Carry sealing tape, brushes, protective sleeves.
Inspect Galvanized Pipe: Corrosion, Threads, and Wall Thickness
Before connecting PEX, the galvanized run should be inspected for visible corrosion that could compromise flow or sealing surfaces.
Threads must be examined for wear, distortion, or missing crests that would prevent a reliable joint.
Wall thickness should be measured or assessed to make certain the pipe retains enough metal for a secure connection and to rule out significant internal pitting.
Check For Visible Corrosion
How severely is the galvanized pipe affected by corrosion can be determined through a focused visual inspection: look for pitting, deep rust channels, flaking scale, and any areas where the zinc coating has worn away exposing bare steel.
The evaluator notes localized weakness, discoloration, and material loss that could compromise fittings or cause leaks when connecting PEX.
Surface white rust versus active red rust is distinguished; active corrosion demands replacement or cutting back to sound metal.
Record locations and extent before proceeding, and prioritize sections showing through-wall degradation or large flakes that indicate rapid deterioration.
- Map affected lengths and severity.
- Flag through-wall pits.
- Note delaminated scale.
Inspect Thread Condition
Inspecting thread condition on galvanized pipe requires a close, methodical examination of each male and female thread for wear, damaged crests, cross-threading, and residual sealant that could prevent a watertight connection.
The inspector notes flattened or rounded threads, pits within thread roots, and any metal burrs or deformation that impair engagement.
Female fittings are checked with a light and mirror for obstructions and uneven taper.
Residual tape, paste, or corrosion deposits are carefully removed to assess true thread geometry.
If threads show significant damage, replacement or proper use of an adapter is recommended to secure reliable joints.
Measure Wall Thickness
After threads are assessed and any damaged fittings addressed, attention shifts to measuring the pipe wall thickness to determine remaining serviceability.
The inspector uses calipers at multiple points, comparing readings to the original nominal wall for that pipe size. Corrosion often thins one side more; document minimums and locations. If thickness falls below acceptable safety margins, replacement or sleeving is required before PEX tie-in. Record measurements, note pitting, and photograph defects. Decisions hinge on remaining mechanical strength and sealing ability rather than surface rust alone.
- Measure with calipers at opposing quadrants.
- Compare to nominal wall standards.
- Flag areas under minimum thickness.
Join PEX to Galvanized With a Brass Threaded Adapter (Step‑by‑Step)
When connecting PEX to existing galvanized pipe using a brass threaded adapter, the installer first prepares both ends to guarantee a secure, leak‑free changeover.
The galvanized pipe is cleaned and any damaged threads are chased with a pipe die; debris and rust are removed.
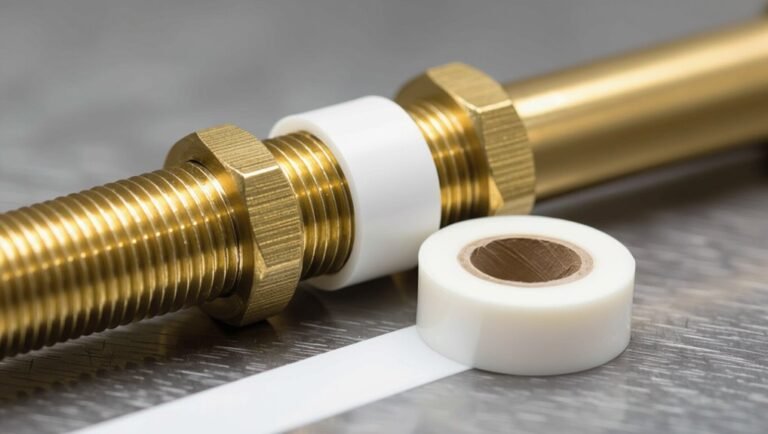
The brass adapter’s male threads receive thread sealant or PTFE tape applied clockwise.
The adapter is hand‑started and tightened with a wrench to avoid cross‑threading.
The PEX end is fitted with the correct crimp or clamp ring and pushed onto the adapter’s barbed or threaded PEX insert.
Final pressure testing confirms a dependable joint.
Join PEX Using a Compression‑to‑PEX Fitting (Step‑by‑Step)
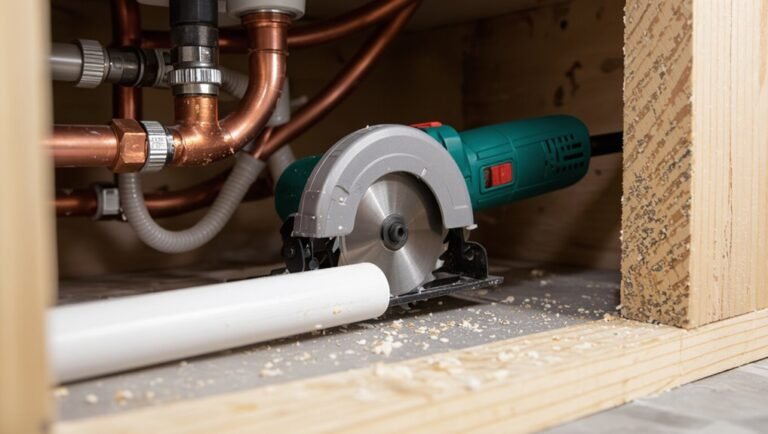
Begin by shutting off water and relieving pressure, then cut and deburr the galvanized pipe to provide a clean, square surface for the compression nut and ferrule. The installer slips the compression nut and ferrule onto the pipe, positions the fitting body, and tightens the nut to seat the ferrule.
On the PEX side, measure, cut square, and insert the PEX into the fitting’s polymer or brass insert until fully seated. Tighten according to manufacturer torque, avoiding overtightening. Test for leaks by slowly restoring water and observing the joint.
- Verify part compatibility and pressure ratings.
- Use a proper torque wrench or preset tool.
- Recheck after thermal cycling.
Install a Dielectric/Isolation Union to Prevent Corrosion
To prevent galvanic corrosion between dissimilar metals, install a dielectric or isolation coupling between the galvanized pipe and the PEX adaptor fitting; the coupling electrically separates the metals while maintaining a pressure-tight joint.
The installer selects a union rated for potable water and matching pipe sizes, ensuring compatible threads or compression ends.
Clean threads and seating surfaces, apply appropriate thread sealant to metal-to-metal faces only, and assemble per manufacturer torque recommendations.
Verify nonconductive gaskets or sleeves are intact and seated.
Position the union to allow access for future service.
Label the joint as insulated to inform future work.
Pressure Test, Inspect Joints, and Common Leak Fixes
After installing the dielectric union and confirming proper seating, the system is pressurized and inspected to verify joint integrity and locate any leaks.
A calibrated pressure gauge raises water pressure to the required test level, held for the specified duration while visual and tactile inspections focus on every connection.
Small weeps are addressed immediately; fittings are tightened, crimp rings rechecked, or seals replaced.
Documentation of test pressure and duration is kept.
If leaks persist, the joint is cut back and refitted.
Safety precautions include gradual pressurization and clear work area evacuation.
- Confirm test pressure and hold time.
- Inspect all fittings, crimps, and couplings.
- Repair by tightening, reseating, or refitting.
Long‑Term Care, When to Replace Galvanized Risers, and Safety Tips
Over time, routine maintenance and vigilant monitoring preserve system integrity and help determine when a galvanized riser requires replacement.
Inspect risers annually for corrosion, pitting, reduced flow, staining, or vibration. Test water quality for metallic taste, discoloration, or sediment, and record pressure and flow trends. Replace risers showing widespread rust, wall thinning, leaks at seams, or internal obstruction affecting supply.
When replacing, isolate the line, depressurize, and follow local codes; use dielectric unions between dissimilar metals and compatible PEX fittings. Wear gloves, eye protection, and respirators if cutting rusty pipe; properly dispose of removed materials.
Conclusion
Connecting PEX to galvanized pipe demands patience and the right choice—compression, threaded adapter, or dielectric union—so the new line can speak truth to old metal. Inspect, prep, and use brass or isolation fittings to bridge materials; pressure‑test and watch for leaks. With proper installation and periodic checks, the repair can outlast expectations, yet when corrosion advances, replacement becomes inevitable. Treat the junction as a promise between past and future work.