How Much Does It Cost to Fix Frozen Pipes? DIY & Pro Estimates
Fixing frozen pipes typically costs under $100 for a DIY approach using heat tape or a heat gun. Professional thawing services range from $150 to $500 for routine cases, while severe issues, such as bursts that lead to water damage and repiping, can escalate costs to $1,000 or more. Key factors influencing these prices include emergency service rates, accessibility challenges, materials used, and insulation requirements. Temporary fixes may cost between $50 and $300, whereas complete repiping tends to be the most expensive option. For detailed DIY steps, cost breakdowns, and hiring advice, continue reading.
Quick Cost Summary: How Much to Fix Frozen Pipes
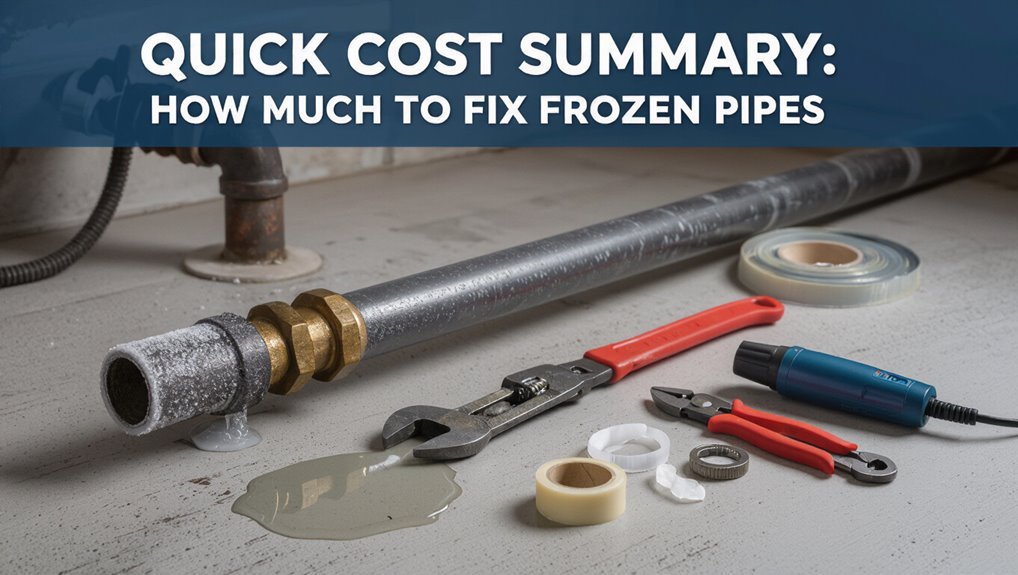
Repair-costs for frozen pipes vary widely depending on severity and location.
Estimates range from minimal DIY efforts—thawing with hair dryers or heat tape that cost under $100—to professional services for thawing and minor repairs typically between $150 and $500.
More extensive situations involving pipe bursts, water damage mitigation, and replacement parts escalate expenses into the thousands.
Emergency callouts, after-hours labor, and difficult access increase totals.
Homeowners might mitigate costs by early detection and temporary measures, while insurance coverage and local labor rates also influence final bills.
Clear documentation of damage helps when filing claims.
What Affects Cost: Pipe Material, Location, Severity
Depending on pipe material, location, and the severity of damage, repairs for frozen pipes can range from simple, inexpensive fixes to complex, costly replacements.
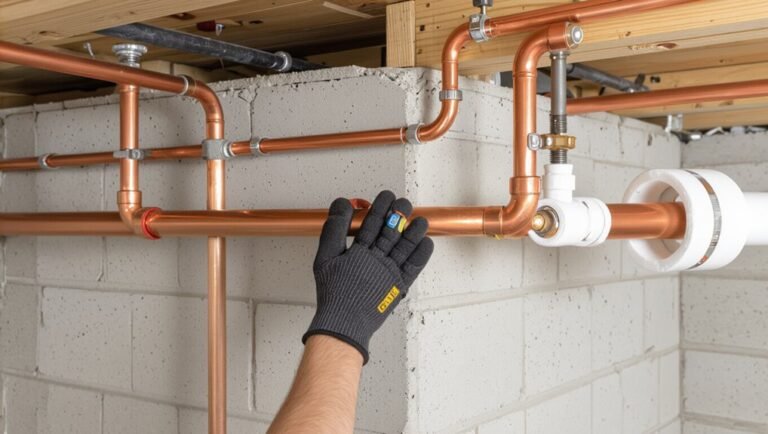
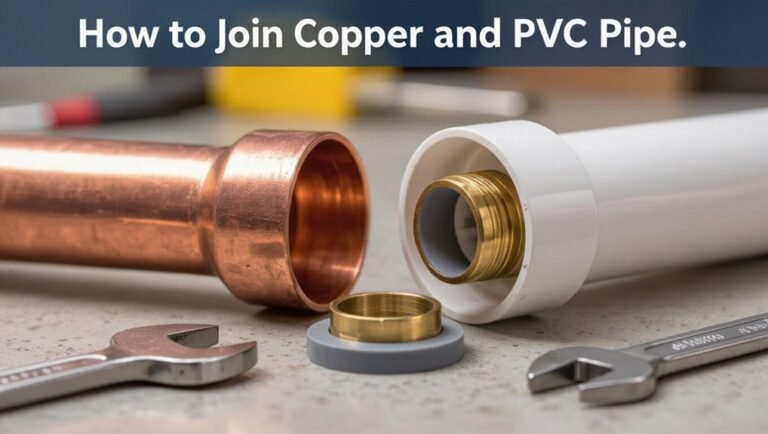
Material dictates repair type: copper may split and need soldering or section replacement; PEX often rebounds or requires small cuts.
Location affects access and labor—exposed basements cost less than inside walls or under floors.
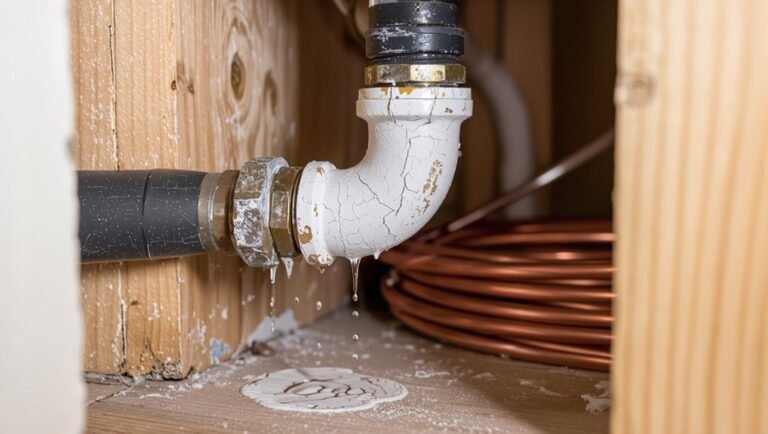
Severity determines extent: minor frost needs thawing, burst sections require replacement and possible water damage remediation.
Consider associated components (valves, fittings) and insulation needs to prevent recurrence.
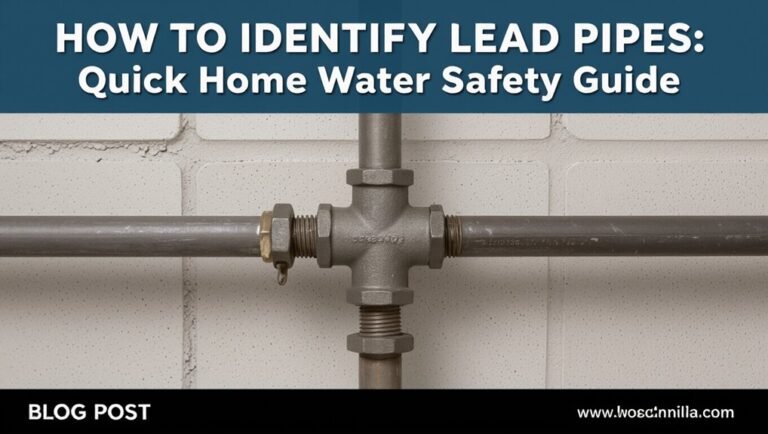
- Material: copper, PEX, galvanized
- Location: exposed, concealed, outdoors
- Severity: frost versus burst
- Associated damage and access
Average Cost Ranges: DIY Versus Professional Thawing
After evaluating how material, location, and severity influence what must be done, homeowners must weigh whether to attempt a DIY thaw or hire a professional.
Typical DIY attempts range from minimal cost—$0 if using existing items—to about $50–150 for heaters, heat tape, or small equipment rentals.
Professional thawing typically ranges from $150 for a simple service call to $400–800 or more for complex access, evening or emergency visits, and repairs if thawing reveals damage.
Weather, urgency, and access complexity push prices upward.
Choosing between DIY and pro depends on risk tolerance, skill, and the potential cost of mistakes.
DIY Cost Breakdown: Tools, Materials, Time
The section outlines the specific tools and equipment a homeowner may need for thawing and repairing frozen pipes, from heat guns and hair dryers to pipe wraps and wrenches.
It also lists common materials such as tape, replacement fittings, and insulation, with estimated costs for each.
Finally, it provides typical time estimates for setup, thawing, and minor repairs to help compare DIY effort versus hiring a professional.
Tools And Equipment
When preparing a DIY repair for frozen pipes, a clear inventory of tools, materials, and estimated labor time helps determine true cost.
The section focuses on essential tools and equipment: hand tools, heat sources, safety gear, and diagnostics. It describes typical purchase or rental choices, expected price ranges, and factors affecting selection (pipe location, material, access).
Emphasis is on investing in durable items that reduce risk and repeat repairs. Rental options can lower upfront expense for seldom-used items.
Understanding equipment needs prevents unnecessary purchases and supports accurate budgeting for the full repair project.
- Pipe wrench
- Heat gun
- Insulated gloves
- Infrared thermometer
Materials And Time
In calculating a DIY frozen-pipe repair, materials and time often account for the majority of variable cost and can determine whether a homeowner proceeds or calls a pro.
Materials typically include replacement pipe sections, fittings, insulation, heat tape, sealant, and solder or compression fittings; costs vary by pipe type and length, ranging from a few dollars for insulation to $20–$50 for specialty fittings.
Time estimates depend on access and damage: simple thawing and insulation may take 1–3 hours, while cutting out and replacing sections can take 3–6 hours.
Labor equivalence should be valued when comparing DIY versus hiring a plumber.
Step-By-Step DIY Fix for One Frozen Pipe
Begin by locating the frozen section and shutting off the water supply to that pipe to prevent pressure buildup and leaks.
The person prepares a heat source (hair dryer, heat lamp), towels, and a wrench.
Work moves methodically from the faucet toward the frozen area, applying gentle even heat and checking for thaw progress.
If joints or fittings show stress, stop and reassess.
- Open the faucet to relieve pressure and allow melting water to escape.
- Apply heat gradually, keeping the source moving.
- Wrap with towels as ice melts to absorb water.
- Inspect for leaks, then restore water and monitor.
Common DIY Pitfalls That Raise Costs
Although attempting a DIY thaw can save money initially, several common mistakes often increase overall repair costs.
Improper heating methods—open flames, high-heat torches, or concentrated heat—can puncture pipes or ignite insulation.
Inadequate thawing leaves partial ice, causing pressure surges and hidden cracks that later manifest as leaks.
Over-tightening fittings during reassembly cracks threads or crushes seals.
Skipping proper insulation or failing to locate and protect adjacent valves invites repeat freezing.
Using incorrect replacement parts or poor soldering leads to premature failure.
Each error multiplies expenses through emergency repairs, higher material costs, and possible water damage remediation.
When to Stop DIY and Call a Plumber
When should a homeowner stop trying to thaw or repair frozen pipes and call a licensed plumber? A licensed plumber should be called when risks, complexity, or damage exceed safe DIY limits. Signs include visible leaks, persistent no-water conditions after thawing attempts, frozen pipes located behind walls or ceilings, and inability to identify the freeze location. Professional assessment prevents concealed bursts and code violations. Consider safety, tools, and insurance coverage before continuing DIY. Prompt professional intervention can limit water damage and repair scope.
- Active leak or water pooling
- No restoration of flow
- Pipes inaccessible or hidden
- Uncertain cause or repeated freezes
Average Plumber Rates and Thawing Service Fees
Plumbing professionals typically bill by the hour, with rates varying by region, experience, and whether the call is emergency or scheduled.
Thawing services often carry a separate fee or minimum charge that can include travel, labor, and specialized equipment.
Comparing typical hourly rates to thawing service fees helps homeowners estimate total costs before hiring help.
Typical Hourly Rates
Compare local hourly rates to get a realistic estimate: average plumbers charge between $45 and $200 per hour depending on experience, location, and whether the call is for regular hours or an emergency. Typical rates reflect certification level, regional demand, and travel time. Homeowners should confirm whether estimates include materials, diagnostics, or service minimums. Weekend, night, and holiday calls usually incur higher multipliers. Request written quotes and ask about hourly caps to avoid surprises.
- Journeyman: $45–$90/hr
- Master plumber: $75–$200/hr
- Service call minimums: 1–2 hours
- Travel or dispatch fees: variable
Thawing Service Fees
After reviewing hourly rates, attention turns to thawing service fees, which bundle labor, specialized equipment, and urgency into a single charge. Plumbers commonly set thawing fees between $100 and $400 for residential jobs, varying with method—heat gun, steam, or electric tracing—and pipe access difficulty.
Emergency or after-hours calls command premiums, sometimes doubling base fees. Additional costs include diagnostic time, travel, and any necessary repairs for burst sections.
Flat-rate pricing simplifies customer expectations, while hourly billing reflects complexity. Consumers should request written estimates detailing methods, guarantees, and potential extra charges before authorizing service.
Emergency Calls and Winter Surge Fees
Frequently during deep freezes, homeowners face emergency calls that carry steep winter surge fees. Service providers often charge higher rates for nights, weekends, and holidays; call-out fees add on top of hourly labor. Advance disclosure varies, so unexpected totals can shock budgets. Planning and comparing quotes reduces surprises.
- Higher hourly rates for after-hours response.
- Flat emergency call-out fees per visit.
- Minimum charge thresholds regardless of work done.
- Diagnostic fees sometimes billed even if customer declines service.
Repair vs. Replace: Patching, Splicing, Repiping Costs
Higher emergency fees often prompt homeowners to weigh short-term fixes against long-term solutions when pipes fail. Decision factors include remaining pipe life, accessibility, and leak severity. Patching or splicing is cheaper upfront but may recur; repiping costs more yet reduces future breakdown risk. Labor, materials, and disruption influence choices; local rates and pipe material matter. A cost-comparison table clarifies typical options:
| Option | Typical Cost Range | Longevity |
|---|---|---|
| Patch | $50–$300 | Short |
| Splice | $100–$500 | Medium |
| Repipe | $1,000–$6,000+ | Long |
Cost to Fix Water Damage After a Burst Pipe
After a burst pipe, immediate water extraction is typically the first expense, with professional pump-out and wet-vac services billed by the hour or job.
Structural drying follows, often requiring dehumidifiers, air movers, and moisture monitoring that add daily rental and technician costs.
Together these emergency remediation steps can substantially increase the overall repair bill depending on the extent of saturation and access.
Immediate Water Extraction
In the wake of a burst pipe, immediate water extraction is the critical first step to limit structural damage and mold growth.
Professionals use pumps, wet vacuums, and floor squeegees to remove standing water quickly.
Rapid removal reduces salvage costs for carpets, furniture, and belongings.
Typical charges vary by volume and access; emergency service fees raise prices.
Insurance may cover extraction if reported promptly.
Assessments determine whether content cleaning or disposal is needed.
Timing and thoroughness strongly influence downstream repair and remediation costs.
- Equipment type affects hourly rates.
- Water volume and source matter.
- Access and floor type change labor.
- Insurance and emergency fees apply.
Structural Drying Costs
For thorough restoration following a burst pipe, structural drying is essential to prevent long-term damage and mold growth. Technicians assess moisture using meters and thermal imaging, then deploy air movers, dehumidifiers, and heaters to remove trapped water from framing, insulation, and flooring.
Costs vary by severity, often ranging $500–$4,000 for typical residential jobs; extensive jobs can exceed $10,000 when ceilings, walls, or subfloors require demolition and replacement. Duration typically spans 48–120 hours, influenced by climate and material porosity.
Proper documentation and signed drying reports support insurance claims and verify that drying goals are met.
What Insurance Typically Covers (And What It Doesn’t)
What typically counts as an insured loss when pipes freeze depends on policy language and the specific circumstances of the freeze. Generally, sudden, accidental water damage from bursting pipes is covered, while damage from lack of maintenance or negligence often isn’t. Coverage can vary for structural repairs, personal property, and additional living expenses if the home is uninhabitable. Policyholders should document damage promptly and contact their insurer.
- Structural repairs: often covered if sudden and accidental.
- Personal property: covered up to limits; depreciation may apply.
- Preventable damage: typically excluded.
- Temporary housing: available if dwelling is uninhabitable.
How Insulation and Prevention Cut Future Repair Bills
The article examines how choosing appropriate pipe insulation types—foam sleeves, fiberglass wrap, or heat tape—reduces freezing risk and associated repair costs.
It then considers the cost-effectiveness of sealing air leaks around pipes and in crawlspaces to prevent cold drafts.
Finally, it outlines simple long-term maintenance practices that preserve insulation performance and minimize future bills.
Pipe Insulation Types
When properly chosen and installed, pipe insulation substantially reduces heat loss and the risk of freezing, which in turn lowers the likelihood of costly burst-pipe repairs.
Common types suit different needs: foam sleeves for easy DIY, fiberglass for high-temperature durability, rubber for flexibility around bends, and reflective wraps for radiant heat retention.
Selection depends on pipe material, location, and exposure. Professional installers assess R-value needs, moisture resistance, and ease of maintenance.
Proper seams, secure fittings, and periodic inspection extend service life. Correct insulation minimizes emergency repair frequency and contributes to predictable maintenance budgeting.
- Foam sleeves
- Fiberglass
- Rubber
- Reflective wraps
Seal Air Leaks
Air-sealing gaps and cracks around pipes forms a first line of defense against freezing by preventing cold air intrusion and preserving the effectiveness of existing insulation.
Small measures—caulking around exterior walls, sealing utility penetrations, and using foam gaskets behind outlets—reduce temperature drops that lead to frozen pipes.
Targeted sealing in crawlspaces, basements, attics, and around hose bibs complements pipe wrap and improves heat retention.
For homeowners, sealing is low-cost and often DIY; for complex penetrations or envelope issues, professionals secure airtightness.
Fewer freeze incidents mean fewer emergency repairs and lower long-term costs for plumbing restoration.
Long-Term Maintenance
Over time, proactive insulation and routine preventive measures systematically reduce the frequency and severity of frozen-pipe incidents, lowering cumulative repair expenses.
A disciplined maintenance plan extends pipe life, minimizes emergency callouts, and spreads costs into predictable, smaller investments. Regular inspections catch insulation gaps and vulnerable pipe runs before failures occur. Energy savings from improved thermal performance also offset material costs.
- Inspect vulnerable areas seasonally and repair compromised insulation.
- Install pipe sleeves and heat tape on exposed runs.
- Maintain consistent indoor temperatures and seal drafts around plumbing.
- Track repairs and upgrades to prioritize future preventive spending.
Questions to Ask When Comparing Plumber Quotes
How should a homeowner evaluate competing plumber estimates to guarantee fair price and reliable service? A homeowner should compare scope details: specific repairs, parts, labor hours, and permits.
Verify whether quotes are fixed, capped, or hourly and ask for itemized parts costs. Confirm license, insurance, warranty length, and emergency availability.
Request references or recent reviews and clarify response times for follow-up issues. Ask about subcontractors, disposal fees, and cleanup responsibilities.
Inquire how unforeseen damage will be documented and billed. Finally, confirm payment terms, cancellation policy, and whether written estimates will be provided before work begins.
Budget Tools and Materials That Save Money
Several practical tools and cost-effective materials can substantially reduce the expense of repairing and preventing frozen pipes. A homeowner can perform basic prevention and small repairs with minimal investment, lowering reliance on emergency services.
Prioritizing efficient, reusable items yields long-term savings while choosing quality materials prevents repeat failures.
- Insulation: foam pipe sleeves and self-sealing wrap for exposed pipes.
- Heat tape: thermostatic electric tape for vulnerable runs.
- Pipe repair kit: compact clamping sleeves and epoxy putty for temporary fixes.
- Infrared thermometer: quick detection of cold spots to target prevention.
Conclusion
The article concludes that, despite common belief in an inevitable cascade of cold-related disasters, careful assessment shows frozen-pipe costs are often manageable. Investigation reveals prevention and timely action substantially reduce expense and stress. Readers learn that modest investments in insulation, simple DIY thawing, or selective professional help frequently avert catastrophic damage. This tempered truth offers cautious reassurance: understanding risks and choices converts anxiety into practical, affordable control.