Prevent Frozen Pipes: 10 Easy Ways to Stop Pipes From Freezing
To effectively prevent pipes from freezing, follow these key steps:
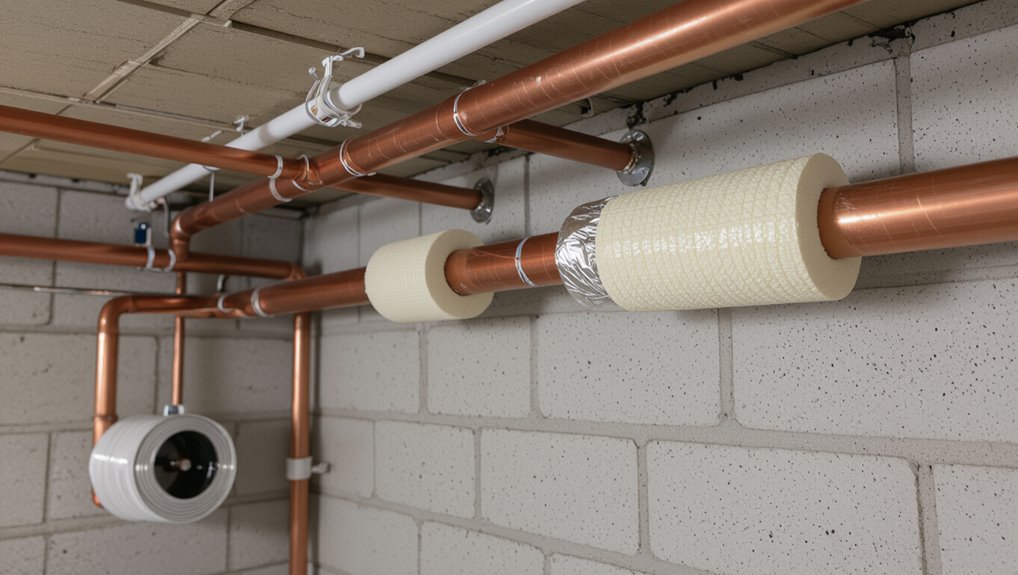
- Insulate Vulnerable Areas: Identify pipes in basements, crawlspaces, attics, and exterior walls, then insulate them with foam sleeves, fiberglass wrap, or rubber insulation.
- Maintain Indoor Heat: Keep a steady indoor temperature, even when you’re away from home.
- Open Cabinet Doors: Allow warm air to circulate around plumbing, especially in kitchen and bathroom cabinets during extreme cold.
- Drip Faucets: Let faucets drip slowly to keep water moving and reduce the risk of freezing.
- Seal Gaps: Check for and seal any gaps where cold air can enter, particularly around windows, doors, and sill plates.
- Winterize Outdoor Faucets: Disconnect and drain hoses, and ensure outdoor faucets are properly winterized.
- Install Heat-Trace Tape: Use this on critical pipes that are prone to freezing.
- Know Your Main Shutoff: Familiarize yourself with the location of your main water shutoff in case of an emergency.
By implementing these practical measures, you can significantly reduce the risk of your pipes freezing during cold weather.
Quick 5‑Step Checklist to Prevent Frozen Pipes
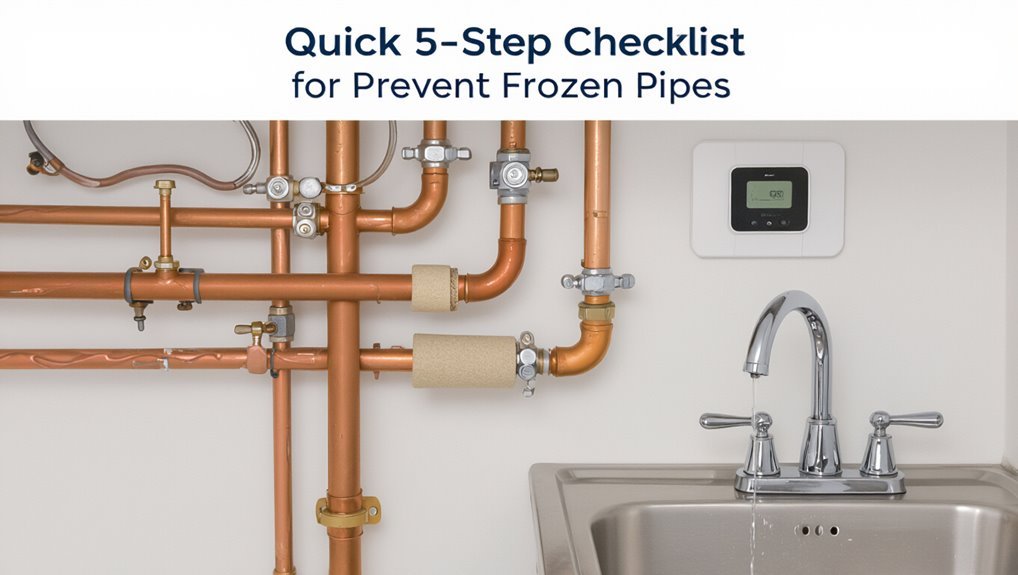
1 simple checklist can help homeowners avoid the disruption and damage of frozen pipes: identify vulnerable plumbing, insulate exposed pipes, maintain steady indoor temperatures, allow slow faucets to drip during extreme cold, and know where to shut off the main water valve.
The checklist directs inspection of basements, attics, crawlspaces, and exterior walls for unprotected piping. It advises targeted insulation with foam or heat tape, sealing gaps admitting cold air, and setting thermostats to prevent large temperature swings.
It emphasizes labeling the main shutoff, preparing portable heaters safely, and scheduling professional service for aging or problematic systems before freezing weather arrives.
Keep a Slow Drip : How Much and Cost
After recommending steady indoor temperatures and identifying weak spots, attention turns to letting a faucet run slowly during extreme cold to relieve pressure and prevent freezing.
A drip keeps water moving; a pencil‑lead–size stream from one fixture on an exposed line is usually sufficient. For households with multiple vulnerable lines, drips at several faucets spread the benefit.
The cost is modest: the added water use is often under a few gallons per hour, translating to cents on most utility bills, though local rates vary.
This minimal expense is typically far less than repair or replacement costs for burst pipes.
Open Cabinets and Direct Heat Toward Pipes
One practical step is to open cabinets under sinks and near plumbing so warm household air can reach vulnerable pipes.
Exposed pipes benefit when heat from the room circulates into enclosed spaces, reducing cold pockets that cause freezing. If cabinets conceal water lines against exterior walls, opening doors during cold spells helps equalize temperature.
Additionally, directing portable heaters or adjusting vents toward areas with plumbing increases ambient warmth; care must be taken to keep heat sources away from combustible materials and avoid direct contact.
Monitoring these measures during severe cold provides quick, low-cost protection until conditions improve.
Insulate Pipes to Prevent Freezing (Materials & Costs)
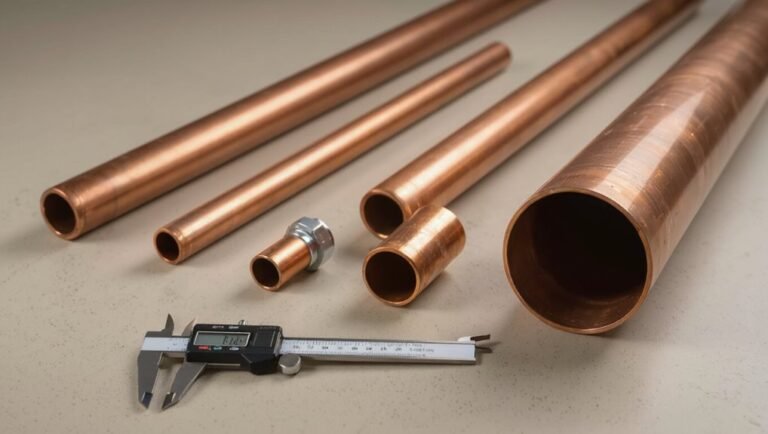
The section reviews common pipe insulation types—foam sleeves, fiberglass wrap, and rubber-based options—highlighting thermal performance and suitability for different pipe locations.
It compares typical costs per linear foot and estimates for a small home retrofit.
Simple installation steps and when to hire a pro are briefly noted to guide decision-making.
Pipe Insulation Types
Selecting the right pipe insulation depends on pipe material, location, temperature exposure, and budget; common options include foam sleeves, fiberglass wrap, rubber insulation, and heat-trace tape, each offering different R-values, durability, installation complexity, and price points. The text objectively compares types, noting foam sleeves suit indoor copper and PVC, fiberglass works for high temperatures and irregular shapes, rubber resists moisture and UV for exterior runs, and heat-trace provides active protection for critical lines. Choice balances thermal performance, moisture resistance, flexibility, and maintenance needs.
| Type | Best use |
|---|---|
| Foam sleeves | Indoor straight runs |
| Fiberglass | High-heat or odd shapes |
| Heat-trace | Critical outdoor lines |
Cost And Installation
Cost considerations and installation complexity vary by insulation type, pipe size, and accessibility; foam sleeves and rubber insulation typically offer the lowest upfront cost and easiest DIY installation, while fiberglass and heat-trace systems carry higher material and labor expenses.
Homeowners can expect foam sleeves to cost a few dollars per foot, rubber slightly more, and fiberglass or professional heat-trace installations to range considerably higher, including electrician fees.
Labor adds substantially when pipes are hard to reach or require removal. Long-term value depends on durability, R-value, and climate.
Comparing upfront price, expected lifespan, and installation difficulty guides the best choice.
Seal Gaps Near Pipes (Walls, Foundations, Penetrations)
Gaps and openings where pipes pass through walls, foundations, and service penetrations create direct pathways for cold air and moisture that can accelerate pipe freezing and corrosion.
Sealing these gaps reduces drafts and limits heat loss around vulnerable pipe sections. Use appropriate materials: exterior-grade caulk for small cracks, spray foam for irregular voids, and fire‑rated sealants where required by code.
Insulate and protect sealed areas from pests and settling. Check utility penetrations, vents, and around sill plates periodically and after renovations.
Professional inspection can identify hidden breaches in foundations or framing that require targeted repair to guarantee lasting protection.
Keep Your Home Warm Enough : Thermostat Settings That Work
Recommended thermostat ranges for preventing frozen pipes, simple nighttime setback strategies, and the advantages of zoned heating all affect interior pipe temperatures.
Experts note that maintaining a moderate baseline temperature, limiting how low thermostats are set at night, and using zones to keep colder areas warmer can reduce freeze risk.
Practical examples of settings and zone priorities help homeowners balance energy use with pipe protection.
Ideal Thermostat Temperatures
When outdoor temperatures fall toward freezing, maintaining an indoor thermostat setting that prevents water in pipes from freezing becomes a primary concern; generally, keeping the home at or above 55°F (about 13°C) provides a safe baseline for most households, though slightly higher settings may be advisable for unheated or poorly insulated areas.
Ideal settings balance safety and energy use. Recommendations consider occupancy, insulation, and vulnerable plumbing locations.
- 55–60°F: unoccupied or well-insulated homes.
- 60–65°F: occupied homes with average insulation.
- 65–68°F: homes with exposed or exterior plumbing.
- 68°F+: prolonged extreme cold.
Nighttime Temperature Strategies
After setting daytime thermostat targets based on occupancy and plumbing exposure, nighttime temperature strategies focus on maintaining warmth while conserving energy and preventing pipe freeze.
Recommend a modest setback—lowering by a few degrees rather than drastic drops—to reduce consumption without risking freeze in exterior walls or unheated areas.
Guarantee minimum setpoints stay above freezing risk thresholds for vulnerable plumbing, and use programmable schedules to restore comfort before occupants wake.
Combine with consistent internal heat distribution and closed interior doors where appropriate.
Monitor conditions and adjust during cold snaps; temporary holds at higher nighttime temperatures can prevent costly pipe damage.
Zoned Heating Benefits
Because different areas of a home have varying heat needs and occupancy patterns, zoning the heating system lets occupants target warmth where it’s needed while reducing overall energy use.
A zoned system prevents blanket overheating, keeping vulnerable pipe locations—basements, crawlspaces, exterior walls—at safe temperatures without wasting energy in unused rooms.
Programmable thermostats for each zone allow tailored schedules and quick responses to cold snaps.
Zoned control also eases maintenance by isolating issues and reducing strain on the furnace.
Consider professional assessment to balance zones and seal ducts to maximize effectiveness.
- Targeted warmth
- Energy savings
- Pipe protection
- Easier maintenance
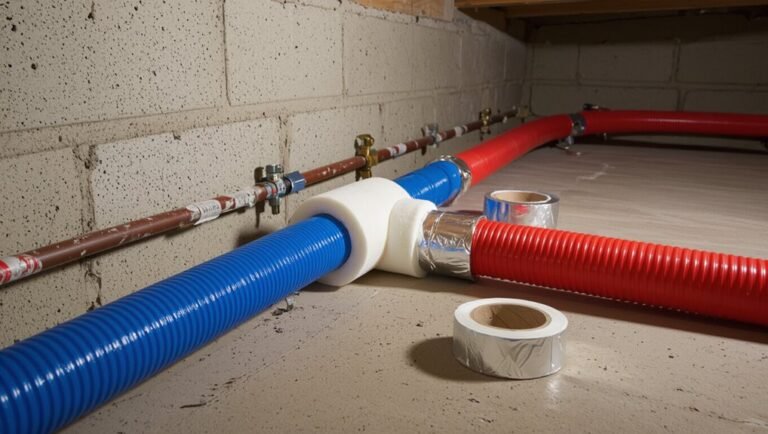
Install Heat Tape or Pipe‑Heating Cable Safely
Installing heat tape or pipe‑heating cable provides a controlled, effective way to prevent pipe freezing in exposed or uninsulated runs.
The homeowner or technician selects the appropriate cable type — self‑regulating for varied temperatures or constant‑watt for steady heat — and matches cable length to pipe runs.
Follow manufacturer instructions: clean pipe, attach cable along length with approved clips or tape, avoid overlapping, and insulate over the cable with recommended foam or fiberglass.
Connect to a GFCI‑protected circuit and test function before final insulation.
Regularly inspect for wear, replace damaged sections, and never use heat tape on plastic pipes unless rated for that use.
Winterize Outdoor Faucets, Irrigation, and Hose Bibs
One straightforward step homeowners should take before the first hard freeze is to winterize outdoor faucets, hose bibs, and irrigation systems to prevent burst pipes and water damage.
Drain lines, shut off exterior valves, and remove hoses. Insulate exposed fittings and use frost-proof spigots where possible. For automatic systems, blow out irrigation lines with compressed air or follow manufacturer winterization procedures. Store detachable components indoors.
- Shut off exterior supply valves.
- Drain and disconnect hoses.
- Insulate or replace exposed faucets with frost‑proof models.
- Winterize irrigation by draining or blowing out lines.
Protect Crawlspaces and Basements From Pipe Freezing
To protect pipes in crawlspaces and basements, insulation should be applied to exposed lines and vulnerable fittings.
Air leaks around rim joists, vents, and foundation penetrations must be sealed to prevent cold drafts from reaching pipes.
Maintaining consistent heat in basements and crawlspaces helps keep temperatures above freezing and reduces the risk of burst pipes.
Insulate Crawlspace Pipes
Many homeowners overlook crawlspace pipes until a freeze causes costly damage; insulating these lines reduces heat loss and prevents freezing by maintaining warmer pipe temperatures.
Proper insulation involves selecting closed-cell foam sleeves or fiberglass with vapor barrier, fitting snugly around pipes, and securing joints to eliminate gaps.
Attention to joints, valves, and bends guarantees continuous coverage.
Routine inspection catches deterioration or compression that reduces effectiveness.
For particularly cold spans, paired with heat tape rated for damp locations, insulation boosts resilience.
Benefits include fewer repairs, steady water service, and reduced energy waste.
- Material selection
- Complete coverage
- Secure installation
- Regular inspection
Seal Air Leaks
After insulating crawlspace pipes, attention turns to sealing air leaks that let cold outdoor air reach vulnerable plumbing; even well-wrapped lines can freeze if drafts flow across gaps in foundations, rim joists, vents, or utility penetrations.
A systematic inspection identifies cracks, gaps around pipes, and deteriorated weatherstripping. Use caulk for small openings, spray foam for irregular voids, and rigid foam board or gaskets where larger openings occur.
Seal vents with insulated covers when appropriate and install metal flashing or vent screens to limit airflow without trapping moisture. Properly sealed enclosures reduce convective cooling and complement insulation to prevent pipe freezing.
Maintain Basement Heat
Maintaining steady basement heat keeps pipes above freezing by reducing cold spots where air infiltrates and insulation underperforms.
Consistent temperature control protects water lines, reduces freeze–thaw stress, and limits condensation that can degrade materials.
Recommended actions focus on simple, reliable measures.
- Set a minimum thermostat temperature and avoid large nighttime drops.
- Insulate exposed pipes and foundation walls to retain ambient warmth.
- Install programmable zones or a supplemental heater for the basement or crawlspace.
- Monitor with a thermometer or low-cost smart sensor and address drafts around doors, vents, and access panels promptly.
When to Call a Plumber and Emergency Steps
When a burst pipe or visible leak occurs, immediate action is required and a professional plumber should be contacted without delay. Minor drips that stop with simple measures can wait for a scheduled repair, but extensive flooding, loss of water pressure, frozen pipes that have begun to crack, or signs of sewage backup demand emergency service.
The occupant should shut off the main water valve, turn off electricity if water threatens outlets, and open taps to relieve pressure. Collect valuables and document damage with photos for insurance.
Keep clear access for technicians, provide site details, and follow plumber instructions until repairs are complete.
Conclusion
Preventing frozen pipes means planning ahead, acting promptly, and maintaining vigilance. By keeping a slow drip, opening cabinets, insulating lines, sealing gaps, and using heat tape where needed, homeowners reduce risk, save money, and avoid damage. By winterizing outdoor fixtures, protecting crawlspaces and basements, and calling a plumber when uncertain, occupants preserve comfort, prevent disaster, and maintain peace of mind. Prepare early, act consistently, and respond swiftly when problems arise.