How to Braze Copper Pipe: Step-by-Step Guide for DIY Plumbing
Key Takeaway: How to Braze Copper Pipe
Brazing copper pipe involves a few essential steps to ensure a strong, leak-proof joint. Here’s a concise guide to help you:
- Preparation: Make clean, square cuts on the copper pipe and remove any burrs. Ensure the surfaces are bright and free of oxidation.
- Apply Flux: Use flux sparingly on the joint before assembly to promote better bonding.
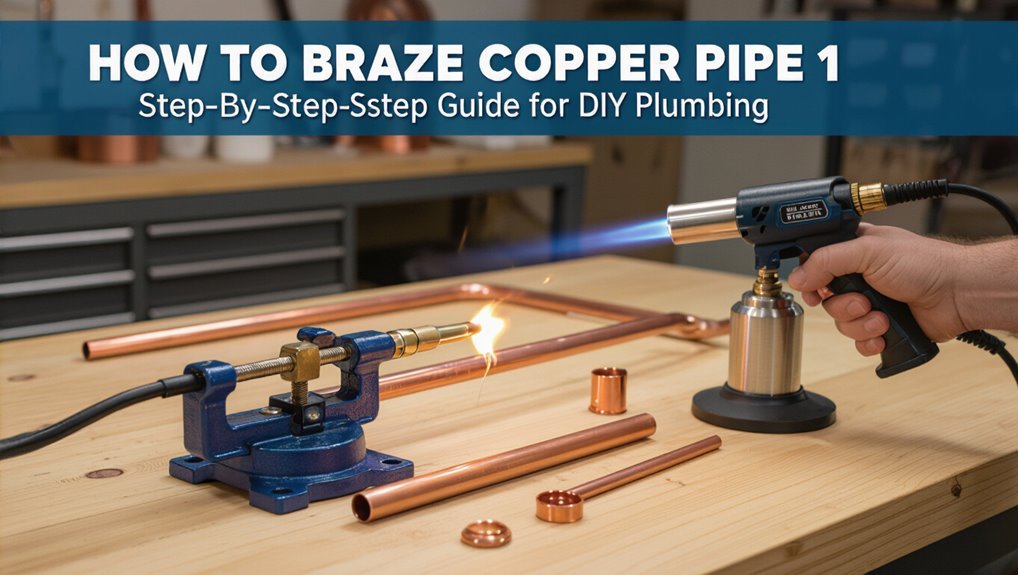
- Heating: Use a propane or MAPP torch to evenly heat the joint until the flux liquefies.
- Add Brazing Alloy: Feed silver brazing alloy into the gap of the joint to create a strong fillet as it melts.
- Cooling: Allow the joint to cool naturally before handling.
- Inspection: Check for leaks and pressure test the joint to ensure integrity.
Pro Tip: Utilizing the right tools, wearing safety gear, and following proper techniques are crucial to prevent failures. For troubleshooting and advanced tips, refer to the full guide.
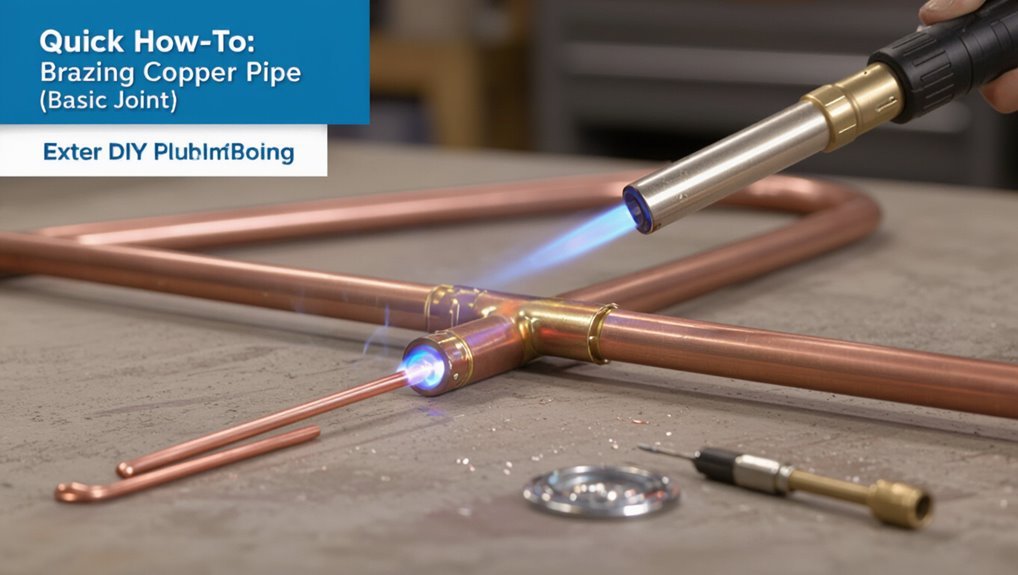
Quick How‑To: Brazing Copper Pipe (Basic Joint)
Prepare the workspace and gather materials before beginning; proper preparation reduces errors and speeds the process.
The technician cleans pipe and fitting with emery cloth, removes burrs, and applies flux sparingly to joint surfaces. Parts are assembled with correct insertion depth and alignment.
Using a propane or MAPP torch, heat is applied evenly to the joint, not the filler. When flux liquefies, introduce silver brazing alloy to the heated zone; capillary action draws filler throughout the seam.
Allow cooling naturally, then brush residue away. Inspect the joint for full fillet, even bead, and leak-tight integrity before pressurizing the system.
When to Braze vs. Sweat or Solder Copper Pipe
Selection between brazing, sweating, or soldering hinges on service temperature, required joint strength, and applicable codes or material limits.
Brazing is preferred where higher temperatures or stronger joints are mandatory, while sweating or soldering suffice for lower-temperature, less-stressed connections.
Installers must verify code restrictions and base the method on the pipe alloys and system demands.
High-Temperature Applications
When systems must operate at temperatures or pressures beyond the limits of soft solder or sweat fittings, brazing becomes the appropriate joining method because it produces stronger, more heat- and pressure-resistant joints.
Brazing is suited for high-temperature steam, hot-oil loops, and industrial process piping where soft-solder joints would soften or fail. It uses higher-melting alloys and controlled heat to form fillets with good metallurgical bonds.
Preparation, flux choice, and heating technique must match service temperatures. Inspect for proper capillary flow and avoid overheating nearby components.
Consider brazing when service temperature, thermal cycling, or safety regulations prohibit soldered connections.
- Steam and hot-water systems
- High-temperature HVAC loops
- Industrial process lines
- Situations with thermal cycling
Joint Strength Needs
High-temperature service often exposes weaknesses in soft-solder or sweat joints, so evaluating required joint strength becomes the deciding factor between brazing and lower-temperature methods.
Brazed joints provide higher tensile and shear strength, suitable for pressurized lines, long unsupported runs, and systems subject to vibration or mechanical stress.
Sweat or soldered joints suffice for low-pressure domestic water lines and simple repairs where loads and thermal cycling are minimal.
Material thickness, joint clearance, and assembly fit influence strength outcomes regardless of method.
Where leakage risks have safety or operational consequences, brazing is the conservative choice to guarantee durable, reliable connections.
Code And Material Limits
Although brazing offers superior strength and temperature tolerance, codes and material limits often determine whether brazing, sweating, or soldering is required for a given copper piping installation.
Authorities having jurisdiction may prohibit brazing in residential potable systems, require flux-based soldering for certain joints, or mandate brazing for high-temperature or refrigeration lines.
Material compatibility matters: thin-wall, soft-drawn, or internally coated tubing may be damaged by brazing heat.
Accessibility, fixture manufacturer instructions, and insurance or inspection requirements also influence method choice.
Installers should consult local code, product data, and inspectors before selecting brazing over sweating or soldering.
- Local plumbing codes and AHJs
- Tube type and wall thickness
- Service temperature and pressure
- Manufacturer and inspection requirements
Essential Tools and Safety Gear for Brazing Copper Pipe
Proper brazing of copper pipe requires a specific set of tools and safety equipment to guarantee clean joints and protect the operator.
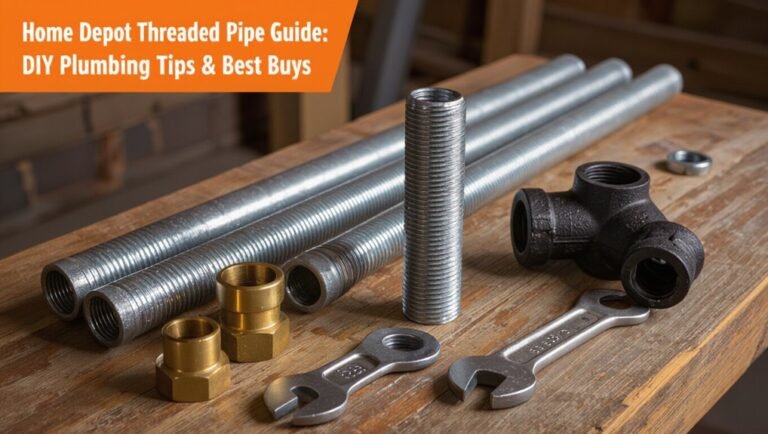
Essential tools include a propane or oxy-acetylene torch with appropriate tip, flux brush, brazing rod (typically silver alloy), adjustable wrench, tube cutter, reamer or deburring tool, and heat-resistant fire bricks or pads.
Safety gear comprises flame-resistant gloves, safety goggles or a face shield, long-sleeve cotton or leather clothing, and a respirator rated for fumes.
A fire extinguisher and bucket of water should be on hand. Adequate ventilation and a clear work area reduce risk and improve weld quality.
Prep: Cleaning, Cutting, and Fitting Copper Pipe
Begin by cutting, cleaning, and dry-fitting each section of copper pipe so joints sit flush and free of debris.
The installer measures and marks, uses a proper cutter or saw for square ends, deburrs inside edges, and removes oxidation and oil from mating surfaces with abrasive cloth or a wire brush.
Test-fit components to confirm alignment, support spacing, and accessibility for the torch.
Re-check clearances from combustibles and plan joint orientation before brazing.
- Use a tubing cutter for clean, round cuts.
- Remove internal burrs to prevent flow restriction.
- Clean outside surfaces to bright copper.
- Dry-fit to verify final assembly.
Filler Metals and Flux: What to Use and Why
With clean, square cuts and correctly fitted joints in place, the next consideration is selecting the appropriate filler metal and, when required, flux to guarantee a strong, leak-free braze.
Common filler alloys are silver-bearing (typically 15–45% silver) and phosphorus-bearing copper alloys; silver solders offer higher strength and corrosion resistance, while phosphorus flux-cored rods simplify joining copper to copper without external flux.
Use flux when working with non-phosphorus alloys or brass/bronze fittings to prevent oxidation and improve flow.
Choose a filler with melting range compatible with pipe temperature limits, and apply flux sparingly to cleaned surfaces per manufacturer instructions.
Step‑by‑Step Brazing Copper Pipe (Standard Joint)
One clear sequence of actions guides brazing a standard copper joint: prepare the pieces, assemble and secure the fit, heat the joint evenly, apply filler metal at the correct temperature, then inspect and clean the completed joint.
The technician fluxes the cleaned surfaces, fits the mating parts with correct gap, and secures alignment. Using a torch, heat concentrates on the joint, watching for uniform color change; when the proper temperature is reached, the brazing rod is touched to the joint and capillary action draws filler in.
After cooling, excess flux is removed and the joint is checked for leaks and integrity.
- Cleanliness and fit determine capillary flow
- Even heating prevents voids
- Apply filler at molten flow, not flame
- Post-braze cleaning avoids corrosion
Tight Spaces and Large Pipe: Techniques and Tips
When space is limited, the technician adapts with compact torches, angled tips, and careful joint preparation to guarantee proper access and heat control.
For large‑diameter pipe, even heating and higher‑output torches or preheating are used to achieve consistent capillary flow.
Attention to flame size, heat distribution, and secure fixturing reduces the risk of cold joints and overheating nearby components.
Accessing Tight Joints
How can a fitter reach a joint squeezed into a cabinet corner or behind large pipe runs without sacrificing weld quality? A fitter assesses access, plans angles, and selects compact tools. Proper joint clearance, flux application, and secure supports prevent movement. Visualize torch path and maintain safe clearances; use heat shields to protect nearby finishes.
- Use angled or mini-torches for confined flame control.
- Leverage flexible hoses and elbowed tips to reach awkward orientations.
- Employ mirror inspection or borescope for alignment and heat monitoring.
- Clamp or brace fittings to eliminate movement during capillary action and cooling.
Heating Large Diameter
Heat large-diameter copper reliably by matching heat input and distribution to the pipe mass and access constraints: concentrate flame where the joint needs to reach soldering temperature while preheating adjacent metal to prevent heat sink effects, use multiple small, controlled heat sources or a larger torch with a broad tip as space allows, and employ heat blankets or induction coils for even heating in confined or layered assemblies. Techniques include staging heat, monitoring temperature with crayons or IR, and securing fluxed fitup. Safety: ventilate and protect surrounding materials. Table compares methods, access, and suitability below.
| Method | Access | Suitability |
|---|---|---|
| Broad tip torch | moderate | large diameter |
| Multiple small torches | restricted | targeted joints |
| Heat blanket/induction | cramped/insulated | even heating |
Fixing Leaks, Testing, and Post‑Brazing Cleanup
After brazing, the joint should be inspected and tested promptly for leaks and integrity before returning the system to service.
The technician examines visible fillets, feels for gaps, and cleans flux residue to prevent corrosion.
Pressure testing follows—use water or inert gas at recommended psi—and observe for steady pressure loss or drip points.
Small leaks may be reheated and additional filler applied; replace joints that fail repeatedly.
Final cleanup removes oxidation and flux with a wire brush and appropriate solvent, then protect with lacquer or insulation where needed to prevent future damage.
- Visually inspect fillet continuity and color
- Perform appropriate pressure test
- Repair minor leaks by reheat and add filler
- Clean flux, neutralize residue, protect surface
Conclusion
The final torch flare cools, and the joint gleams — but the job isn’t truly finished yet. A careful hand waits, listening for a faint hiss that would betray an unseen flaw, eyes tracing every bead and seam. Pressure is slowly applied; a small bubble could undo hours of work. If all holds, the craft is sealed and quiet, leaving only the subtle satisfaction that comes after danger was narrowly, expertly kept at bay.