Fix a Burst Pipe Fast: DIY Steps to Stop Leaks & Prevent Damage
Key Takeaway: Fix a Burst Pipe Fast
When a pipe bursts, you need to act quickly to minimize damage. Follow these steps:
- Shut Off Water: Immediately close the nearest fixture valve or the main water shutoff to stop the flow.
- Relieve Pressure: Open faucets to let water flow out and relieve pressure in the pipes.
- Clean Up: Mop up any standing water to prevent further damage.
- Turn Off Power: Switch off power to affected areas and relocate any electronics to a safe place.
- Use Temporary Fixes: Gather tarps, buckets, and a wrench. Apply a temporary clamp, rubber patch, or compression fitting until you can make a permanent repair.
- Dry and Ventilate: Ensure that damaged materials are dried and well-ventilated to prevent mold growth.
By following these immediate steps, you can effectively stop leaks and prevent further damage from a burst pipe.
Spot a Burst Pipe Immediately
How can a homeowner tell if a pipe has burst? A sudden loss of water pressure, gushing water from visible plumbing, or unexplained pooling beneath sinks, appliances, or ceilings signals a rupture.
Unusual sounds like hissing or banging, new water stains, bulging walls, or warped flooring indicate ongoing leakage.
Frosted or unusually cold sections of exposed pipe suggest freezing that can precede failure.
Rapid meter movement with all fixtures off confirms active flow.
Electrical issues near wet areas warrant caution.
Early detection relies on regular visual checks, prompt response to anomalies, and monitoring utility bills and the water meter for unexplained increases.
Stop a Burst‑Pipe Leak Fast: Find Shutoff Valves
Once a burst is detected, the fastest way to limit damage is to shut off water at the appropriate valve: the homeowner should locate and turn the nearest fixture shutoff for sinks, toilets, or appliances, then close the main shutoff to stop flow to the whole house if the local valve does not stop the leak.
Next, identify common shutoff locations: under sinks, behind toilets, near laundry appliances, at exterior hose bibs, and at the water meter or main line entry.
Turn valves clockwise; use pliers only if needed. Mark and test valves periodically so they operate reliably during emergencies.
Turn Off Power and Protect Electronics Safely
Before beginning plumbing repairs, power to the affected area should be shut off at the circuit breaker to prevent electrical hazards.
Sensitive electronics and outlet-covered devices should be moved to a dry location or sealed with protective covers.
This reduces shock risk and limits water damage while the burst pipe is addressed.
Cut Power To Affected Area
If electrical outlets, appliances, or wiring are near the leak, power should be shut off to the affected area immediately to prevent shock, short circuits, or fire. The homeowner locates the breaker panel, identifies affected circuits, and flips them off. If unsure, the main breaker is tripped. Avoid touching wet equipment; use rubber-soled shoes and a dry board. After power is off, label the tripped breakers and notify household members. Contact an electrician if wiring is submerged or damaged. Restore power only after the area is dry and inspected.
| Action | Who | Timing |
|---|---|---|
| Locate panel | Homeowner | Immediate |
| Trip breakers | Homeowner | Immediate |
| Call electrician | Professional | If damage |
| Label breakers | Homeowner | After cut |
Protect Electronics With Covers
After shutting off power to the affected circuits, attention should turn to protecting electronics that remain in the area.
Devices should be unplugged where safe and lifted off wet floors onto elevated, dry surfaces. Sensitive equipment gets temporary plastic covers or waterproof bags sealed with tape; ventilated devices require loosely draped covers to avoid overheating if power is later restored.
Battery-powered units should have batteries removed and stored dry. Label cords and outlets left connected to aid restoration. Photograph placements and conditions for insurance.
After water is contained and surfaces dry, a qualified electrician should inspect before power is restored and devices are reconnected.
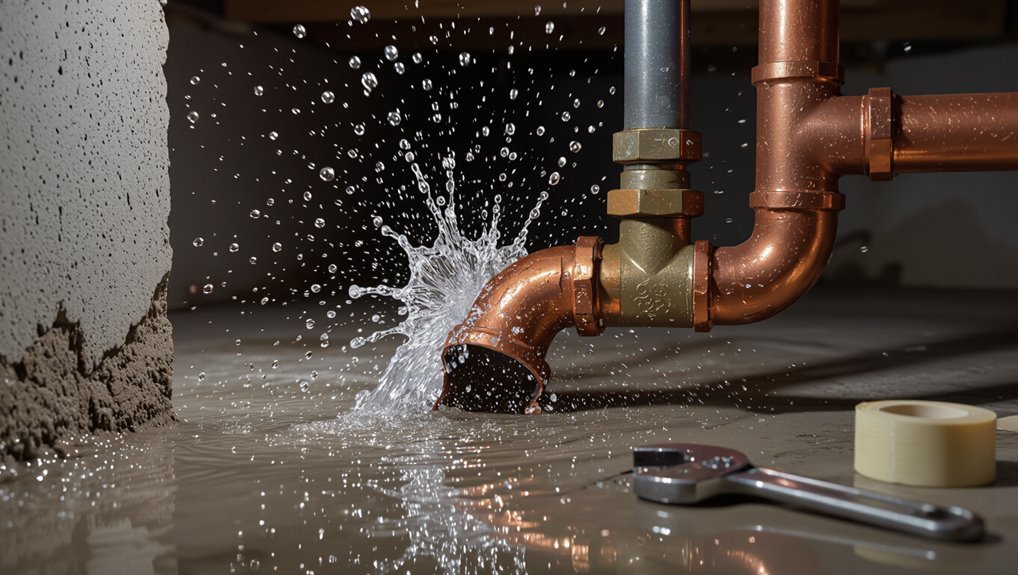
Drain and Relieve Pressure From the Damaged Pipe
First, the main water supply to the affected section should be shut off to stop additional flow.
Next, nearby faucets and taps are opened to drain residual water from the pipes.
Finally, any trapped pressure is relieved by opening a high and a low point until flow ceases.
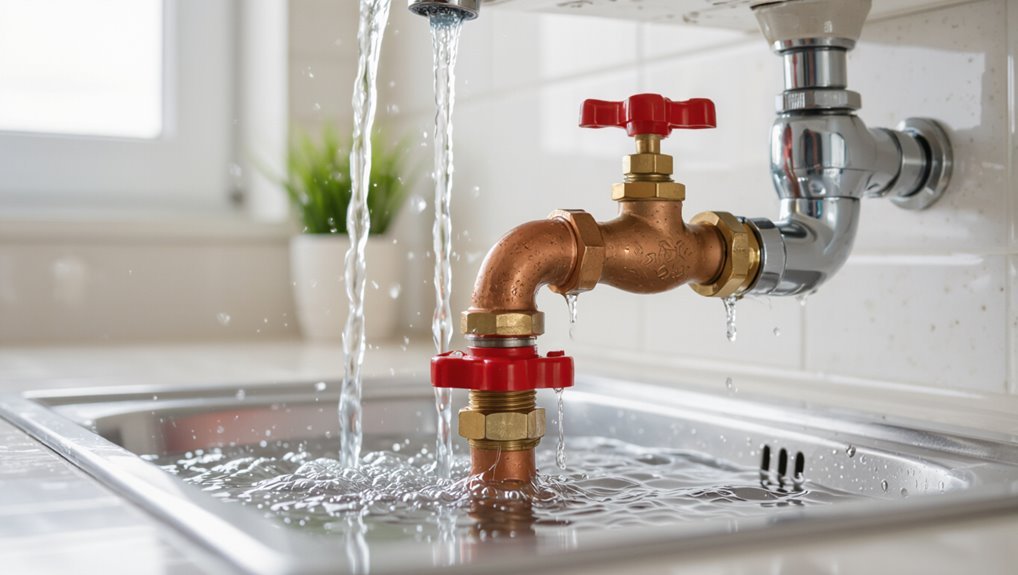
Turn Off Water Supply
One clear action is to stop the water supply to the damaged pipe and relieve built-up pressure before any repairs begin.
The homeowner locates the nearest shutoff—individual fixture valve or main shutoff—and turns it clockwise until fully closed. If valves are stiff, pliers or a wrench provide controlled force; avoid excessive torque.
After closing, the person checks supply status by monitoring the leak for slowdown and listening for flow. Any built-in isolation valves should be used before the main when possible.
If the main cannot be reached or fails to stop flow, the water utility should be contacted immediately.
Open Nearby Faucets
Open nearby faucets to drain remaining water and equalize pressure in the affected line. The person opens taps at low and high points—bathroom, kitchen, outdoor spigot—to encourage flow toward drains.
Cold and hot taps both should be opened to clear respective branches. Monitor water exiting for signs of debris or continuing flow from the burst area. Keep a bucket or towels beneath drips and direct runoff to a drain when possible.
After flow slows to a trickle, leave faucets open until repairs or shutdown procedures finish. Closing main water supply first reduces further water movement during this step.
Relieve Trapped Pressure
Before cutting into or attempting repairs on the burst section, they should drain and relieve any trapped pressure in the damaged pipe to prevent sudden sprays or further widening of the rupture. They first close the nearest shutoff valve, then open downstream faucets and hose bibs to let remaining water escape. For higher systems, they open an air admittance or bleed valve where present. They wear eye protection and stand clear of joints. After flow ceases and gauges read zero, they mop residual water and dry the area before cutting or applying a clamp, ensuring safer, controlled repairs.
| Step | Action |
|---|---|
| 1 | Close shutoff valve |
| 2 | Open downstream taps |
Gather Emergency Tools and Materials for a Burst Pipe
A quick inventory of essential tools and materials helps contain water damage and enable temporary repairs after a burst pipe. The homeowner should assemble items that control flow, protect belongings, and allow safe access.
Prioritize shutting water off, draining remaining pressure, and ensuring electrical circuits to affected areas are off before working nearby. Store items in a waterproof caddy for fast retrieval.
- Adjustable wrench, pipe cutter, plumber’s tape
- Heavy-duty tarp, buckets, absorbent towels
- Flashlight, work gloves, safety goggles
These basics reduce initial damage and prepare for professional repair or temporary measures.
Quick Temporary Fixes for a Burst Pipe (Tape, Putty, Clamp)
When a pipe bursts, quick temporary fixes—self-fusing silicone tape, epoxy putty, and pipe clamps—can stop or slow leaking long enough for a proper repair.
Each option suits different damage: tape adheres to dryish surfaces to compress and seal, putty molds into gaps and hardens to block flow, clamps bridge larger splits and hold rubber patches in place.
Selection depends on pipe material, access, and water pressure. These measures are short-term: they reduce damage, permit system shutdown, and allow time to arrange professional or permanent repairs.
Inspect frequently and replace temporary fixes promptly.
How to Plug a Hole: Tape, Epoxy Putty, Clamp (Step‑by‑Step)
Several practical methods can quickly plug a burst pipe hole—self-fusing silicone tape, epoxy putty, and a clamp with a rubber patch—each applied differently depending on the hole size, pipe material, and access.
Steps are concise and safety-focused.
- Wrap: Clean and dry around the leak, stretch silicone tape over the hole, overlap several layers, then press to bond; restore pressure slowly.
- Mold: Knead epoxy putty, press firmly into and around the hole, smooth edges, cure per instructions, then test under low pressure.
- Clamp: Place rubber patch over the hole, align clamp, tighten evenly until leak stops; monitor for seepage.
When to Cut Out and Replace a Pipe Section Yourself
If temporary fixes like tape, epoxy putty, or a clamp fail to stop a leak reliably or the damage is large or on a threaded fitting, a section cut-out and replacement becomes the practical next step.
The homeowner should assess access, valve isolation, pipe material, and the length needing removal. Small, straight runs with accessible shutoffs and compatible replacement fittings suit DIY.
Complicated joints, hidden piping, or mains-pressure systems warrant a pro. Required tools include a cutter, replacement pipe and fittings, and secure joints appropriate to the material.
Safety, clear water shutoff, and testing for leaks after installation are mandatory before restoring service.
Permanent Repair Options: Soldering and Compression Joints (Step‑by‑Step)
Begin by choosing the repair method that matches the pipe material, access, and skill level: soldering offers a durable, leak-free joint for copper but requires a torch and flux, while compression fittings work on copper or soft metal without heat and are quicker for confined spaces.
- For soldering: cut and clean pipe, slide on flux and fitting, heat evenly, apply solder until fillet forms; cool and inspect for gaps.
- For compression: deburr pipe, slide nut and ring, seat fitting, tighten nut hand‑tight plus a quarter turn with wrench; avoid over‑tightening.
- Test under pressure and check for steady drips before finishing.
Dry Out and Limit Water Damage to Floors and Walls
Once the leak is contained with a soldered joint or compression fitting, attention shifts to removing moisture from floors and walls to prevent structural damage and mold growth.
Inspect affected areas, lifting baseboards and flooring where safe to expose damp substrates. Mop and blot standing water; use wet/dry vacuums for carpets and rugs.
Increase airflow with fans and dehumidifiers; open windows when weather permits. Remove wet insulation and drywall that remain saturated beyond 24–48 hours.
Sanitize surfaces with appropriate cleaners to inhibit mold. Document damage with photos for records.
Continue monitoring humidity until materials reach normal dryness levels.
When to Call a Plumber or Notify Your Insurer
While many small leaks can be managed by a competent homeowner, certain signs indicate professional help or an insurer notification is necessary: persistent or recurrent leakage, visible structural damage, sewage contamination, significant flooding, inability to shut off water, or estimated repair costs that approach the policy deductible.
- Call a plumber when leaks continue after shutoff, water affects electrical systems, or sewage/backflow is present.
- Notify the insurer promptly for major flooding, structural harm, or when repair estimates near or exceed the deductible; document damage with photos.
- For uncertain cases, consult a licensed plumber first, then file a claim if repairs are substantial.
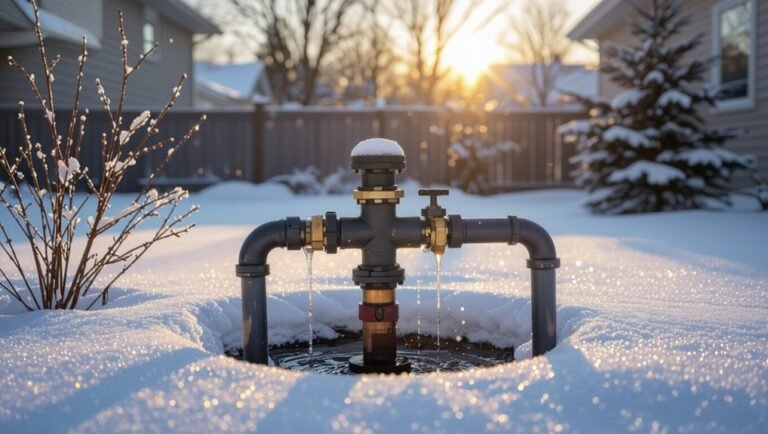
Prevent Burst Pipes: Insulation, Winter Prep, and Maintenance
Because frozen pipes usually precede bursts, homeowners should prioritize insulation, seasonal preparation, and routine maintenance to reduce risk and limit repair needs. Encourage insulating exposed pipes with foam sleeves, sealing gaps where cold air enters, and maintaining steady indoor temperatures. Recommend shutting off and draining outdoor faucets before freezing weather, and keeping cabinet doors open near plumbing to circulate warmth. Suggest periodic checks for corrosion, slow leaks, and secure hangers to prevent stress. Routine winterization and simple repairs minimize emergency breaks and water damage.
| Action | Benefit |
|---|---|
| Insulate pipes | Prevents freezing |
| Seal gaps | Reduces cold drafts |
| Drain outdoors | Avoids ice buildup |
| Inspect fittings | Catches wear early |
Test and Inspect Your Repair for Leaks
Begin by restoring water gradually and observing the repaired area closely for any signs of leakage. The person checks joints, fittings, and nearby surfaces for drips, dampness, or pressure loss. If visible, tighten fittings or reapply sealant; if not, proceed to monitor.
- Turn water on slowly, watch for steady pressure and no new drips.
- Inspect after 10–15 minutes, then again after one hour for slow leaks.
- Check surrounding ceilings, walls, and flooring for hidden moisture.
Document findings and consider a pressure test or professional help if uncertainty or recurrent leaks persist.
Conclusion
A homeowner can act swiftly to stop leaks, a homeowner can act calmly to protect wiring and valuables, a homeowner can act wisely to drain pressure and dry surfaces. A homeowner can patch temporarily, a homeowner can call a pro when needed, a homeowner can document for insurance. To prevent future breaks, a homeowner can insulate, winterize, and inspect regularly. Quick action saves structures, steady care preserves homes, and consistent vigilance prevents crises.