How to Replace a Flush Valve on a Kohler Toilet: Step-by-Step Guide for Beginners
To replace a flush valve on a Kohler toilet, start by turning off the water supply and draining the tank. If the flush valve is leaking, running continuously, or cracked, it’s time for a replacement. Disconnect the supply line, and if necessary, remove the tank. Take out the old valve assembly, clean the mounting seat, and install a new Kohler-compatible valve with the appropriate gasket and nut. Reattach all hardware, refill the tank, and check for leaks while ensuring the chain length is correct. Follow the detailed steps and troubleshooting tips for a smooth replacement process.
What a Flush Valve Does in a Kohler Toilet
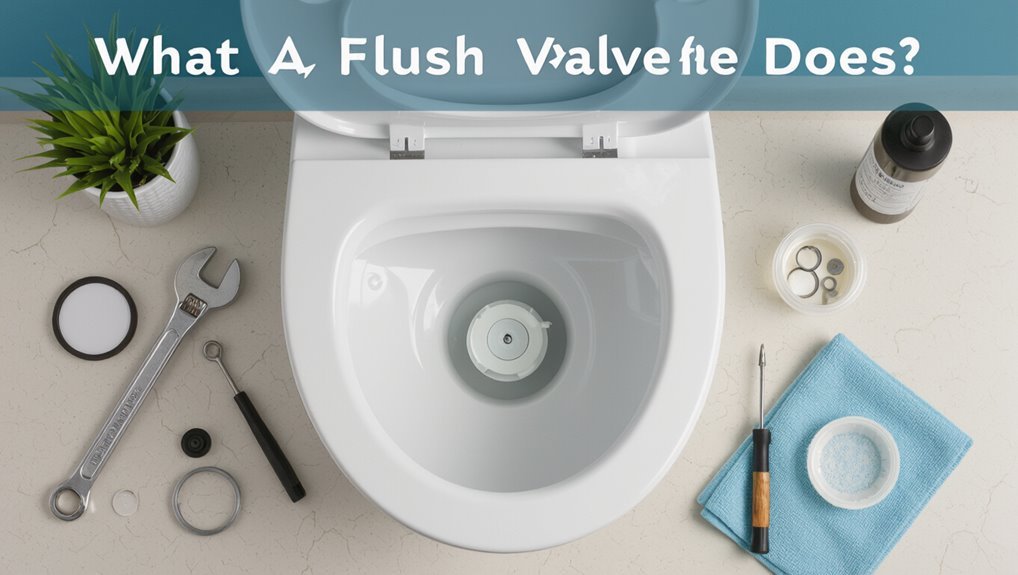
The Kohler flush valve assembly consists of the valve body, seal or flapper, lift mechanism, and overflow components that control water release from the tank to the bowl.
Its condition and correct alignment determine flush strength, water flow timing, and whether the tank seals properly.
Worn or misaligned parts can reduce flushing performance and cause continuous or intermittent leaks.
Components of a Kohler flush valve assembly
A flush valve assembly controls water release from the tank to the bowl, coordinating refill and seal functions to guarantee an efficient flush.
Components include the main valve body, flapper or seal, overflow tube, refill valve coupling, lift chain or actuator, and mounting nut with gasket.
Knowledge of how to replace flush valve on kohler toilet aids accurate identification and safe replacement.
How the flush valve affects flushing performance and leaks
Controls the timing and volume of water released during each flush. A Kohler flush valve directly determines bowl evacuation efficiency and tank refill behavior.
Worn seals or misaligned parts reduce flow, causing weak flushes or partial clears. Persistent leaking wastes water and raises bills.
Proper valve function maintains consistent pressure, prevents siphoning, and guarantees reliable shutoff. Timely replacement restores performance and stops leaks.
When to Replace the Flush Valve
Signs that a flush valve needs replacement include continuous running, weak or incomplete flushes, and visible cracks or mineral buildup.
To determine whether the flush valve is at fault, testing for leaks with food coloring in the tank and inspecting the flapper/gasket, fill valve, and chain interaction helps isolate the problem.
If tests point to persistent leaks or damaged components on the valve itself, replacement is warranted.
Common signs the flush valve needs replacement
Several clear indicators point to a failing flush valve and signal it’s time for replacement.
Persistent running after flushing, intermittent or constant water loss into the bowl, weak or incomplete flushes, visible cracks or warped seals inside the tank, and repeated need for frequent adjustments all suggest the valve assembly is compromised and should be replaced to restore reliable operation and prevent water waste.
How to diagnose a faulty flush valve versus other parts
After recognizing symptoms like continuous running or weak flushes, the next step is determining whether the flush valve itself is at fault or another component—such as the flapper, fill valve, chain, or overflow tube.
Inspect the flapper for warping and seal integrity, verify chain length and hinge freedom, confirm fill valve shutoff and tank pressure, and observe overflow for siphoning; replace the flush valve only if leaks originate at its seat.
Tools and Replacement Parts You’ll Need
A brief inventory of tools and replacement parts helps guarantee the job proceeds smoothly and avoids surprises. The list should include basic hand tools, a new Kohler-compatible flush valve or repair kit selected for the toilet model, and any seals or mounting hardware that match the tank configuration.
Confirming the exact Kohler model number before purchasing avoids compatibility problems and wasted trips to the store.
- Basic tools: adjustable wrench, screwdriver set, sponge or towel
- Parts selection: OEM or compatible Kohler flush valve/repair kit keyed to the toilet model
- Seals and hardware: tank-to-bowl gasket, flush valve nut, and replacement bolts as needed
Recommended tools and materials
Gather the correct tools and replacement parts before beginning work to guarantee the repair proceeds smoothly.
Essential tools include adjustable wrench, pliers, flathead and Phillips screwdrivers, utility knife, sponge, bucket, and shop towels.
Recommended materials: replacement Kohler flush valve assembly, new tank-to-bowl gasket, mounting bolts and washers, plumber’s putty or silicone, and Teflon tape.
Safety gloves and eyewear are advised.
How to choose the correct Kohler flush valve model and compatible parts
Identify the toilet’s model number and inspect the existing flush valve to verify compatibility with replacement parts.
Consult Kohler’s parts diagrams or website for exact valve model codes. Match seal sizes, mounting flange dimensions, and refill tube connections.
Choose OEM parts when possible; if using aftermarket, confirm compatibility.
Note tank type (one-piece vs. two-piece) and flush volume to guarantee proper performance.
Safety Precautions and Pre-Work Checklist
Before beginning work, the water supply should be shut off and the tank fully drained to prevent spills and accidental flushing.
Surfaces and nearby fixtures must be protected with towels or drop cloths to guard finishes and contain any residual water.
Clear workspace and laid-out tools reduce accidental damage and streamline the replacement.
Turning off water and draining the tank
Shut off the water supply at the shutoff valve located on the wall or floor behind the toilet, then flush the toilet to empty most of the tank.
Hold the handle down to drain remaining water. Use a sponge or towel to remove residual moisture.
Disconnect the supply line if necessary and place a bucket beneath fittings to catch drips before proceeding.
Protecting finishes and workspace
Lay protective coverings over the floor and nearby surfaces and remove or shield items that could be damaged by tools, water, or cleaning agents.
Wear gloves to prevent fingerprints on chrome and porcelain. Use towels or foam pads around the base and tank.
Keep small parts in a tray to avoid scratches or loss. Guarantee adequate lighting and clear access for safe, efficient work.
Step-by-Step Guide to Replacing a Kohler Flush Valve
The technician begins by shutting off the water and emptying the tank to prevent spills.
After removing the tank lid to note the internal layout, the water supply is disconnected and the tank removed from the bowl if necessary.
The old flush valve assembly is then taken out and the tank’s sealing surfaces are cleaned and prepared for the new valve.
Step 1 Shut off water and empty the tank
Begin by turning off the water supply to the toilet at the shutoff valve located near the wall or floor.
Then flush to drain as much water from the tank as possible and hold the handle down until the tank is empty.
Place towels or a small bucket nearby for residual water.
Verify the valve is fully closed and the tank remains empty before proceeding.
Step 2 Remove the tank lid and inspect internal layout
Lift the tank lid straight up and set it on a towel to protect it.
Then visually examine the tank interior to identify the flush valve assembly, fill valve, overflow tube, and any mounting clips or seals.
Note part orientations, connection types, and any mineral buildup or cracked components.
Photograph the layout for reference.
Confirm which parts require removal and which remain attached.
Step 3 Disconnect the water supply and remove the tank from the bowl (if required)
Shut off the water supply at the shutoff valve located near the toilet by turning it clockwise until it stops.
Then flush to drain most water from the tank and sponge out any remaining liquid.
Disconnect the flexible supply line at the tank inlet with an adjustable wrench.
Unscrew the tank-to-bowl mounting nuts, support the tank, lift it off the bowl, and set it on a protected surface.
Step 4 Remove the old flush valve assembly
With the tank empty and accessible, the old flush valve assembly can be removed by first disconnecting the refill tube and any remaining chain or lift wire.
Then, unscrewing the large plastic locknut securing the valve to the tank base. The valve body lifts out once loosened; remove associated gaskets and overflow tube if attached.
Inspect mounting holes and retain hardware for reuse or replacement.
Step 5 Prepare the tank and clean sealing surfaces
Before installing the new valve, the tank interior and the flange around the drain must be thoroughly cleaned and inspected to confirm a watertight seal.
Remove debris, mineral buildup, and old gasket material with a soft brush and vinegar solution.
Dry surfaces completely.
Inspect for cracks, corrosion, or warped edges.
Replace any damaged components before proceeding to verify proper sealing and reliable operation.
Step 6 Install the new Kohler flush valve and seals
Begin by laying out the new Kohler flush valve assembly and all accompanying gaskets, seals, and fasteners on a clean, dry surface to verify parts and orientation.
Insert the main valve through the tank opening, seat the rubber gasket evenly, and secure the locking nut finger-tight then snug with a wrench.
Install overflow tube, flapper or seal, and test lever linkage for free movement.
Step 7 Reassemble tank to bowl and reconnect water supply
Carefully lower the tank onto the bowl, aligning the bolt holes and tank-to-bowl gasket so the tank seats evenly without rocking.
Insert tank bolts with rubber washers, hand-tighten nuts, then alternate small turns with a wrench to compress gaskets evenly.
Reconnect the fill valve to the water supply hose, tighten the coupling nut, and verify fittings are snug and leak-free before proceeding.
Step 8 Restore water, adjust valve height and flapper/seat, and test flush
Once the water supply is turned back on and the tank fills, confirm the fill valve height and flapper seating to guarantee a proper flush and no leaks.
Adjust the fill valve so water reaches the specified mark, position the flapper evenly over the seat, and tighten connections.
Perform multiple test flushes, watching for leaks, proper refill level, and complete bowl evacuation.
Step 9 Fine-tune adjustments to stop running or weak flushes
Adjustments to the fill valve, flapper, and chain should be made methodically to eliminate a running or weak flush; small changes often resolve the issue without further disassembly.
Check water level relative to the overflow tube, raise or lower the fill valve as needed, shorten or lengthen the chain for proper flapper seating, and guarantee the flapper seals.
Repeat tests until flush is consistent.
Troubleshooting After Installation
After the flush valve replacement, the installer should check for common problems such as continuous running, a weak flush, or visible leaks and note their symptoms.
Simple adjustments or tightening may resolve running water, while poor flush performance can indicate a misaligned chain or incorrect water level.
If issues persist, consideration should be given to replacing related components like the fill valve, flapper, or tank-to-bowl gasket.
Fixing common issues: continuous running, weak flush, or leaks
Troubleshooting post-installation problems begins with observing the tank and bowl behavior to narrow likely causes:
Continuous running often indicates a misaligned or sealing flush valve seat; check chain length and seal seating.
Weak flush can result from partial blockages or incorrect water level; inspect rim jets and adjust tank fill.
Leaks demand immediate identification of source at valve base or mounting bolts and reseating.
When to replace additional parts (fill valve, flapper, tank-to-bowl gasket)
When should additional components be replaced after installing a new flush valve?
The user should inspect performance: replace the flapper if sealing is poor or water persists; replace the fill valve when filling is slow, noisy, or overfilling despite adjustments; replace the tank-to-bowl gasket if leaks occur at the joint.
Replace worn, cracked, or corroded parts to guarantee reliable operation.
Time, Cost, and Difficulty Estimates
A typical replacement of a Kohler flush valve takes about 30 minutes to 90 minutes depending on familiarity and any complications.
Parts generally cost between $20 and $70, with basic tools adding $0–$40 if not already owned.
The task is moderate in difficulty; a homeowner comfortable with simple plumbing can usually complete it, while those facing corroded fittings or uncertain about shutoff procedures should hire a professional.
Typical time to complete the job
Most homeowners can expect the job to take between 30 minutes and 1.5 hours, depending on familiarity with plumbing and whether the tank must be drained or removed.
Novice DIYers should budget closer to the upper end. Experienced DIYers who’ve replaced parts before often finish in under an hour.
Additional time may be required for troubleshooting leaks, corroded bolts, or tight fittings.
Expected cost ranges for parts and tools
After estimating time, it helps to evaluate the likely costs for parts and any specialty tools.
Typical flush valve kits for Kohler toilets range $15–$60 depending on model and materials. Common supplementary parts (gaskets, bolts) add $5–$15.
Basic tools are often on hand; if purchased, expect $10–$40 for pliers, wrench, or basin wrench.
Total typical outlay: $30–$115.
Skill level and when to call a professional
When should a homeowner tackle a Kohler flush valve replacement versus hiring a pro?
A DIYer with basic plumbing experience, steady hands, and 45–90 minutes can replace a flush valve using common tools.
Hire a professional if water supply issues, corroded tank bolts, unclear leaks, or lack of confidence exist.
Pros guarantee proper sealing and can diagnose hidden problems efficiently.
Preventative Maintenance to Extend Flush Valve Life
Routine preventative maintenance helps prolong a Kohler flush valve’s service life and reduces the need for replacements.
Inspections and simple adjustments catch wear early, while attention to water quality can prevent mineral buildup and corrosion. A few straightforward actions can keep the valve operating reliably for years.
- Establish a regular inspection schedule to check seals, flappers, and linkage for wear.
- Test and correct water quality issues (hardness, sediment) to minimize mineral deposits.
- Perform simple fixes promptly—cleaning components or replacing small parts before failure.
Regular inspection schedule
Establishing a regular inspection schedule helps identify wear, leaks, and mineral buildup before they compromise the flush valve’s performance.
Monthly visual checks of tank components, quarterly functional tests of flush and refill, and semiannual tightening of fittings provide consistent oversight.
Document findings and dates, replace worn parts promptly, and schedule professional evaluation if persistent issues appear to prevent unexpected failures.
Water quality and simple fixes to prevent valve wear
Monitor water quality and address common issues to slow flush valve deterioration and preserve performance.
Hard water, sediment, and chlorine accelerate wear; test hardness and inspect for debris.
Install a simple sediment filter or softener where needed, flush supply lines periodically, and replace corroded washers.
Regularly clean valve components with vinegar for mineral buildup.
These steps extend service life and reduce replacement frequency.
Compatible Kohler Models and Replacement Part References
A concise list of popular Kohler toilet models and their recommended flush valve replacements helps guarantee correct parts and fit. Below is a quick reference table for commonly encountered models and suggested replacement part numbers. This section will guide selection and shorten repair time.
| Kohler Model | Recommended Flush Valve |
|---|---|
| Cimarron | 3024837 |
| Santa Rosa | 3029368 |
Popular Kohler toilet models and recommended flush valve replacements
Several Kohler models share compatible flush-valve designs, making it straightforward to match replacement parts to the toilet.
Common compatible series include Cimarron, Wellworth, Santa Rosa, and Class Five.
Recommended replacements: Kohler Genuine 1214359 or 1208334 for 2-inch valves, and Kohler 1106981 for 3-inch applications.
Verify model number and tank measurements before purchasing to guarantee fit and function.
Visual Aids and Reference Diagrams
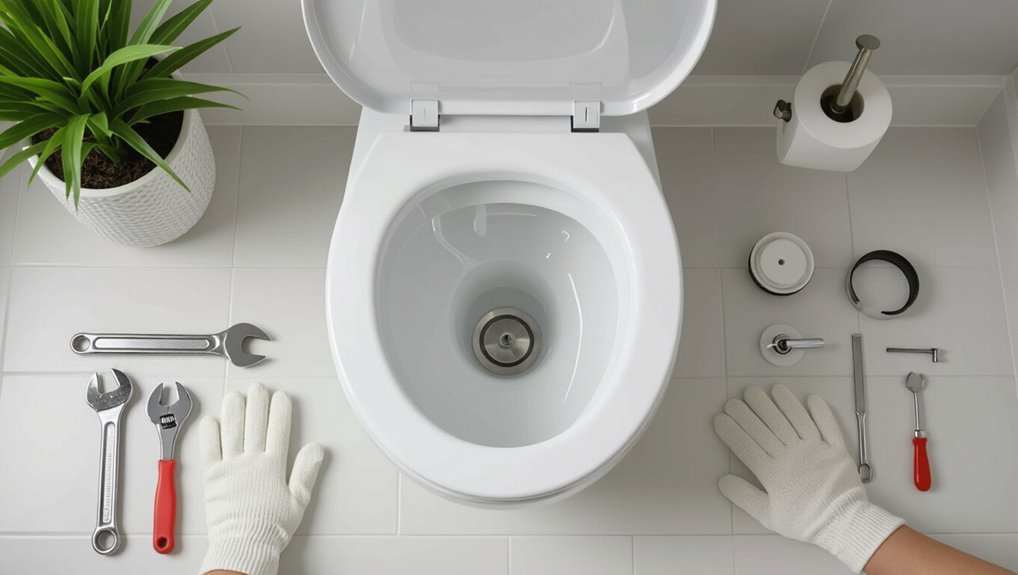
Clear, labeled diagrams and step-by-step photos are essential for locating parts, understanding assembly relationships, and avoiding common installation mistakes when replacing a Kohler flush valve.
Illustrations should show tank interior, seal orientation, clip positions, and refill tube routing. Include exploded views, torque points, and common error callouts.
Provide scale or part numbers to match replacements and aid troubleshooting.
Conclusion
In conclusion, replacing a Kohler flush valve restores reliable flushing and prevents leaks when signs of wear appear. With basic tools, patience, and attention to manufacturer specifications, most homeowners can complete the job without calling a pro. Taking preventive steps—like regular inspections and gentle cleaning—keeps the mechanism working longer. When uncertainty arises, consult model-specific guides or a technician to avoid costly mistakes; after all, an ounce of prevention is worth a pound of cure.