Step-by-Step Guide: How to Solder a Copper Pipe for Leak-Free Joints
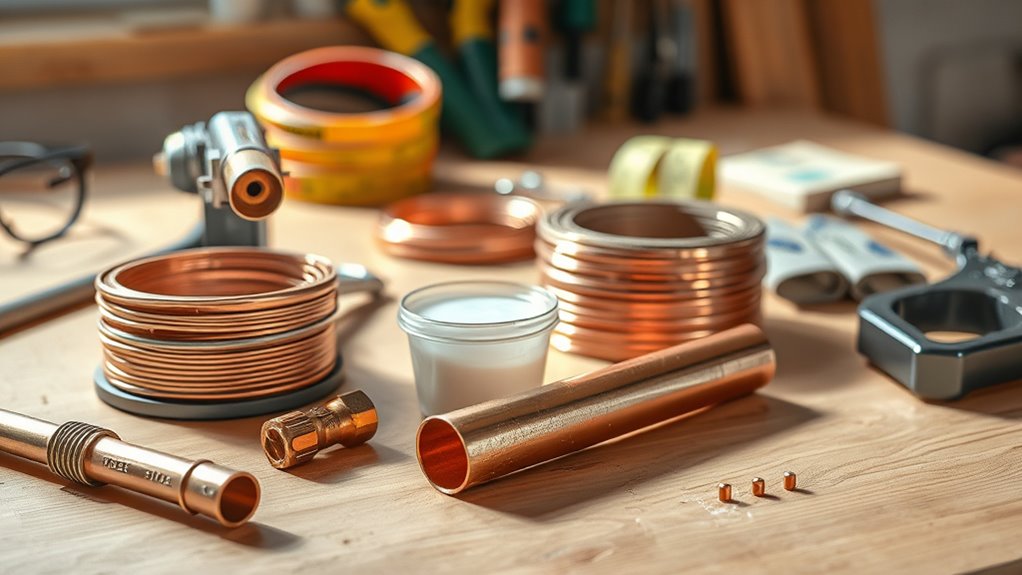
To solder a copper pipe for leak-free joints, gather essential tools: a propane torch, solder, flux, and protective gear. Start by selecting compatible pipes and fittings, then clean the surfaces using a wire brush or emery cloth. Apply flux, assemble the joint, and heat it evenly until the solder flows into the joint. Inspect for leaks after cooling. Avoid common mistakes, and maintain the joint regularly for long-lasting performance. Further insights await for a thorough understanding.
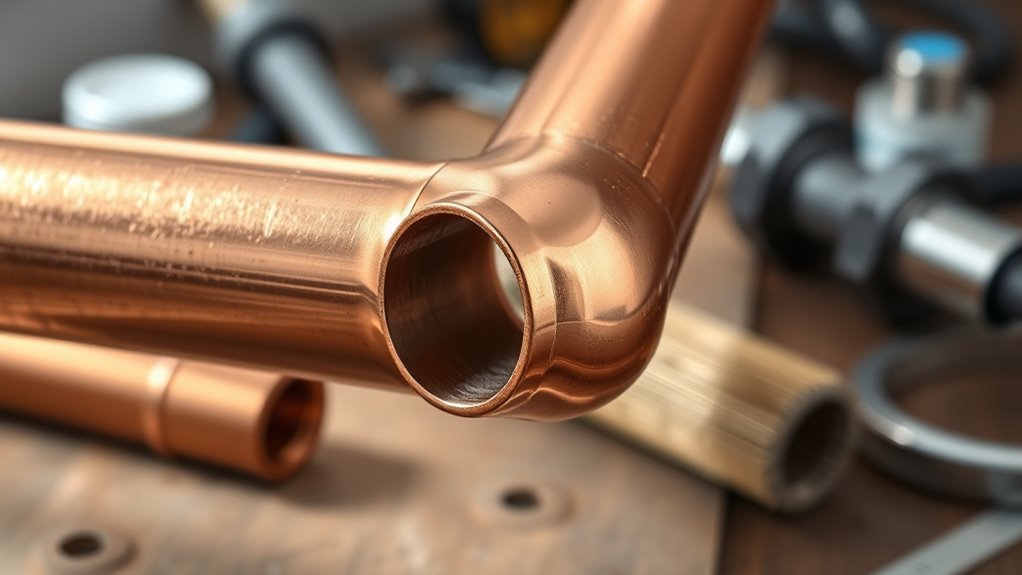
Understanding the Tools Needed for Soldering
Before beginning the soldering process, one must gather the essential tools required for working with copper pipes. A propane torch is essential for heating the joints, while solder and flux facilitate a strong bond. Additionally, a pipe cutter guarantees clean cuts, and a wire brush helps prepare the surfaces for soldering techniques. Protective gear, such as goggles and gloves, should not be overlooked for safety.
Proper tool maintenance is critical for guaranteeing effective soldering. A well-maintained torch will provide consistent heat, and keeping the pipe cutter sharp will yield smoother edges, thereby promoting better joints.
Regularly checking and cleaning tools enhances their longevity and effectiveness, making the soldering process more efficient and reliable.
Selecting the Right Copper Pipe and Fittings
Selecting the appropriate copper pipe and fittings is essential for a successful soldering project.
Considerations include the size of the pipe, the types of fittings available, and the quality of the materials used. Each of these factors plays a critical role in ensuring a durable and efficient plumbing system.
Pipe Size Selection
Choosing the correct size of copper pipe and fittings is essential for guaranteeing a successful plumbing project. Proper pipe diameter considerations are important, as they directly impact water flow and pressure. Selecting a diameter that aligns with the plumbing system’s requirements prevents potential issues, such as reduced efficiency or increased wear on components.
Additionally, it is critical to address fitting compatibility issues; not all fittings are designed to accommodate every pipe size. Mismatched fittings can lead to leaks or joint failures, undermining the integrity of the plumbing system.
As a result, careful planning and measurements should be undertaken to ascertain that the selected copper pipes and fittings work together seamlessly, promoting durability and reliability in the installation.
Fitting Types Overview
Understanding the various types of fittings available is vital for anyone undertaking a copper pipe installation project. Selecting the appropriate fitting types can greatly impact the integrity and functionality of joint configurations.
Here are three common fitting types:
- Elbows: Used to change the direction of the pipe, available in various angles.
- Tees: Allow for branching off the main line, connecting three pipes at once.
- Couplings: Serve to connect two sections of pipe together, ensuring a secure joint.
Each fitting type serves a specific purpose, and understanding these options is essential for creating strong, leak-free connections in copper piping systems.
Proper selection and installation will enhance the overall performance of the plumbing system.
Material Quality Considerations
The quality of materials used in copper pipe installations greatly influences the durability and performance of the plumbing system.
Selecting the right copper pipe and fittings involves understanding various material types, such as Type K, L, and M, each designed for specific applications and pressure ratings. Higher quality copper, compliant with stringent quality standards, guarantees resistance to corrosion and enhanced longevity.
When choosing fittings, it is vital to opt for those that match the pipe type and are made from high-grade materials to prevent leaks and maintain system integrity.
Investing in superior materials not only simplifies the soldering process but also reduces the risk of future repairs, guaranteeing a reliable and efficient plumbing system.
Preparing the Copper Pipe for Soldering
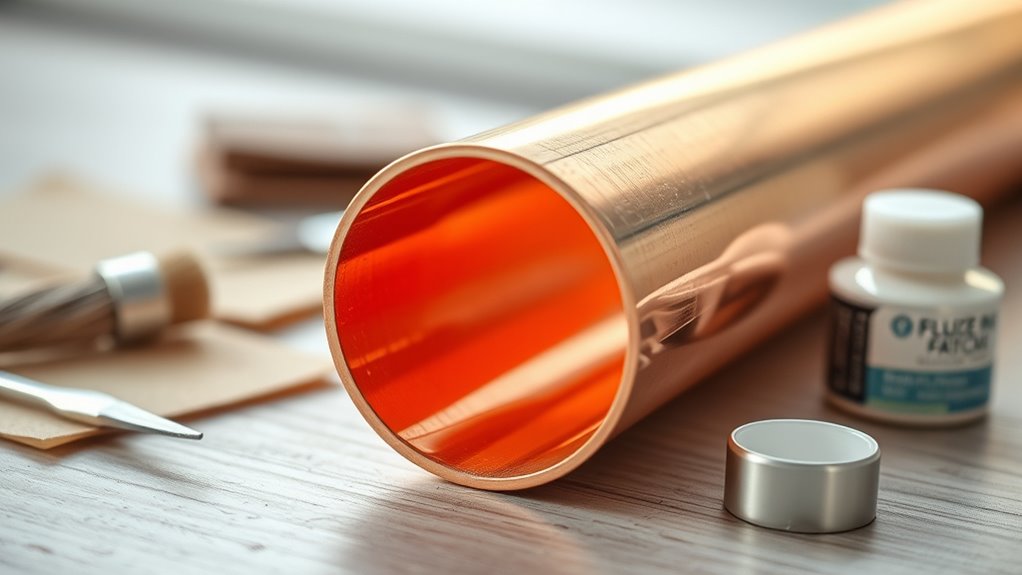
Properly preparing the copper pipe is vital for a successful soldering process. Effective pipe preparation guarantees strong, leak-free joints and minimizes the risk of failures.
Following safety precautions during this stage is essential to prevent accidents.
- Inspect the Pipe: Check for any visible damage or defects that may affect soldering.
- Cut the Pipe: Use a pipe cutter for a clean and straight cut, securing ideal fitting.
- Deburr the Edges: Remove any sharp edges or burrs from the cut ends to facilitate a smooth connection.
Cleaning the Pipe and Fitting Surfaces
After guaranteeing the copper pipe is cut and deburred, the next step involves cleaning the surfaces of both the pipe and the fitting.
Proper pipe surface preparation is vital for achieving a strong, leak-free joint. Effective cleaning techniques include using a wire brush or emery cloth to remove oxidation, dirt, and grease from the copper surfaces.
It is essential to clean both the outside of the pipe and the inside of the fitting to guarantee peak adhesion during soldering.
After cleaning, wiping the surfaces with a clean, dry cloth will help eliminate any residual debris.
This thorough cleaning process sets the foundation for a successful soldering operation, ultimately contributing to the longevity and reliability of the plumbing system.
Applying Flux to the Joint
Applying flux to the joint is a crucial step in the soldering process that enhances adhesion and prevents oxidation during heating. Proper flux application techniques can greatly impact the quality of the solder joint.
Here are three key considerations when applying flux:
- Choose the Right Flux Type: Depending on the project requirements, different flux types, such as rosin or acid-based, may be more suitable. A flux types comparison helps in selecting the best option.
- Even Coverage: Make sure that the flux is applied evenly to both the pipe and fitting surfaces to promote maximum bonding and prevent any weak spots.
- Use Appropriate Amount: Applying too much flux can lead to contamination, while too little may not provide adequate protection. Striking the right balance is crucial for successful soldering.
Assembling the Pipe and Fitting
Assembling the pipe and fitting is a critical step in the soldering process.
Selecting the appropriate pipe fittings and ensuring that the ends of the pipes are clean will greatly influence the quality of the joint.
Proper preparation sets the stage for a successful soldering outcome.
Selecting Proper Pipe Fittings
When selecting proper pipe fittings for soldering copper pipes, it is vital to assure compatibility between the pipe diameter and the fitting type. Confirming fitting compatibility is essential for creating strong, leak-free joints.
Additionally, the materials used for fittings should match the copper pipes to prevent corrosion and guarantee durability.
Consider the following factors when selecting fittings:
- Pipe Diameter: Measure the outer diameter of the pipe to choose the correct fitting size.
- Fitting Materials: Opt for fittings made of copper or compatible materials to enhance longevity.
- Fitting Type: Select the appropriate style (elbows, tees, couplings) based on the project requirements.
These considerations will contribute to a successful soldering process and reliable plumbing system.
Cleaning Pipe Ends
Proper cleaning of the pipe ends is essential for ensuring a strong solder joint. This process, known as pipe preparation, involves removing any dirt, grease, or oxidation from the copper surface.
Using a wire brush or emery cloth, one should carefully clean both the exterior of the pipe and the interior of the fitting to create a smooth, shiny surface. This minimizes the risk of contaminants interfering with the soldering process.
Once cleaned, the pipe ends should be inspected for proper joint alignment before proceeding. Ensuring that the pipes fit snugly together will help achieve an even heat distribution during soldering, further enhancing the integrity of the joint.
Proper cleaning and alignment are vital for achieving leak-free connections.
Heating the Joint With a Torch
A torch is essential for heating the joint of a copper pipe, enabling the solder to flow and create a strong bond. Proper application of heat is vital for effective soldering techniques.
To guarantee successful heating and maintain torch safety, follow these guidelines:
- Position the Torch: Aim the flame at the joint, moving it around to evenly distribute heat.
- Observe the Color Change: Watch for a change in color on the copper pipe, indicating it has reached the necessary temperature for soldering.
- Avoid Overheating: Be cautious not to overheat the pipe, as this can damage the material and compromise the joint.
Adding Solder to the Joint
Once the joint is heated adequately, the next step involves preparing the solder for application.
It is vital to apply the solder evenly around the joint to guarantee a strong bond.
After soldering, checking for leaks becomes essential to confirm the integrity of the connection.
Preparing the Joint
As the final step in preparing the joint, adding solder requires careful attention to guarantee a strong bond between the copper pipes.
Proper joint alignment and effective heat distribution are essential for securing a leak-free connection. This stage involves:
- Positioning the Pipes: Verify the pipes are perfectly aligned to facilitate even solder flow.
- Heating the Joint: Apply heat uniformly around the joint to ascertain that the entire area reaches the appropriate temperature for soldering.
- Monitoring the Soldering Process: Watch for the solder to flow into the joint, which indicates that the heat has adequately melted it.
Applying the Solder
With steady hands, the plumber introduces solder to the joint, ensuring that it flows seamlessly into the gap between the copper pipes. This step is essential for achieving joint integrity, as the right solder type must be selected based on the specific application.
The plumber holds the solder against the heated joint, allowing it to melt and be drawn into the space through capillary action. It is important to apply an adequate amount of solder, avoiding excess that could lead to a messy finish or blockage.
As the solder cools, it forms a strong bond, solidifying the connection between the pipes. Proper application at this stage lays the foundation for a durable, leak-free plumbing system.
Checking for Leaks
After the solder has cooled and solidified, the plumber meticulously inspects the joint for any signs of leaks. Proper leak detection is essential to guarantee that the soldering process was successful and that the system will function correctly.
To verify the integrity of the joint, the plumber may employ the following methods:
- Visual Inspection: Examine the joint closely for any moisture or discoloration, indicating a leak.
- Pressure Testing: Apply pressure to the system and observe for any drops in pressure, which can signify a leak.
- Soap Solution: Apply a mixture of soap and water to the joint. Bubbles forming indicate escaping air or fluid.
These methods help confirm that the soldered joint is robust and leak-free.
Ensuring Proper Solder Flow
Achieving proper solder flow is essential for creating strong, leak-free joints in copper piping. To guarantee joint integrity, soldering techniques must be carefully executed. The following table illustrates key factors influencing solder flow:
| Factor | Description |
|---|---|
| Heat Application | Evenly distribute heat around the joint to promote proper melting of solder. |
| Cleaning the Pipe | Remove oxidation and debris for enhanced adhesion and flow of solder. |
| Solder Type | Choose the appropriate solder for the specific application, ensuring compatibility with the pipe material. |
Cooling the Joint Safely
After soldering a copper pipe, cooling the joint properly is essential to guarantee a strong bond.
Employing effective cooling techniques can prevent thermal shock, which may compromise the integrity of the soldered joint.
Understanding the importance of controlled cooling will help achieve optimal outcomes in plumbing projects.
Proper Cooling Techniques
Cooling the joint safely is a crucial step in the soldering process, as improper cooling can lead to weak connections or damage to the pipe.
Employing appropriate cooling methods enhances joint stability, ensuring long-lasting results.
Here are three effective techniques for cooling soldered joints:
- Air Cooling: Allow the joint to cool naturally at room temperature, which is the safest method for maintaining structural integrity.
- Wet Cloth: Use a damp cloth to gently wrap around the joint. This method speeds up cooling without risking thermal shock.
- Fan Assistance: Position a fan nearby to facilitate air circulation, promoting even cooling while avoiding direct contact with the joint.
Avoiding Thermal Shock
To prevent thermal shock during the cooling process, it is crucial to manage temperature changes carefully. When a soldered joint cools too quickly, the rapid contraction can lead to cracks or stresses in the metal due to thermal expansion.
To avoid this, a gradual cooling strategy should be employed. After soldering, the joint should be shielded from direct drafts or cold air, allowing it to cool at a controlled rate.
Additionally, applying a damp cloth can help moderate the temperature decrease without introducing moisture into the joint.
Practicing proper temperature control throughout the cooling phase not only secures the integrity of the joint but also enhances the longevity of the plumbing system, reducing the risk of future leaks.
Inspecting the Soldered Joint for Leaks
Once the soldered joint has cooled completely, it is essential to inspect it for leaks to guarantee a reliable and durable connection.
Effective leak detection guarantees that the joint remains watertight. The process of joint inspection involves several key steps:
- Visual Check: Look for any visible signs of solder imperfections or gaps in the joint.
- Water Test: Apply water to the joint and observe for any dripping or moisture accumulation.
- Pressure Test: If applicable, pressurize the system and monitor for any pressure drops, indicating a potential leak.
Cleaning Up After Soldering
After ensuring the soldered joint is leak-free, it becomes necessary to clean up the workspace. Proper workspace organization is essential for maintaining efficiency and safety.
First, all unused materials and tools should be collected and returned to their designated storage areas. Next, any leftover solder or flux must be disposed of according to local waste disposal regulations to prevent environmental contamination.
Wipe down surfaces to remove any residual flux or debris, ensuring a clean area for future projects. Finally, check for any sharp objects, such as copper shavings, that could pose a hazard.
Common Mistakes to Avoid
Common mistakes often arise during the soldering process, leading to ineffective joints or safety hazards. Understanding these common errors can enhance the effectiveness of soldering techniques and guarantee proper results.
- Insufficient Cleaning: Failing to clean the copper surfaces can prevent proper adhesion, resulting in leaks.
- Overheating the Joint: Excessive heat can damage the pipe or fitting, degrading materials and causing structural weaknesses.
- Using Incorrect Flux: Not using appropriate flux for the specific soldering process can lead to poor bonding, compromising joint integrity.
Tips for Successful Soldering
Successful soldering requires careful attention to detail and adherence to best practices. To achieve ideal results, one should prioritize soldering safety by wearing protective gear, including goggles and gloves, to prevent injuries from heat and flux.
Proper preparation of the copper pipes is essential; clean the surfaces thoroughly and apply flux evenly to guarantee a strong bond. Employ effective soldering techniques, such as heating the joint evenly and applying solder from the opposite side of the flame to create a capillary action that draws the solder into the joint.
Additionally, maintain a steady hand for precise application, and allow the joint to cool undisturbed for the best results. Following these tips will lead to secure, leak-free connections in copper piping.
Maintenance for Leak-Free Joints
Maintaining leak-free joints in copper piping involves regular inspections and proper care following soldering. Implementing effective leak prevention strategies guarantees the longevity of plumbing systems.
Here are three essential maintenance tips:
- Routine Inspections: Periodically check joints for signs of corrosion, moisture, or mineral buildup. Early detection can prevent severe leaks.
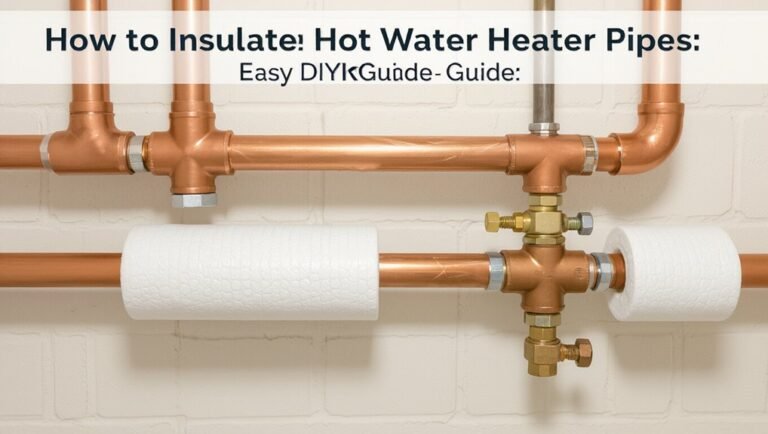
- Temperature Control: Avoid exposing copper pipes to extreme temperature fluctuations. Insulating pipes can help maintain stable temperatures, reducing stress on joints.
- Water Quality Monitoring: Test water quality to confirm it is not overly acidic or hard, as this can accelerate corrosion and damage joints.
Conclusion
In summary, mastering the art of soldering copper pipes is essential for achieving leak-free joints and ensuring long-lasting plumbing. By understanding the necessary tools, preparing the surfaces, and following the steps diligently, even a novice can create strong connections. Avoiding common mistakes and implementing helpful tips can further enhance success. With the right techniques, soldering becomes as effortless as swiping a smartphone, transforming a challenging task into a straightforward endeavor for any aspiring DIYer.