Bending PVC pipe into an arch shape is straightforward. Here’s how to do it effectively:
- Choose the Right Pipe: Select the appropriate size of PVC pipe for your project.
- Measure Accurately: Take accurate measurements to determine the length of the arch.
- Heat the Pipe: Use boiling water or a heat gun to evenly heat the area of the pipe you plan to bend. This will soften the PVC for easier manipulation.
- Bend Gradually: Slowly bend the pipe while applying consistent pressure. Hold the shape until it cools and hardens.
- Secure the Arch: Once formed, ensure the arch is stable by securing it in place.
- Optional Decoration: Consider enhancing the arch’s appearance with decorations if desired.
This method will help you create a sturdy and visually appealing PVC arch.
Understanding PVC Pipe and Its Properties
PVC (polyvinyl chloride) pipe is a popular choice in construction and plumbing due to its durability and resistance to corrosion, chemicals, and moisture.
It’s ideal for water supply and drainage systems. The lightweight nature of PVC makes it easy to handle and install, while its smooth interior promotes efficient fluid flow.
Available in various diameters and thicknesses, PVC pipe meets different pressure needs. Its affordability and low maintenance requirements make it a favorite among both professionals and DIY enthusiasts, solidifying its role as a key material in modern construction.
Tools and Materials Needed
To effectively bend PVC pipe, you need a few essential tools and materials:
- Heat Source: A heat gun or boiling water to soften the PVC.
- Bending Form: A wooden or metal form to shape the pipe into the desired arch.
- Measuring Tape: To ensure accurate lengths.
- Marker: For marking where to bend.
- Safety Gloves: To protect your hands during the process.
Using these tools will help you achieve clean and precise bends in your PVC pipe projects.
Safety Precautions
When bending PVC pipe, prioritize safety to avoid risks. Here are essential safety precautions to follow:
- Wear Protective Eyewear: This protects your eyes from debris and splinters while cutting or heating the PVC.
- Use Gloves: Protect your hands from heat, especially when using a heat gun for bending.
- Ensure Adequate Ventilation: When applying heat, good airflow is crucial to prevent inhaling fumes.
- Organize Your Workspace: Keep tools and materials tidy to prevent tripping hazards.
- Follow Power Tool Instructions: Always adhere to manufacturer guidelines and maintain focus to prevent accidents.
- Have a First Aid Kit Ready: This ensures immediate assistance for any minor injuries.
Choosing the Right PVC Pipe Size
Selecting the right size of PVC pipe is crucial for the success of your project. For lightweight applications, consider using smaller diameters like 1/2 inch or 3/4 inch. Larger structures may need pipes of 1 inch or more.
Additionally, the wall thickness, indicated by the schedule rating (with Schedule 40 being a common choice for DIY projects), is essential for strength and flexibility.
When choosing your PVC pipe size, think about the intended use of the arch, environmental factors, and your design preferences. Proper sizing ensures durability and stability in your final structure.
Measuring and Marking Your PVC Pipe
Measuring and marking PVC pipe accurately is crucial for effective bending.
To ensure your project meets specifications, start by determining the exact lengths you need and clearly marking where each bend will occur.
This precision not only aids in achieving the desired shape but also enhances the overall quality of your structure.
Proper measurements and clear markings are key to a successful outcome.
Accurate Length Measurement
Accurate length measurement of PVC pipe is crucial for a proper fit and successful installation.
To ensure precision, follow these steps:
- Gather Tools: Use a reliable measuring tape that shows both metric and imperial units.
- Determine Length: Check your project specifications to find the required length of the PVC pipe.
- Measure Carefully: Measure from the end of the pipe, keeping the tape straight and taut for accuracy.
- Mark the Pipe: Clearly mark the desired length with a permanent marker or chalk to guide your cutting.
This process minimizes errors and ensures the integrity of your project.
Marking Bend Locations
Marking bend locations on PVC pipe is essential for achieving precise angles and ensuring a smooth installation.
Start by determining where the bends will occur based on your project’s design. Use a measuring tape to accurately mark these points with a fine-tip permanent marker or chalk. Ensure that the marks are clear and correctly indicate the bend locations.
To maintain straight lines and consistent angles, a square can be helpful. This careful preparation reduces the risk of errors during bending, resulting in a more accurate and visually appealing outcome in your project.
Heating Methods for Bending PVC Pipe
When bending PVC pipe, choosing the right heating method is crucial for a smooth and precise bend. Here are the most effective techniques:
- Hot Water: Submerge the PVC pipe in hot water until it becomes pliable. This method is simple and reduces the risk of overheating.
- Heat Blankets: These provide even heat distribution along the pipe, ensuring consistent bending without hot spots.
- Bending Ovens: Ideal for larger projects, these specialized ovens offer controlled heating for precise bends.
Regardless of the method, closely monitor the temperature to prevent damage to the PVC. This ensures a successful and aesthetically pleasing bend.
Using a Heat Gun for Bending
Using a heat gun to bend PVC pipe is a straightforward process that requires a few essential steps and safety precautions. Here’s how to do it effectively:
- Gather Your Materials: You’ll need a heat gun, PVC pipe, a heat-resistant surface, and protective gear like gloves and goggles.
- Prepare the Pipe: Mark the area where you want to bend the pipe. Ensure it’s clean and dry.
- Heat the Pipe: Set the heat gun to a low setting and apply heat evenly along the marked area. Keep the nozzle moving to avoid overheating any one spot.
- Bend the Pipe: Once the PVC becomes pliable (usually after a few minutes), carefully bend it to your desired angle. Use clamps or another method to hold it in place if needed.
- Cool and Set: Allow the pipe to cool completely in the new shape before handling it further.
By following these steps, you can achieve precise bends in PVC pipe safely and effectively.
Always prioritize safety by wearing protective gear and working in a well-ventilated area.
Heat Gun Basics
A heat gun is essential for safely bending PVC pipe. It blows hot air to soften the PVC, allowing for precise shaping without damage.
Look for heat guns with adjustable temperature settings to match your specific pipe thickness. Maintain a consistent distance from the pipe to ensure even heating and avoid overheating.
Patience is key; heat the PVC uniformly until it becomes flexible, then shape it into your desired form, such as an arch.
Safety Precautions First
When bending PVC pipe with a heat gun, safety is paramount. Here are essential precautions to follow:
- Wear Protective Gear: Always put on heat-resistant gloves and safety goggles to protect against burns and debris.
- Ventilation: Work in a well-ventilated area to avoid inhaling harmful fumes released during heating.
- Fire Safety: Keep a fire extinguisher nearby, as heat guns can be a fire risk if left unattended.
- Stable Workspace: Ensure your work surface is stable and free from flammable materials.
- Proper Handling: Never point the heat gun at yourself or others while in use.
- Cooling Time: Allow the PVC pipe to cool completely before further handling to avoid burns from residual heat.
Following these steps will help you safely bend PVC pipe with a heat gun.
Step-by-Step Process
To bend a PVC pipe using a heat gun, follow these steps:
- Safety First: Ensure you have all necessary safety precautions in place.
- Measure and Mark: Determine where you want to bend the pipe and mark those points clearly.
- Heat the Pipe: Hold the heat gun about six inches away from the marked area. Move it back and forth to evenly heat the pipe.
- Bend the Pipe: After a few minutes, the PVC will become soft. Carefully bend it to the desired shape, applying steady pressure to avoid kinks.
- Hold the Shape: Maintain the bend until the pipe cools and hardens to keep its new shape intact.
This concise guide ensures you can effectively bend PVC pipe for your project.
Boiling Water Technique for Bending
The boiling water technique is a simple and effective method for bending PVC pipe.
Here’s a quick guide to help you achieve smooth bends:
- Boil water in a pot or kettle.
- Submerge the PVC pipe in the boiling water for 10-15 minutes.
- Remove the pipe carefully using tongs or gloves to avoid burns.
- Bend the pipe slowly and steadily to your desired shape.
- Cool the pipe by dipping it in cold water to set the new shape.
This technique is ideal for DIY projects where precise bends are needed.
Creating a Jig for Consistent Bending
Creating a jig for bending PVC pipe is essential for achieving consistent results. To get started, gather the necessary materials and follow these steps:
- Materials Needed: Collect PVC pipes, a heat source, and a sturdy base for your jig.
- Assembly: Construct the jig by securing the base and positioning the heat source accurately to ensure even heating of the pipe.
- Testing: Once assembled, test the jig with a sample piece to ensure it produces the desired bend.
Materials Needed for Jig
To achieve consistent bends in PVC pipe, constructing an effective jig is crucial.
Here’s a quick list of essential materials you’ll need:
- Plywood or MDF board: Acts as the jig’s base.
- PVC pipe clamps: Secure the pipe during bending.
- Wood screws: Assemble the jig components.
- Measuring tape: Ensure accurate measurements for the bend.
- Saw: Cut the base and components to size.
Gather these materials to streamline your jig construction and improve your bending results.
Step-by-Step Assembly
To create a reliable jig for bending PVC pipe, follow these five essential steps:
- Cut plywood for the base: Start with a piece of sturdy plywood that will serve as a solid foundation for your jig.
- Attach vertical supports: Secure vertical supports to the base, positioned at equal distances to match the desired height of your arch.
- Install horizontal beams: Fix horizontal beams on top of the vertical supports to form the bending frame.
- Add adjustable clamps: Incorporate clamps to hold the PVC pipe firmly during the bending process.
- Verify all components are level: Ensure that all parts of the jig are level for optimal bending accuracy.
Testing Your Jig
Once your jig is assembled, it’s crucial to test its effectiveness for achieving consistent bends in PVC pipe.
Here’s a concise guide to ensure your jig functions properly:
- Consistent Heat Source: Use a reliable heat source to warm the PVC pipe evenly.
- Standard Length of Pipe: Begin with a uniform length of PVC for your tests.
- Multiple Bends: Perform several bends to check for accuracy and repeatability.
- Measure Bend Angles: Use a protractor to measure the angles precisely.
- Evaluate Shape Consistency: Compare the final shape to your specifications to ensure it meets your needs.
Following these steps will help guarantee reliable results for your projects.
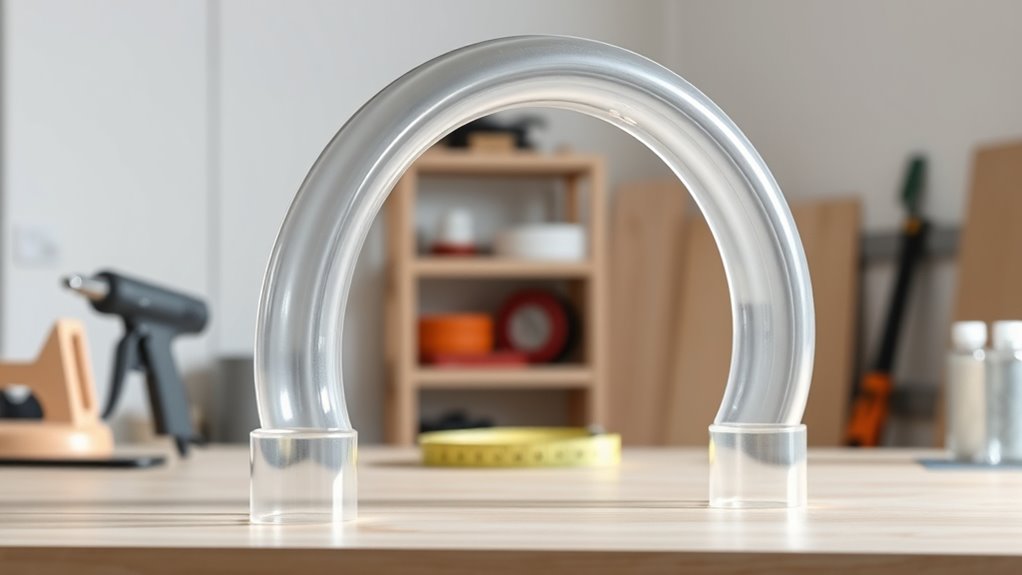
Bending the PVC Pipe Into an Arch
Bending PVC pipe into an arch is a simple process ideal for projects like garden trellises.
Start by creating a sturdy jig that matches your desired arch shape. Next, heat the PVC pipe evenly with a heat gun until it becomes pliable—be cautious not to overheat it.
Once ready, gently bend the pipe into the jig’s shape, applying consistent pressure for a smooth curve. Regularly check the alignment to ensure the arch is symmetrical and visually appealing.
This method allows you to efficiently create beautiful arches for your projects.
Cooling and Setting the Arch Shape
Cooling and Setting the Arch Shape of PVC Pipe
Once you’ve shaped your PVC pipe into an arch, it’s crucial to cool it properly to ensure it retains its form. Here’s how to do it effectively:
- Flat Surface: Lay the pipe on a flat, sturdy surface.
- Avoid Rapid Cooling: Do not use water or ice, as this can cause cracks.
- Let It Sit: Allow the arch to remain undisturbed for at least 30 minutes.
- Monitor Temperature: Ensure it cools gradually to room temperature.
- Inspect Carefully: Once cooled, check for any imperfections before moving forward.
Following these steps will enhance the durability and functionality of your arch for your project.
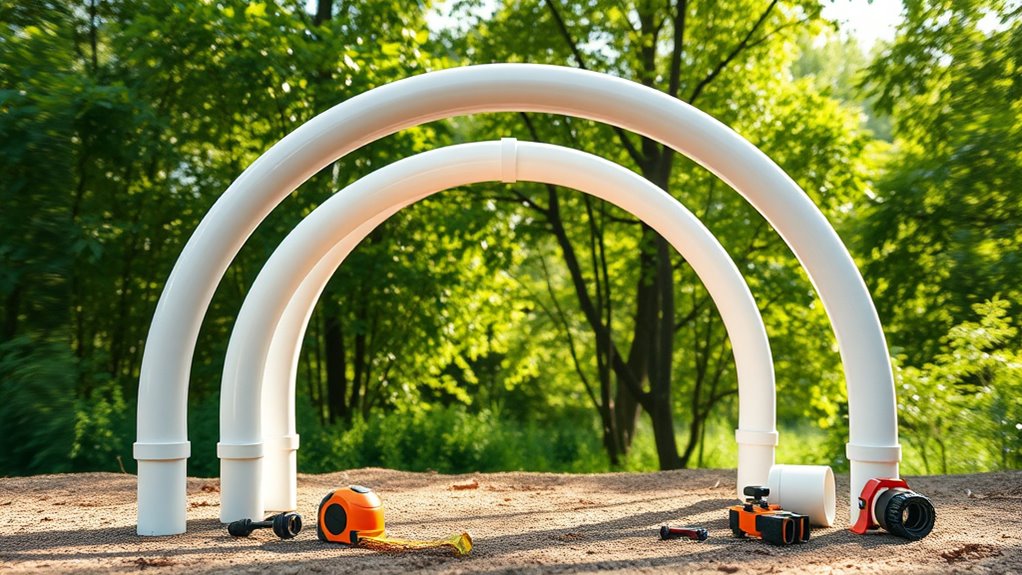
Reinforcing Your Arch Structure
To reinforce the arch structure of PVC pipes, consider these effective techniques that enhance stability and durability:
- Diagonal Braces: Add diagonal braces using extra PVC pieces or other sturdy materials. These should connect the arch at key points to prevent lateral movement and improve rigidity.
- Cross-Bracing: Implement cross-bracing to further strengthen the overall structure.
- Secure the Base: Use ground stakes or anchors to stabilize the base of the arch, preventing any unwanted movement.
- Central Support Column: For larger arches, a central support column can provide additional strength.
- Reinforced Joints: Apply tape or adhesive at joints to strengthen connections and mitigate weak points.
These strategies will ensure a robust arch suitable for various applications.
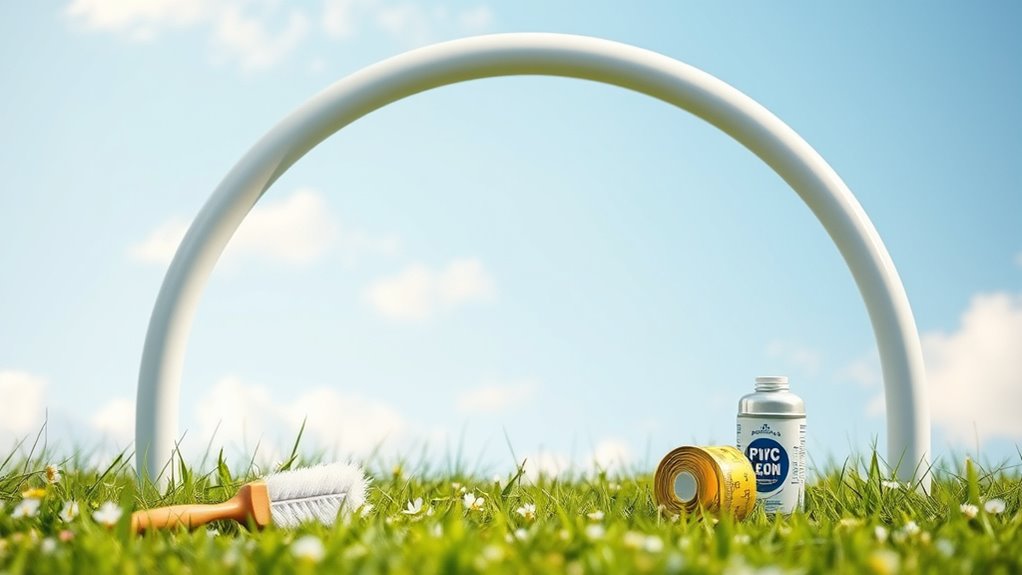
Installing the Arch in Your Project
Installing an arch in your project requires careful planning to ensure it integrates well with your design.
Here are the essential steps to follow:
- Choose the Right Location: Ensure the foundation can support the arch’s weight.
- Secure the Base: Anchor the arch firmly using stakes or concrete.
- Check Alignment: Make sure the arch is level and aligns with other elements.
- Reinforce Connections: Use appropriate fasteners to ensure durability.
- Test Stability: Apply gentle pressure to verify the arch can withstand weight and environmental factors.
Decorating Your PVC Arch
Once your PVC arch is set up, choose decorative materials that enhance its look.
Consider adding lighting effects for a magical ambiance, or opt for seasonal decorations for year-round versatility.
These enhancements can transform your arch into a stunning focal point for any event.
Choosing Decorative Materials
When enhancing the aesthetic appeal of a PVC arch, selecting the right decorative materials is crucial.
Here are some effective options that can transform your arch into a stunning centerpiece for any event:
- Fabric Draping: Use soft, flowing fabrics to add elegance and a splash of color.
- Flowers: Incorporate fresh or artificial blooms for vibrancy and a natural touch.
- Banners: Personalize with messages or designs to reflect your theme or celebration.
- Streamers: Add colorful streamers to create a lively and festive atmosphere.
- Lighting Accents: Consider subtle lighting to enhance the overall ambiance.
Choosing the right materials ensures your PVC arch serves as a perfect backdrop for any occasion, aligning with your vision and enhancing the event’s atmosphere.
Adding Lighting Effects
To enhance the visual appeal of a PVC arch, adding lighting effects is essential. For evening events, consider these effective lighting options:
- LED Strip Lights: Attach them along the arch’s curves for a soft, inviting glow that accentuates its shape.
- Fairy Lights: Weave these lights throughout the arch for a whimsical, enchanting look.
- Spotlights or Uplights: Position them to illuminate the arch from below, creating striking shadows and highlighting its structure.
- Colored Lights: Use these to add vibrancy and make the arch a standout feature at your event.
Incorporating these lighting techniques will transform your PVC arch into a captivating centerpiece.
Seasonal Decoration Ideas
Transforming a PVC arch to reflect the changing seasons is simple and enhances your outdoor space.
Here are some concise decoration ideas for each season:
- Spring: Use pastel-colored flowers and butterflies to create a vibrant, fresh look.
- Summer: Incorporate tropical-themed decorations like seashells and lanterns for a lively atmosphere.
- Autumn: Drape faux leaves, pumpkins, and warm-toned garlands to celebrate the harvest.
- Winter: Wrap the arch with twinkling lights and evergreen branches for a festive feel.
- Holidays: Customize with themed ornaments or banners for various celebrations.
These adaptable ideas make your PVC arch a versatile decoration year-round.
Maintenance Tips for Your PVC Arch
To maintain your PVC arch and ensure its longevity, follow these key tips:
- Regular Inspections: Check for cracks or discoloration regularly to catch any wear early.
- Cleaning: Use a mild soap solution and a soft cloth to clean the arch periodically. This prevents dirt buildup and keeps it looking appealing.
- Avoid Harsh Chemicals: Steer clear of strong chemicals that could damage the PVC material.
- Weather Precautions: During extreme weather, remove decorative elements to minimize stress on the arch. If it’s outdoors, secure it against strong winds.
- UV Protection: Apply UV protectants to shield the arch from sun damage, helping to maintain its appearance and extend its lifespan.
Conclusion
Bending PVC pipe into an arch shape is a straightforward DIY project that combines creativity with functionality. To achieve this, you’ll need a few essential tools and materials: PVC pipe, a heat source (like a heat gun or boiling water), and a form or template to guide your curve.
- Prepare the PVC Pipe: Cut the pipe to your desired length.
- Heat the Pipe: Use a heat gun or boiling water to soften the PVC. Be careful not to overheat it, as this could damage the material.
- Shape the Pipe: Once heated, gently bend the pipe into your desired arch shape. It helps to use a form or template for precision.
- Cool and Set: Hold the pipe in place until it cools and hardens, maintaining the arch shape.
This method allows you to create strong, flexible arches for various applications, from garden trellises to decorative structures. With this simple approach, you can turn basic materials into practical designs that enhance your space.

I’m Allen Kim, the chief editor of plumbinginto. I am a mid level plumber and assign to an local firm over 4 years of experience. During the working period, most of my experience is related to the house plumbing. I learned about the thing, when working with most experienced people in this sector, one must be as good as the inspector or better with knowledge of the project as well as the practical aspects of plumbing industry.