To install a shower drain pipe correctly, gather necessary tools and materials such as PVC pipes and a drain assembly. Measure the drain location accurately, guaranteeing proper slope for drainage. Cut the drain hole in the shower base, securing the drain pipe and testing for leaks. Seal around the drain with silicone caulk for waterproofing. Finally, level the shower floor and apply grout. Following these steps guarantees effective installation; further instructions provide additional insights.
Tools and Materials Needed
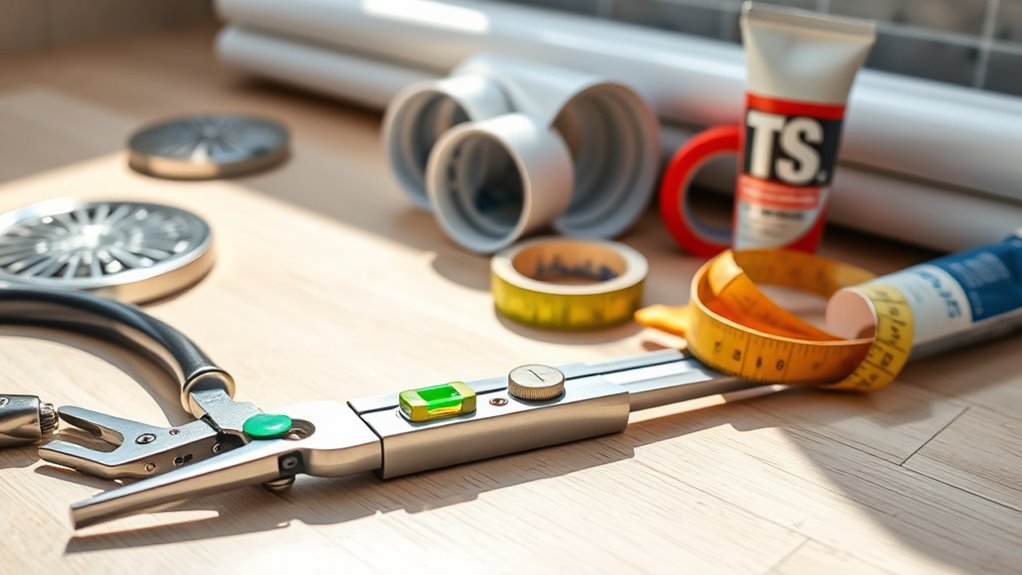
To successfully install a shower drain pipe, one must gather essential tools and materials. The primary tools required include a pipe wrench, a hacksaw, and a measuring tape. A level and a pencil are also beneficial for ensuring proper alignment and marking placements.
Additionally, a drill with appropriate bits may be necessary for securing the piping.
As for materials, a suitable drain assembly should be selected, which typically includes a drain body, a strainer, and connecting pipes. PVC or ABS pipes are commonly used for durability and ease of installation.
Finally, one should have plumber’s tape and cement or adhesive for sealing joints. With these items on hand, the installation process can proceed smoothly and effectively.
Understanding Shower Drain Types
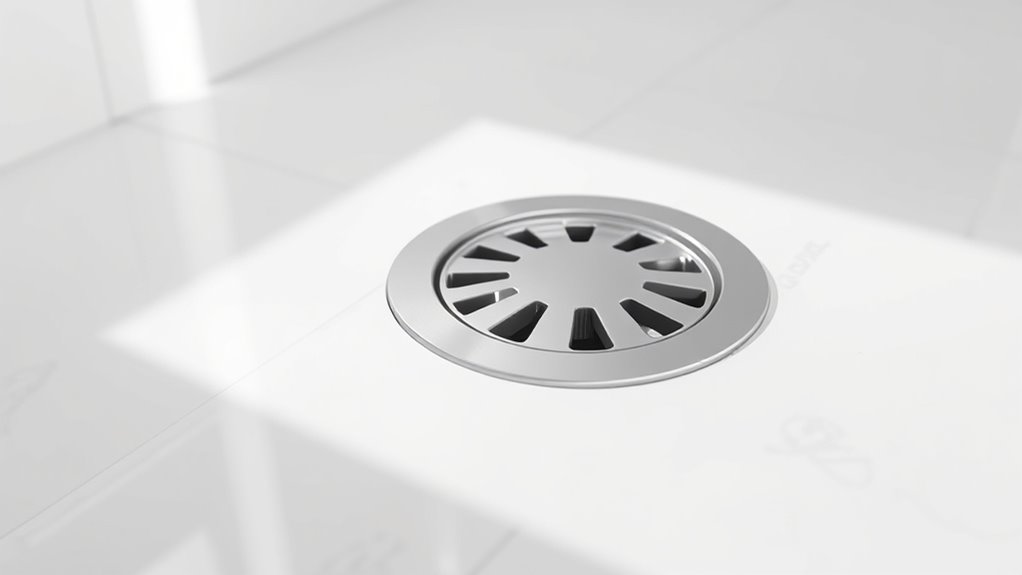
Selecting the right type of shower drain is essential for effective water management and overall functionality. Various types of shower drains serve different needs, depending on the design and layout of the bathroom. Understanding the options available can greatly impact the installation process and future maintenance.
| Drain Type | Description | Best Use |
|---|---|---|
| Point Drain | Centralized drain for water pooling | Standard shower setups |
| Linear Drain | Long, narrow channel for water flow | Modern, walk-in showers |
| Tile Drain | Integrated with tiled surfaces | Custom, seamless installations |
| Shower Grate | Decorative cover options | Aesthetic enhancement |
| Trench Drain | Multi-directional water collection | Large shower areas |
Choosing the appropriate type guarantees peak drainage performance.
Measuring the Drain Location
Measuring the drain location is a vital step in shower installation.
First, one must determine the shower position to guarantee ideal placement.
Next, checking the floor slope will help achieve proper drainage, followed by marking the drain center for accurate installation.
Determine Shower Position
When planning the installation of a shower drain pipe, accurately determining the shower position is essential for ideal drainage. Proper placement guarantees that water flows effectively toward the drain, minimizing the risk of water pooling and potential damage.
To achieve the best results, consider the following key factors:
- Shower Size: Measure the dimensions of the shower area to accommodate the drain’s placement without obstructing movement.
- Drainage Requirements: Identify local plumbing codes and regulations that may dictate the drain’s location and installation standards.
- Accessibility: Verify the drain is easily accessible for maintenance and cleaning, factoring in any potential obstructions in the surrounding area.
Check Floor Slope
Ensuring the correct floor slope is essential for effective shower drainage, as it directs water flow toward the drain. A slope of 1/4 inch per foot is typically recommended to facilitate proper drainage.
To check the floor slope, one can use a level or a straightedge placed across the floor. By measuring the distance from the straightedge to the floor at various points, the installer can determine if the slope meets the required specifications.
If the slope is inadequate, adjustments must be made before proceeding with the drain installation. This may involve adding or removing materials to achieve the desired angle, ensuring that water will efficiently flow toward the drain, preventing pooling and potential water damage in the shower area.
Mark Drain Center
Accurate placement of the drain is essential for ideal shower function. Properly measuring and marking the drain center guarantees optimal water flow and prevents pooling.
To determine the correct location, one should follow a few key steps:
- Identify Shower Dimensions: Measure the width and length of the shower area to find the center point.
- Account for Slope: Confirm the drain is positioned to accommodate the floor’s slope, typically directing water towards the drain.
- Mark the Center: Use a pencil or chalk to mark the exact center of the drain location, confirming alignment with the plumbing and any existing fixtures.
Preparing the Shower Base
Preparing the shower base is vital for a successful drain installation. It involves evaluating the dimensions of the shower space to guarantee proper fit and functionality.
Additionally, selecting a suitable drain location is important for ideal water flow and drainage efficiency.
Assess Shower Space Dimensions
Measuring the shower space is an essential step in installing a shower drain pipe. Accurate measurements guarantee that the drain will function properly and fit seamlessly within the shower base.
To effectively assess the shower space dimensions, one should consider the following:
- Width and Length: Measure the width and length of the shower area to determine the appropriate size for the drain and base.
- Height: Assess the height from the subfloor to the planned shower floor to establish the necessary slope for proper drainage.
- Clearance: Evaluate any obstructions, such as walls or plumbing, that may affect the drain’s location and installation.
Taking these measurements will facilitate a successful installation process.
Choose Suitable Drain Location
Selecting an appropriate location for the shower drain is essential for ensuring effective water flow and preventing potential flooding. The drain should be positioned at the lowest point of the shower base to facilitate proper drainage.
It is vital to take into account the slope of the floor, which should ideally angle towards the drain to direct water efficiently. Additionally, the drain location must allow for easy access to plumbing connections while avoiding obstacles such as wall studs or existing pipes.
Before finalizing the position, measurements should be taken to confirm that the drain aligns with the planned plumbing layout. This careful selection process will contribute to a functional and reliable shower system, minimizing the risk of water accumulation and related issues.
Cutting the Drain Hole
Cutting the drain hole requires precise planning to guarantee a proper fit for the shower drain.
Accurate measurements and careful execution are essential to avoid costly mistakes. The following steps should be taken to confirm a successful cut:
- Measure Twice: Before cutting, carefully measure the diameter of the drain pipe and mark the exact location on the shower base.
- Select the Right Tool: Use an appropriate cutting tool, such as a hole saw or jigsaw, to achieve a clean and precise cut.
- Check for Obstructions: Before cutting, confirm there are no underlying pipes or electrical wires that could be damaged during the process.
Installing the Drain Flange
Properly installing the drain flange is essential for guaranteeing a watertight seal and preventing leaks in the shower. First, the flange should be positioned over the drain hole, making sure it fits snugly. A bead of silicone caulk can be applied around the edge to enhance the seal. Once in place, it is secured with screws, which are typically provided with the flange. Care must be taken to avoid over-tightening, as this may crack the flange.
| Step | Description |
|---|---|
| Position Flange | Center the flange over the drain hole |
| Apply Caulk | Use silicone for enhanced sealing |
| Secure with Screws | Fasten screws without over-tightening |
| Check Alignment | Guarantee the flange is level and stable |
Connecting the Drain Pipe
Connecting the drain pipe is a critical step in guaranteeing efficient water flow away from the shower. Proper installation can prevent leaks and guarantee long-term functionality.
To achieve a successful connection, one should follow these essential steps:
- Choose the Right Pipe Material: Use PVC or ABS pipes that are compatible with the drain flange and guarantee a durable connection.
- Cut the Pipe to Length: Measure accurately and cut the drain pipe to the appropriate length, allowing for easy attachment to the drain assembly.
- Use Proper Adhesives or Fittings: Apply solvent cement for PVC or appropriate adhesives for ABS, guaranteeing a secure and watertight seal at each joint.
Slope Requirements for Drainage
Ensuring the correct slope for drainage is essential for effective water removal in shower installations. A minimum slope of 1/4 inch per foot is typically recommended to facilitate proper drainage. This gradient helps prevent water pooling and promotes swift runoff towards the drain.
When installing the shower base, careful attention should be given to achieving this slope consistently across the entire area. Measurements should be taken from the farthest point of the shower to the drain to confirm compliance with the slope requirement.
Using a level during installation can assist in verifying the accuracy of the slope. Adhering to these guidelines not only enhances functionality but also reduces the risk of potential water damage in surrounding areas.
Securing the Drain Pipe
Securing the drain pipe is essential for ensuring a reliable and efficient drainage system.
This involves selecting appropriate materials that can withstand moisture and pressure, as well as ensuring proper alignment of the pipes to facilitate ideal flow.
Attention to these details can prevent future leaks and drainage issues.
Choosing the Right Materials
While selecting the appropriate materials for a shower drain pipe, it is essential to reflect on both durability and compatibility with existing plumbing systems.
The materials chosen can greatly impact the system’s overall efficiency and longevity.
Here are three key materials to take into account:
- PVC (Polyvinyl Chloride) – Lightweight and resistant to corrosion, PVC is a popular choice for many DIY installations due to its ease of use and affordability.
- ABS (Acrylonitrile Butadiene Styrene) – Known for its durability, ABS is an excellent option in areas with extreme temperature variations, ensuring a reliable performance.
- Cast Iron – Though heavier and more expensive, cast iron offers exceptional strength and sound dampening, making it ideal for multi-story buildings.
Selecting the right material will contribute to a long-lasting and effective drainage system.
Proper Pipe Alignment
Proper alignment of the shower drain pipe is vital for effective drainage and preventing future plumbing issues.
When securing the drain pipe, it is imperative to guarantee that it is sloped correctly, typically at a 1/4 inch per foot gradient toward the drain. This slope facilitates the efficient flow of water, minimizing the risk of clogs.
Using pipe brackets or straps can help maintain this alignment as the installation progresses. It is advisable to periodically check the alignment by visually inspecting the pipe and using a level.
Additionally, securing joints with appropriate fittings and adhesive guarantees that the pipe remains stable over time. Proper pipe alignment not only enhances functionality but also extends the lifespan of the plumbing system.
Testing for Leaks
After completing the installation of a shower drain pipe, testing for leaks is essential to confirm a watertight seal. This step guarantees that any potential issues are identified and addressed before use.
A thorough leak test can prevent costly water damage and maintain the integrity of the plumbing system.
To effectively test for leaks, one should follow these steps:
- Visual Inspection: Check all joints and connections for any visible water or dampness.
- Water Test: Fill the shower base with a few inches of water, then observe if any leaks develop over time.
- Pressure Test: Use a plumbing test plug to seal the drain and apply air pressure; listen for hissing sounds indicating leaks.
Taking these precautions will help confirm a reliable shower drain installation.
Connecting to the Main Drain Line
Connecting the shower drain pipe to the main drain line is a critical step in ensuring proper wastewater removal.
The process begins by selecting an appropriate connector, typically a PVC or ABS fitting, that matches the pipe diameter. Careful alignment of the shower drain with the main line is essential for an effective connection.
The installer should apply PVC cement or solvent to both the pipe and fitting, ensuring a secure bond. It is important to push the pipe into the fitting firmly and hold it in place for a few moments to allow the adhesive to set.
Once connected, the installer should check for any gaps or leaks before proceeding, ensuring that the connection is both watertight and stable for long-term use.
Sealing the Drain Area
Once the shower drain pipe is securely connected to the main drain line, sealing the drain area becomes imperative to prevent leaks and guarantee a watertight installation.
Proper sealing not only protects the surrounding area from water damage but also enhances the longevity of the plumbing system.
To effectively seal the drain area, one must consider several essential materials and techniques:
- Silicone Caulk: Apply a generous bead around the drain flange to create a waterproof barrier.
- Teflon Tape: Wrap the threads of the drain pipe to assure a tight fit and reduce the risk of leaks.
- Drain Gasket: Use a rubber gasket to provide an additional layer of protection between the drain and the floor.
Following these steps will assure a reliable seal, safeguarding against potential water issues.
Finishing Touches on the Shower Floor
As the installation process nears completion, attention turns to the finishing touches on the shower floor, which play a significant role in both aesthetics and functionality. Confirming the surface is level and properly sealed is essential for preventing water pooling and leaks. The choice of grout and tiles can enhance both the look and slip resistance of the floor. Finally, installing baseboards or trim provides a polished appearance, keeping moisture from seeping into walls.
| Task | Importance | Recommended Material |
|---|---|---|
| Level the Floor | Prevents water pooling | Self-leveling compound |
| Grout Application | Sealing gaps | Waterproof epoxy grout |
| Tile Selection | Aesthetic appeal | Slip-resistant ceramic tiles |
| Trim Installation | Moisture barrier | PVC or wood trim |
| Final Inspection | Confirms quality | Checklist |
Cleaning Up the Work Area
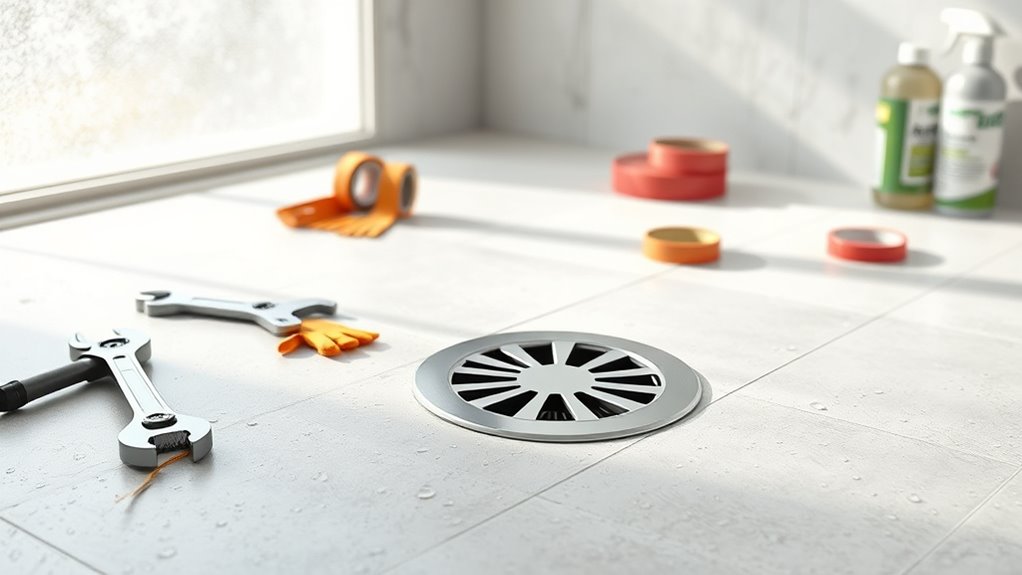
After completing the installation, it is essential to clean up the work area effectively.
This involves gathering all necessary tools and clearing debris thoroughly to guarantee a safe environment.
Maintaining safety precautions during this process helps prevent accidents and promotes a tidy workspace.
Gather Necessary Tools
Before starting the installation of a shower drain pipe, it is essential to gather all necessary tools to guarantee a smooth and efficient process.
Having the right equipment at hand minimizes interruptions and enhances productivity during the installation.
The key tools required include:
- Pipe Cutter – For precise cutting of the drain pipe to the necessary length.
- Adjustable Wrench – To securely tighten fittings and connections, ensuring no leaks occur.
- Teflon Tape – For sealing threaded connections, providing an additional layer of protection against leaks.
Clear Debris Thoroughly
Clearing debris from the work area is essential to guarantee a safe and efficient installation of the shower drain pipe. Before beginning the installation process, the individual should meticulously inspect the area for any leftover materials, tools, or waste from previous tasks.
This includes removing dust, dirt, and any obstructions that could interfere with the installation. A clean workspace not only enhances productivity but also reduces the risk of accidents.
Once the area is cleared, the individual can lay out tools and materials in an organized manner. This preparation fosters a smoother workflow, ensuring that all necessary components are easily accessible during the installation.
Ultimately, a clean environment contributes to the overall success of the project.
Maintain Safety Precautions
A clean workspace sets the foundation for effective installation, but maintaining safety precautions is equally important. Ensuring a safe environment not only protects the installer but also enhances the overall efficiency of the project.
By taking the time to clean up the work area, potential hazards can be minimized.
- Remove Clutter: Clear away any unnecessary tools, materials, or debris to prevent tripping hazards.
- Wear Protective Gear: Use gloves, goggles, and knee pads to protect against sharp objects and harsh materials.
- Ensure Proper Ventilation: If using adhesives or sealants, make sure the area is well-ventilated to avoid inhaling harmful fumes.
Implementing these safety measures creates a more secure and productive work environment.
Final Inspection and Maintenance Tips
While completing the installation of a shower drain pipe marks a significant milestone, conducting a final inspection is vital to confirm everything functions correctly and meets safety standards.
This process involves checking for any visible leaks, guaranteeing all connections are secure, and verifying proper alignment with the drainage system. A level surface is essential to facilitate water flow toward the drain.
For ongoing maintenance, homeowners should clean the drain regularly to prevent clogs caused by hair and soap buildup. Using a mixture of baking soda and vinegar can help maintain clear pipes.
Additionally, periodically inspecting the area for signs of water damage or mold will secure long-term functionality and safety. Proper maintenance will extend the lifespan of the shower drain system.
Conclusion
Successfully installing a shower drain pipe not only guarantees proper water flow but also transforms the bathroom into a sanctuary of relaxation. Each step taken, from measuring to sealing, is like laying the foundation of a harmonious symphony, where every note contributes to a soothing experience. With careful attention to detail and a commitment to quality, the DIY enthusiast can enjoy the fruits of their labor, creating a space that welcomes rejuvenation and renewal with every shower.

I’m Allen Kim, the chief editor of plumbinginto. I am a mid level plumber and assign to an local firm over 4 years of experience. During the working period, most of my experience is related to the house plumbing. I learned about the thing, when working with most experienced people in this sector, one must be as good as the inspector or better with knowledge of the project as well as the practical aspects of plumbing industry.